DIY Stone Mantel and Electric Fireplace With Modern Blaze
To say I have a fireplace addiction might be a fair statement. But, I mean who doesn’t like a cozy place to gather. Here’s to another fireplace project, with our friends over at Modern Blaze!
When we were building our semi custom home, we opted out of having the builders put in a gas fireplace. The price didn’t seem worth a builder grade fireplace. Therefore, we held off, and knew there would come a time, where we would DIY it.
Modern Blaze
Well, that time has come! And I couldn’t be happier to be partnering with Modern Blaze for a second fireplace project!
If you’ve been around you know that one of last years big project was our basement fireplace. It was our first time partnering with Modern Blaze, and seriously they blew us away with their customer service, amazing team, and the amount of choices and designs! It was a no brainer to go with Modern Blaze for a second time. And this time was no exception. Great customer service, an amazing team, and quality products.
Check out last years fireplace from Modern Blaze and all the details here.
The Plan
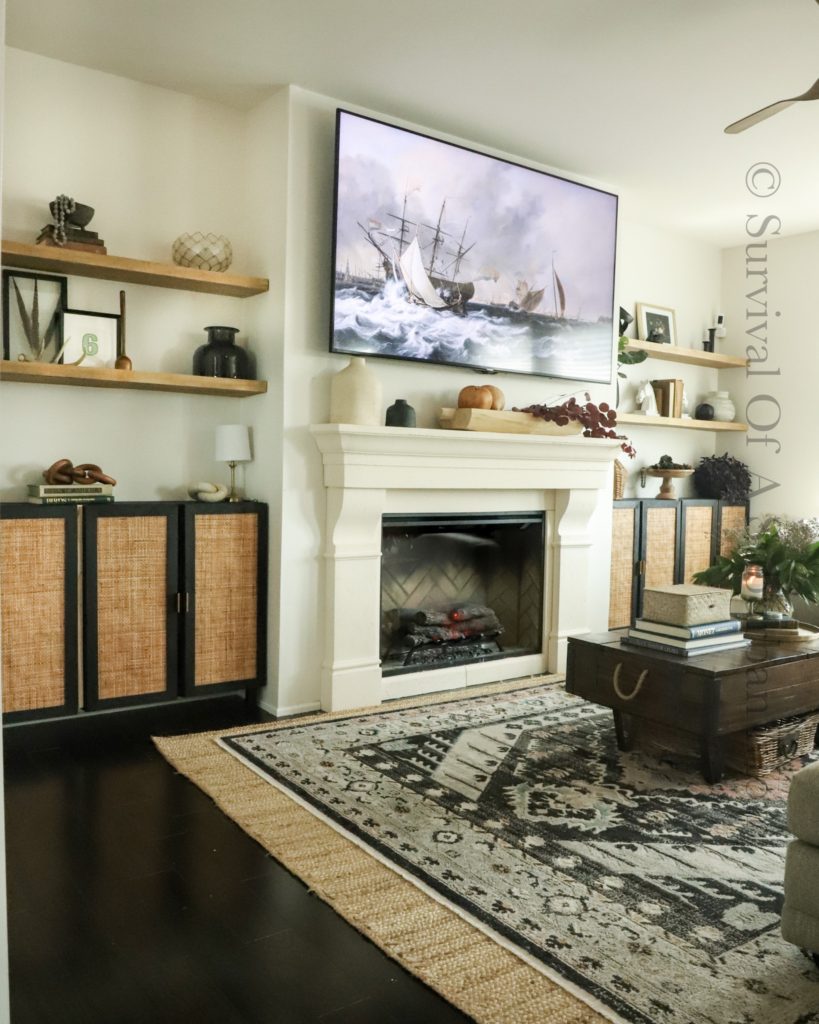
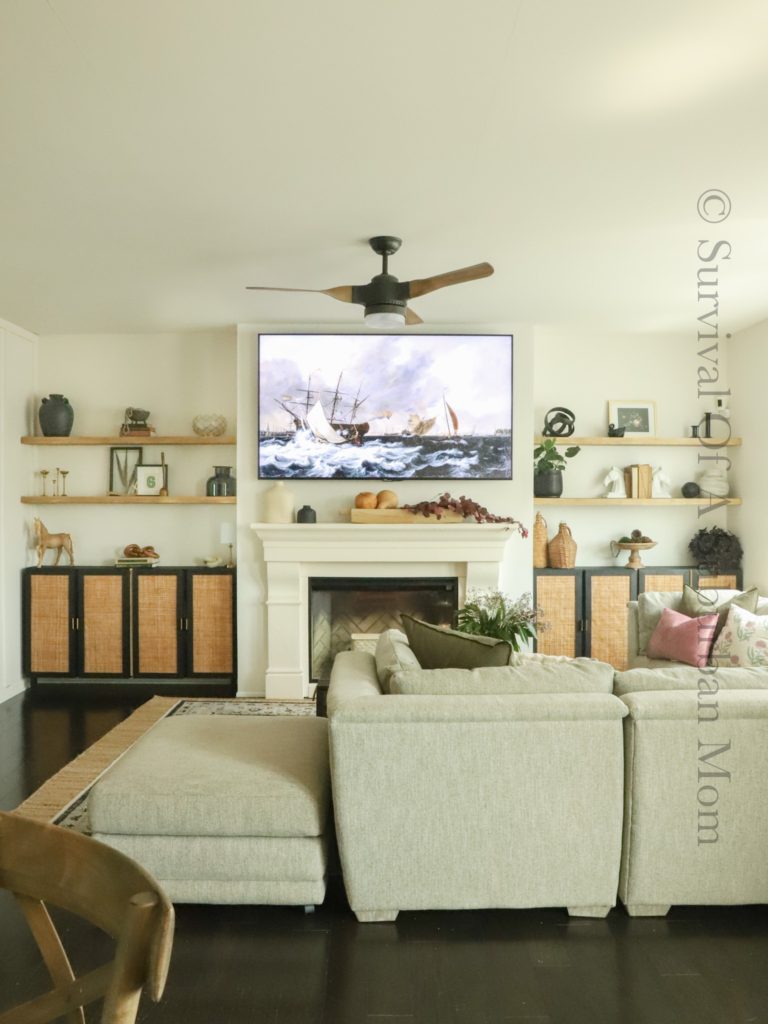
First up was the design, I wanted something that was going to be timeless, and this was a project that was really important to me. This is our living room, the place we gather most nights, holidays, and with company.
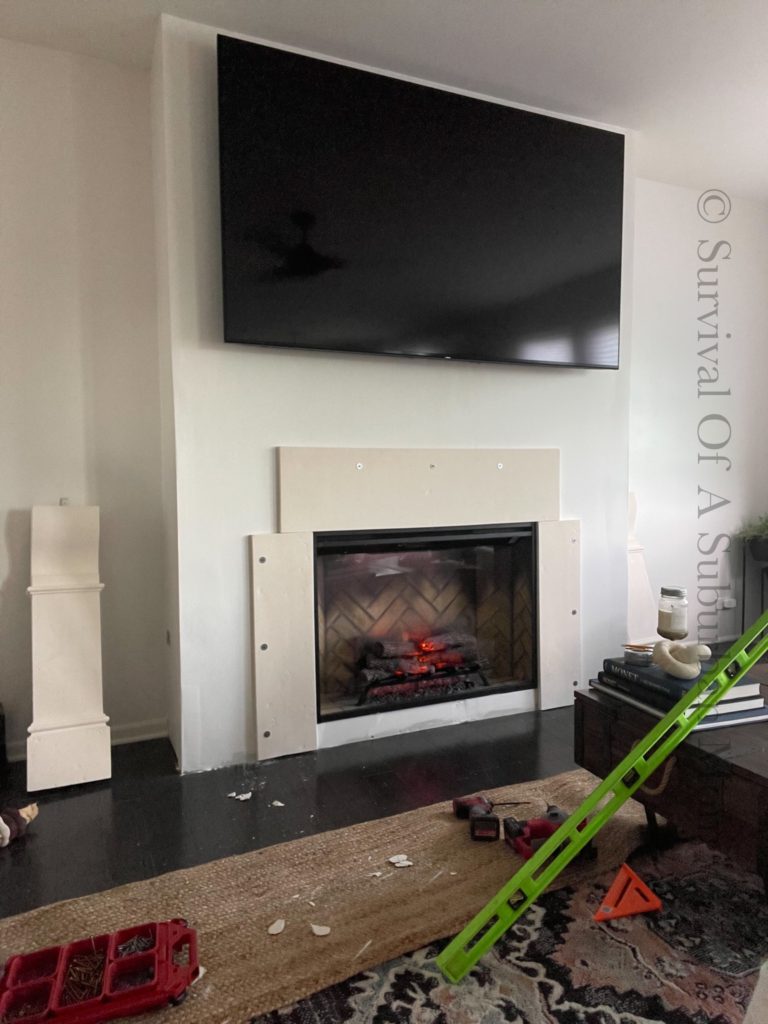
The one issue I had, is rob went real big, I mean tv size big. He had just purchased an 82” tv, and he has no plans of ever going smaller 😂 so Modern Blaze was really helpful in making sure the fireplace we chose would be a great fit. After weighing the options the choice was the Dimplex Revillusion™42″ – BUILT-IN ELECTRIC firebox
Not only is this electric fireplace have gorgeous detail, I swear you can’t tell it’s electric. Honestly, not one person who has stepped into our home knew!
Mantel and Surround
We now had the most perfect fireplace for our living room, it was time for another really hard decision. What type of mantel and surround.
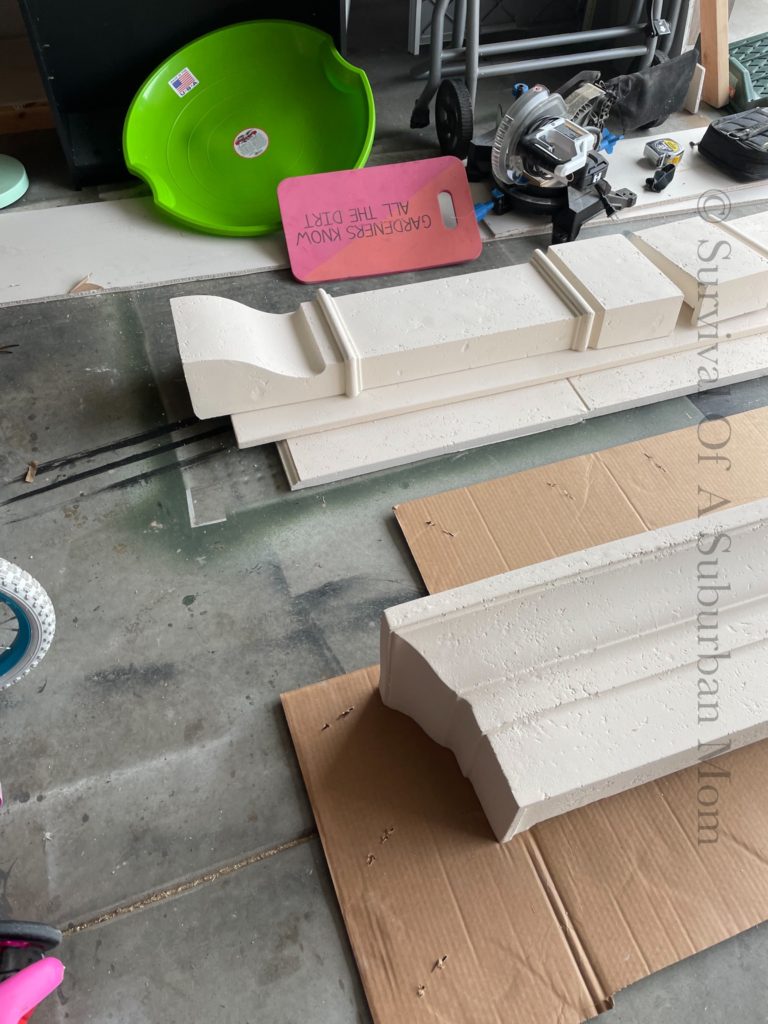
I was wracking my brain trying to zone in on a budget friendly design, how could I diy it, what was I going to do… I kept coming back to a stone mantel.
The stone mantel’s I was finding were anywhere from $5,000 to 10,000 plus more!! Oh my goodness, that was not going to work!!! And I couldn’t get away from the idea of stone. We found this site, and this mantel for $1400. Still more than I wanted, but this is a forever space, and I really felt it was timeless. Crossing our fingers and saying a prayer, we ordered it!!!
Having no idea what we were going to get. I’m so happy we took the chance it was delivered in 2 weeks and perfect. It’s not complete stone, it’s called cast stone, but looks perfect!
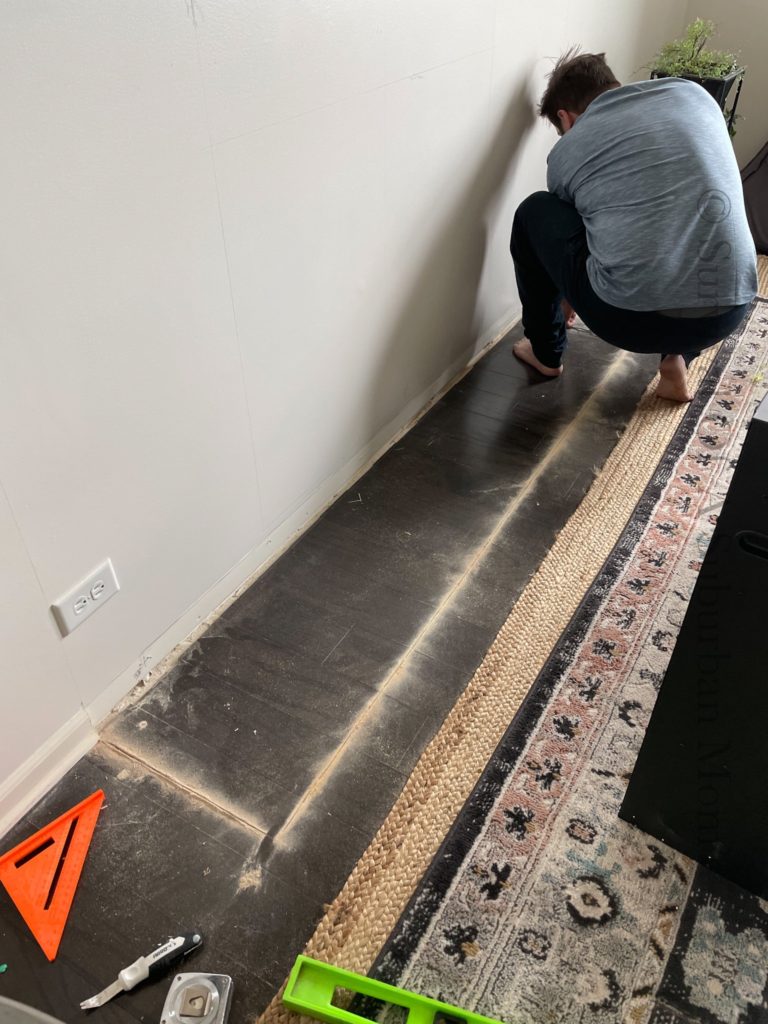
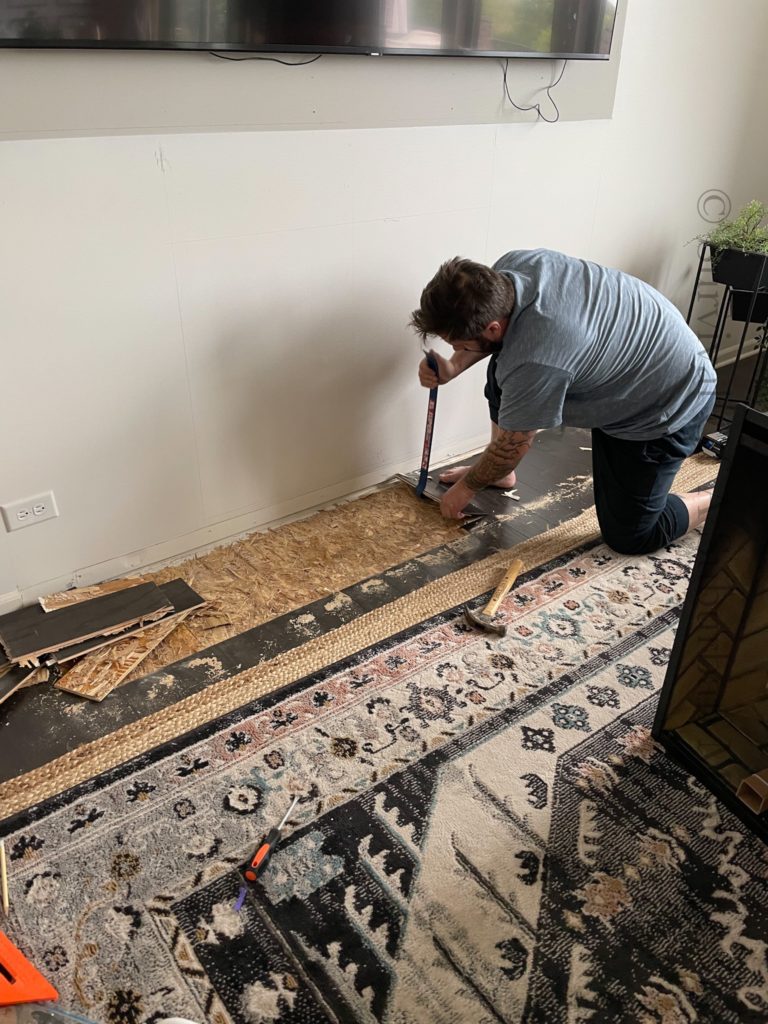
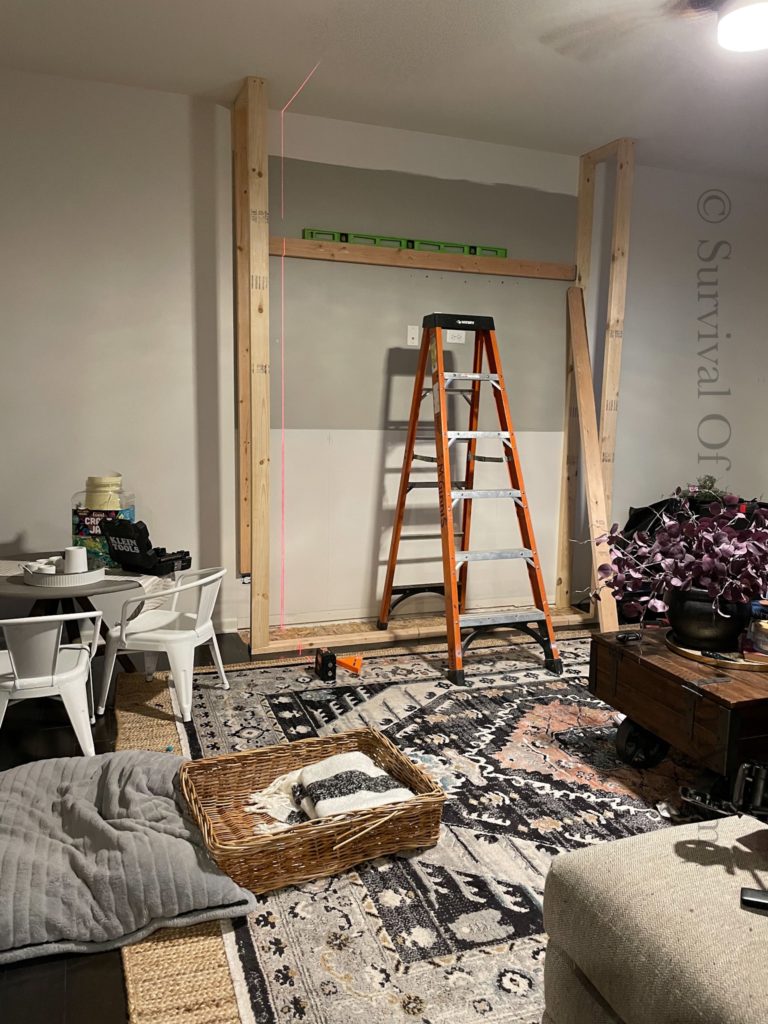
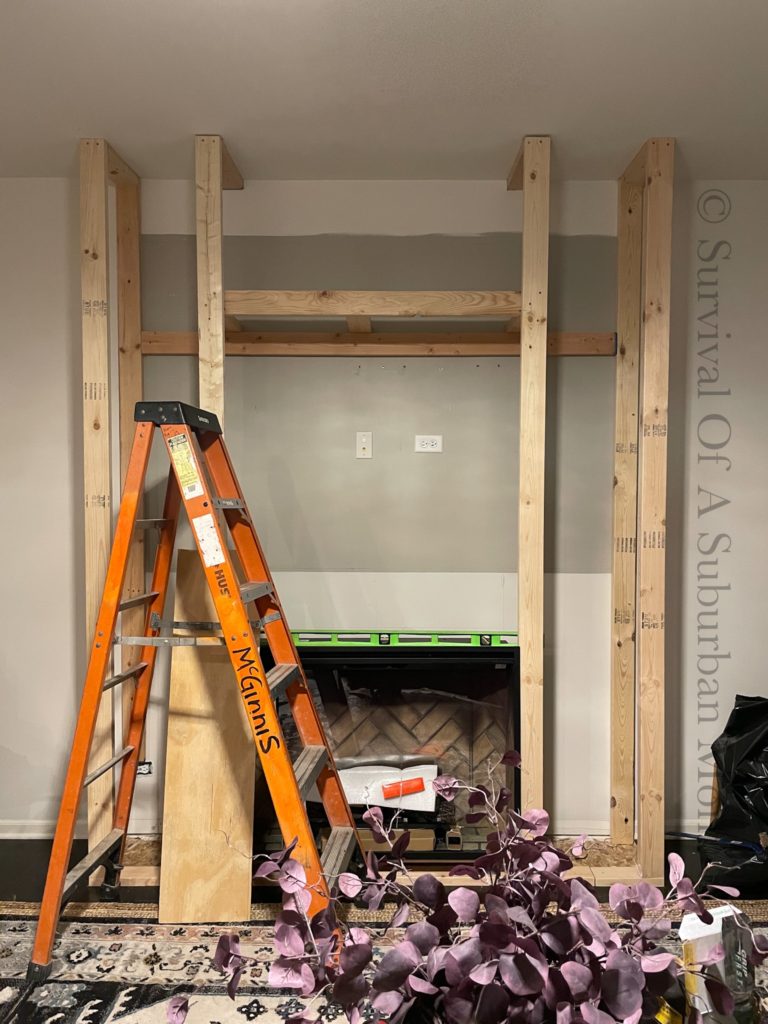
Time to install
Ripping up the floor was the first step, we did this in case we end up changing the floors in the future
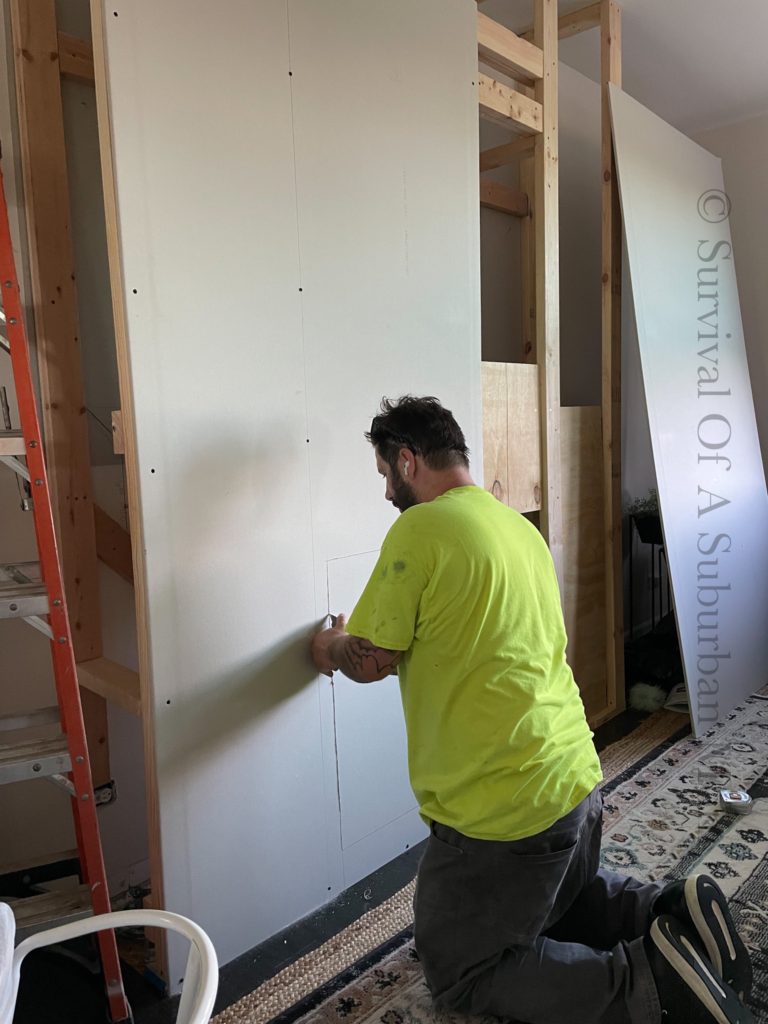
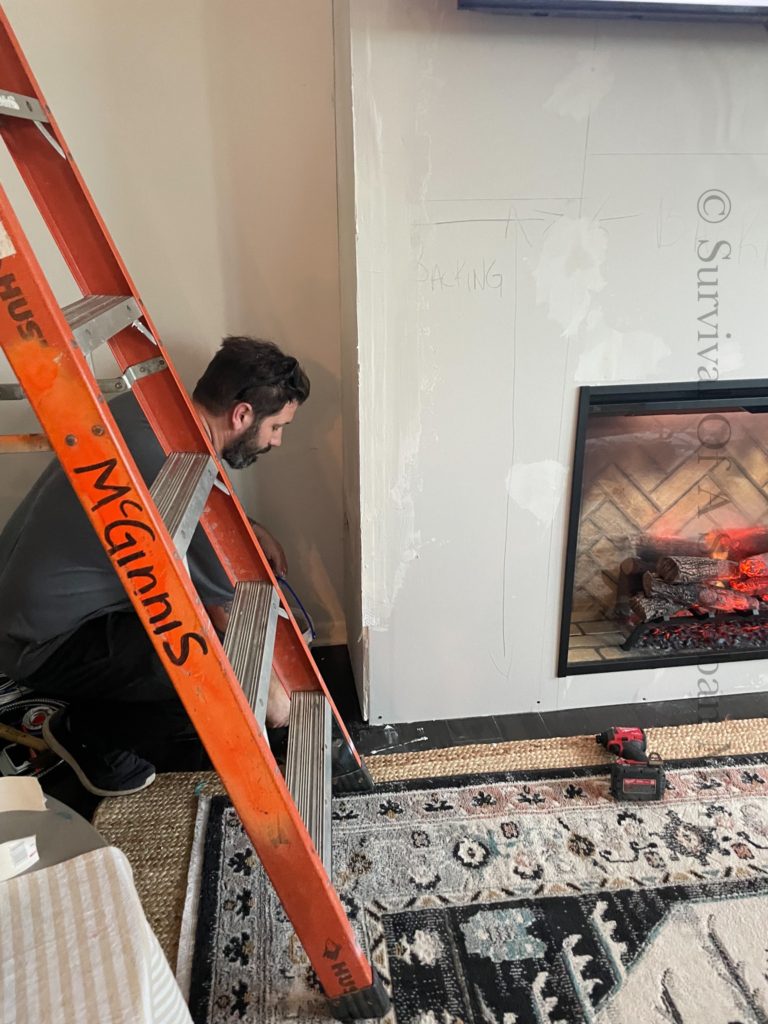
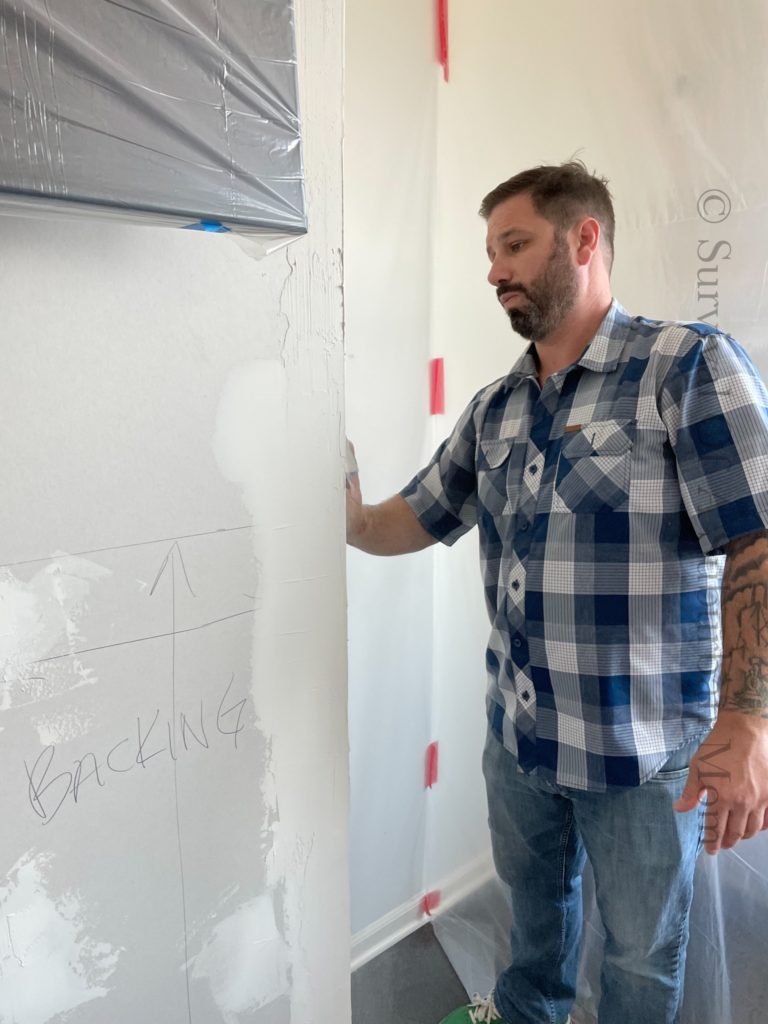
Once the flooring was ripped up, it was time for the frame. All of the framing was built on the studs, so we wouldn’t have to worry about weight issues. Framing took about a day, and then we started drywall.

Dry wall
We used Sheetrock to incase the framing. And had the electric hard wired. We used joint compound , mudding tape, as well as corner beading to take care of any seems or corners.
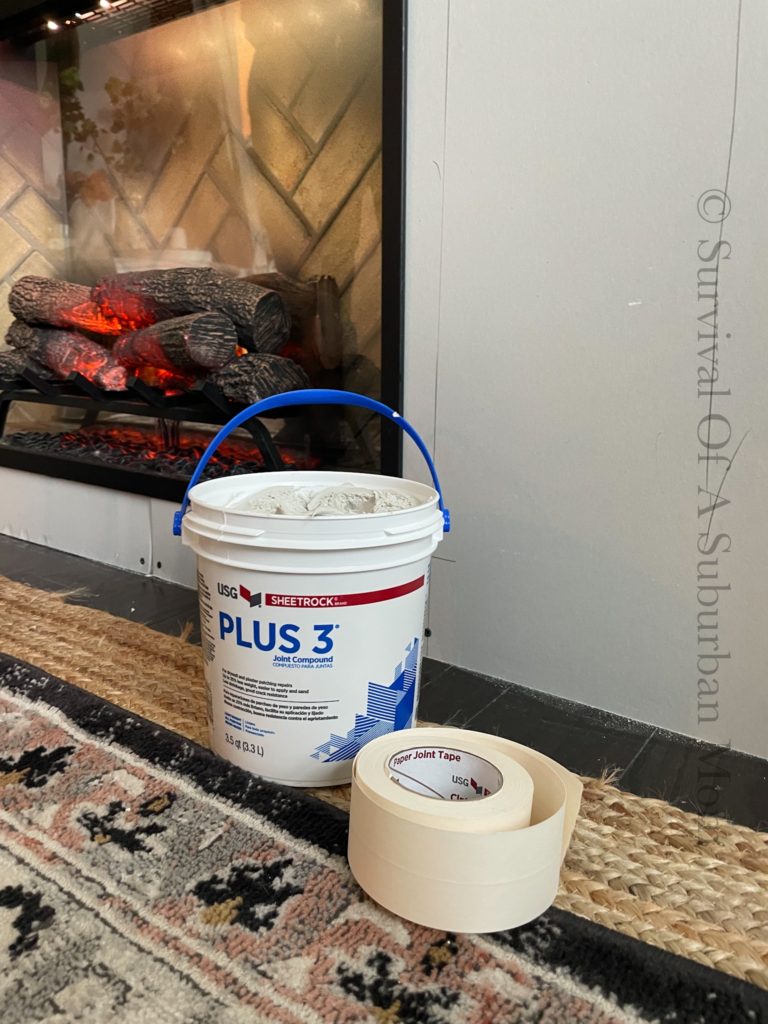
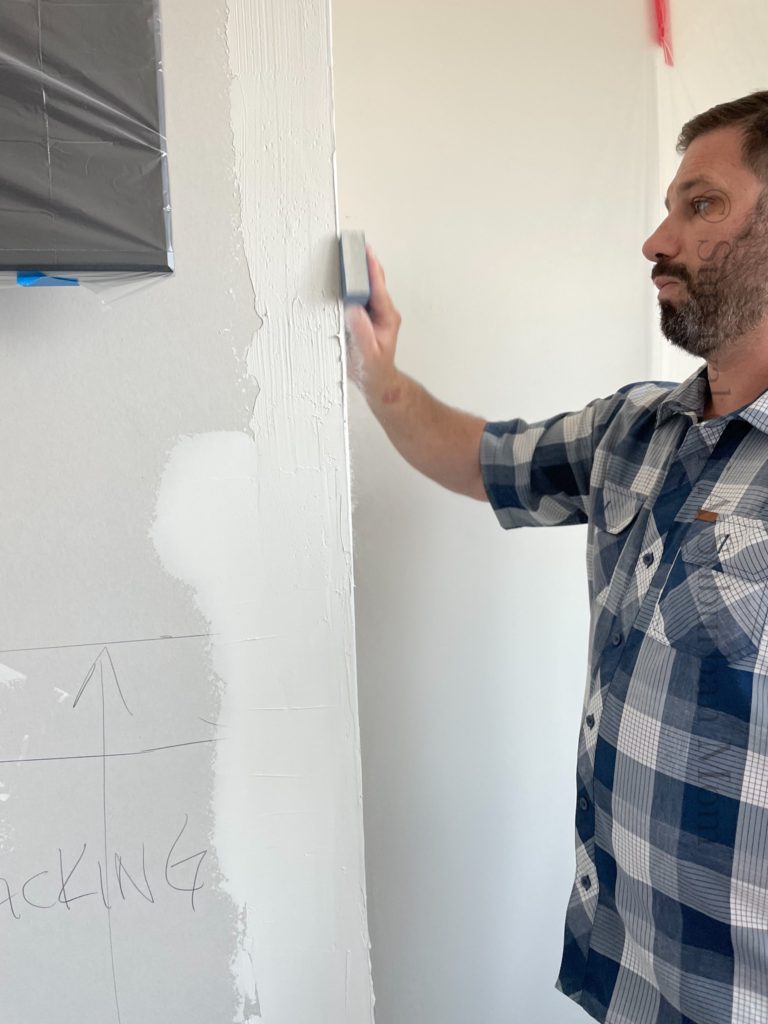
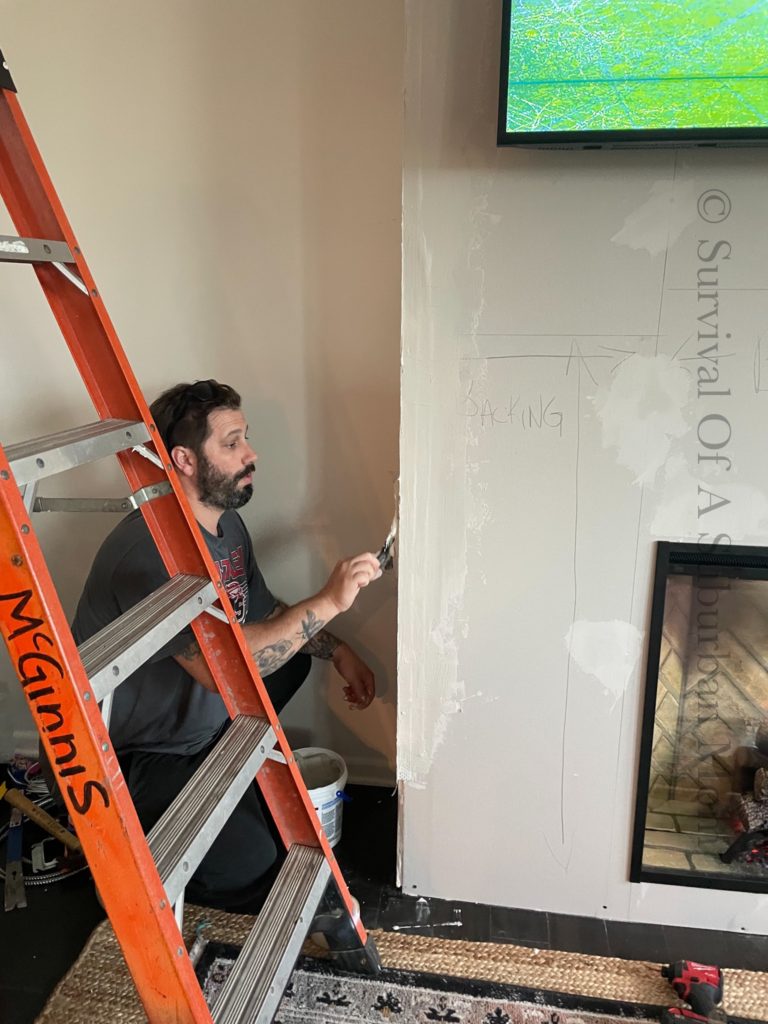
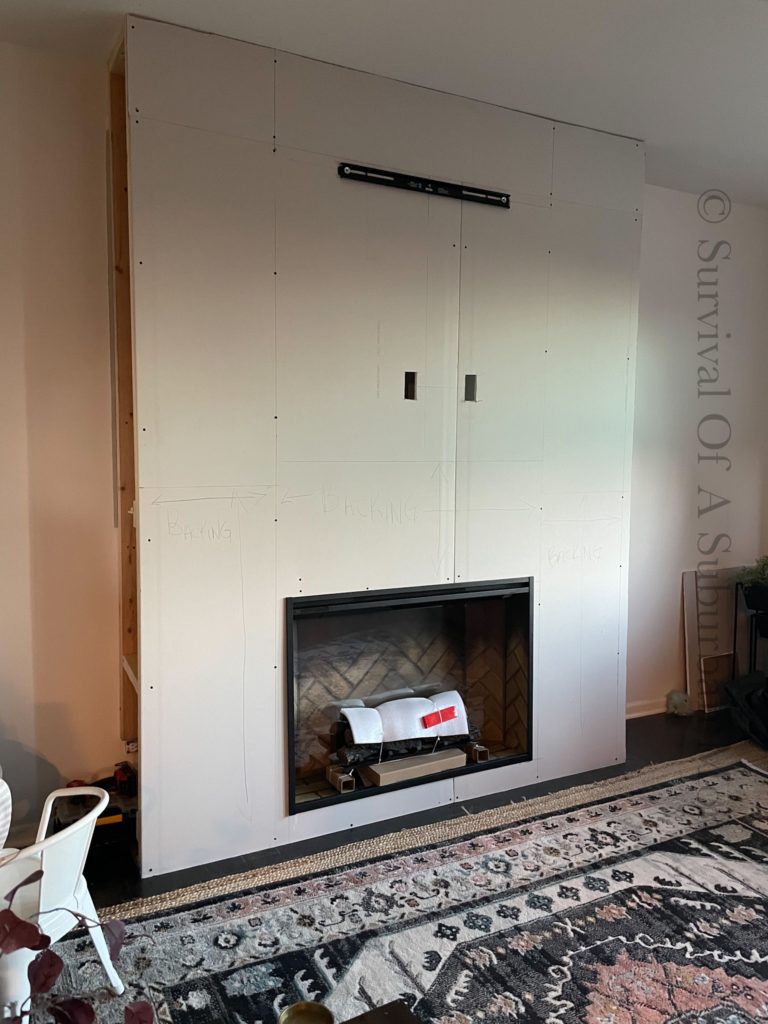
When the joint compound dried it was time to sand it all down. Then we painted two coats of sherwin William Marshmallow.
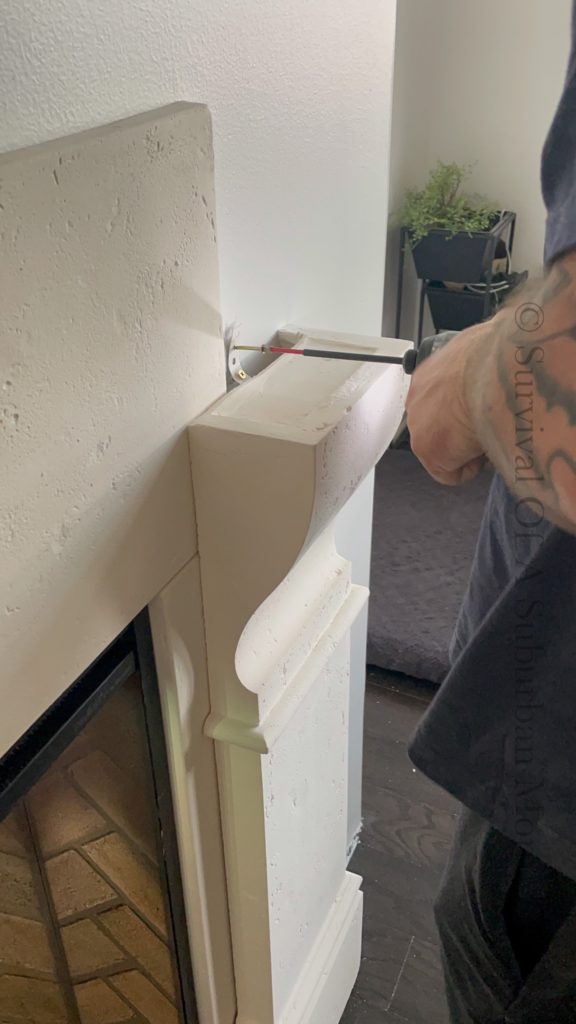
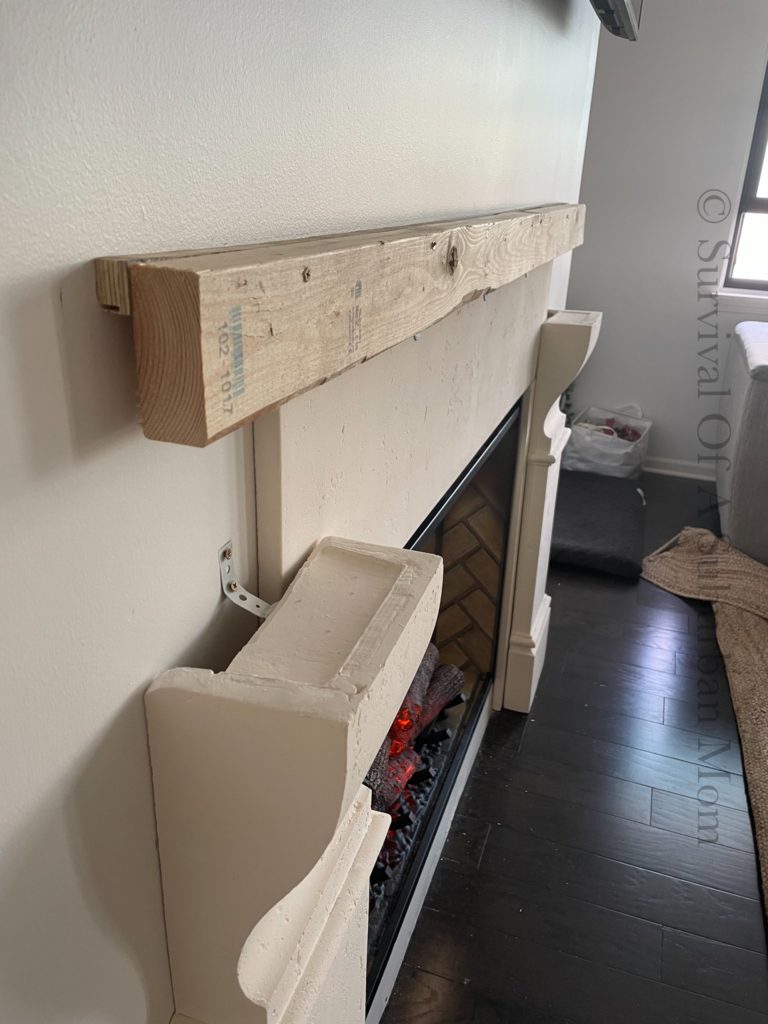
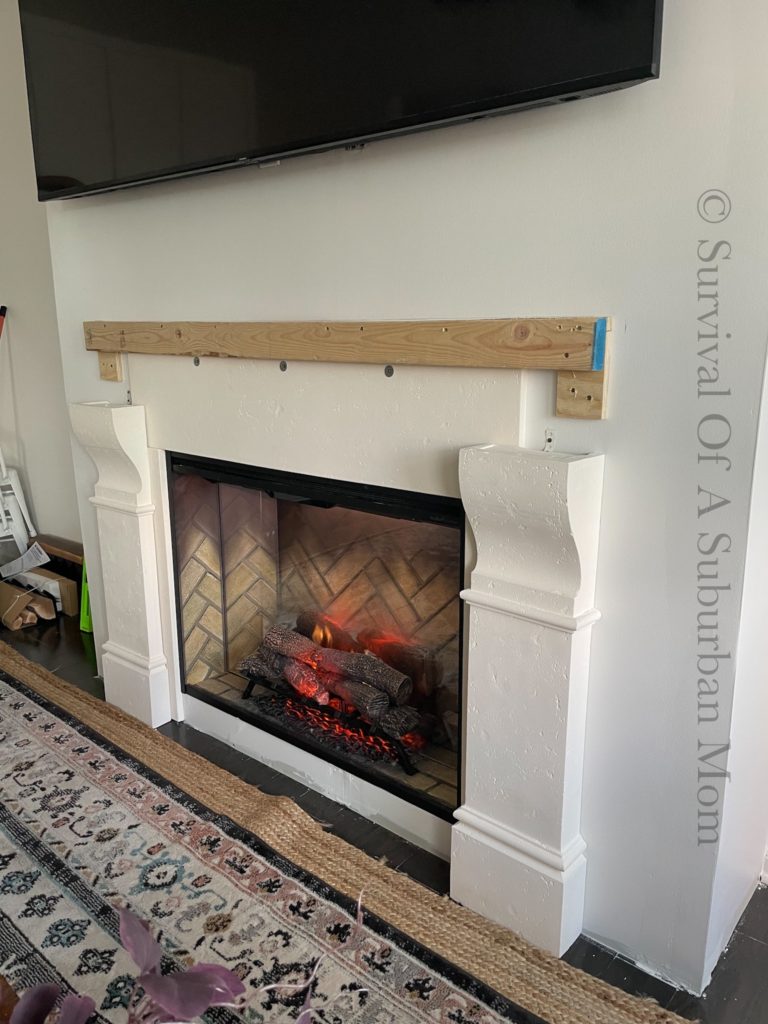
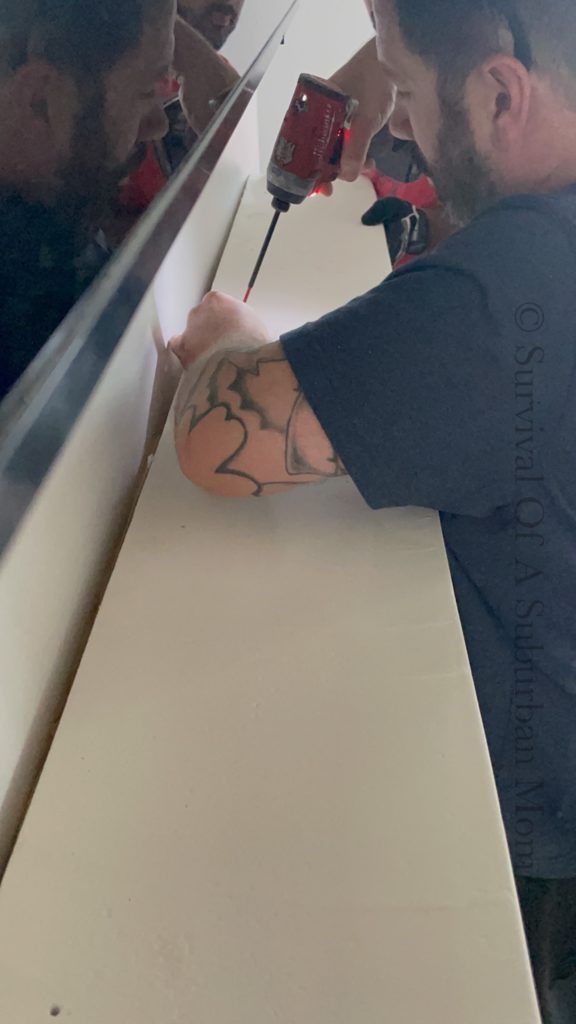
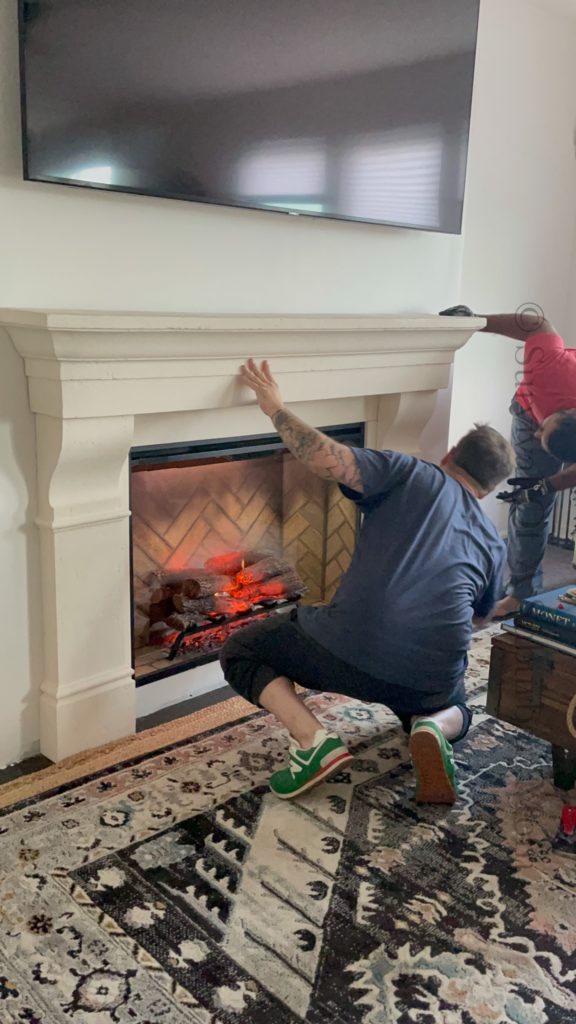
Mantel and Surround install
The mantel and surround were so much easier than I even imagined. Starting with the surround pieces we screwed them to the Sheetrock, and then the legs were screwed on.
After that it was the mantel! We had to have a little help with this part… there was no way I was able to pick it up. So with the help of a neighbor we had it lifted and screwed in!
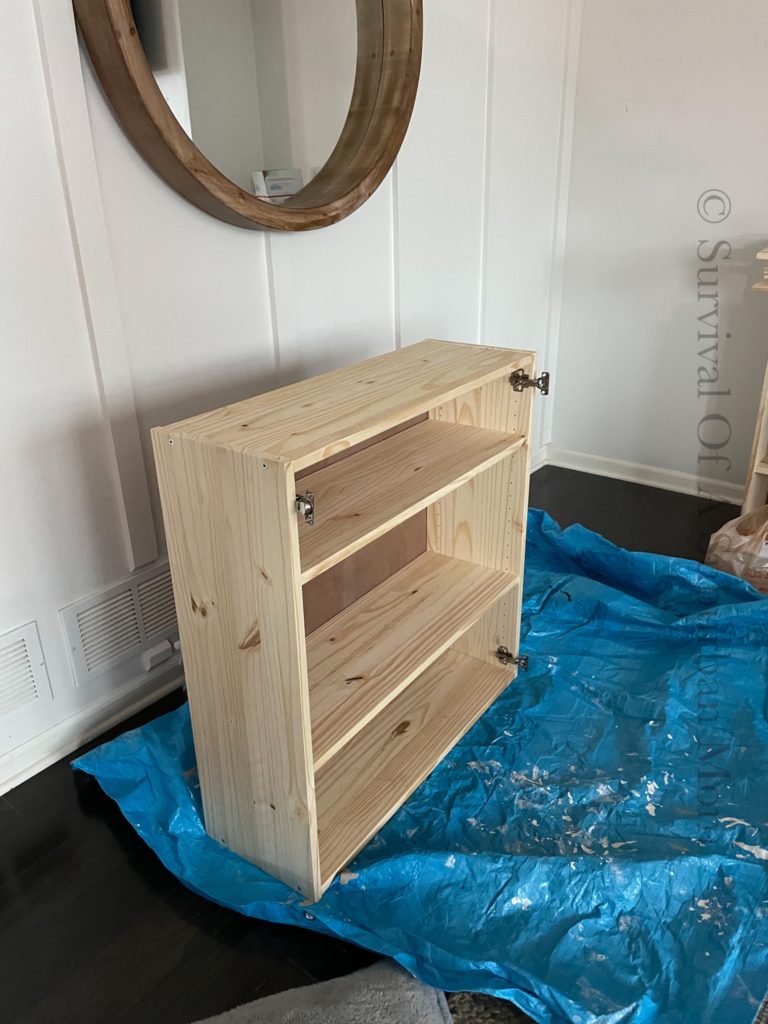
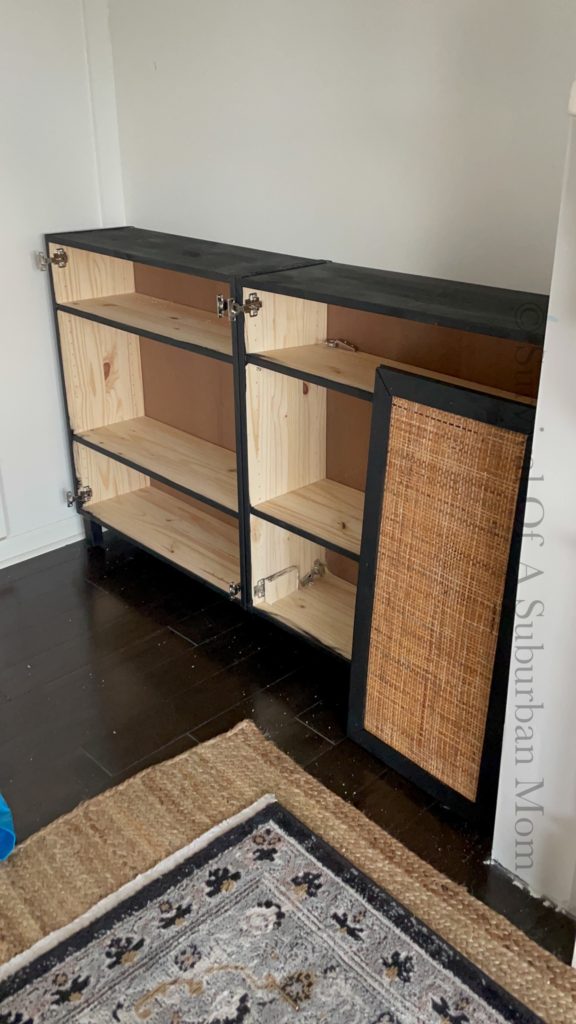
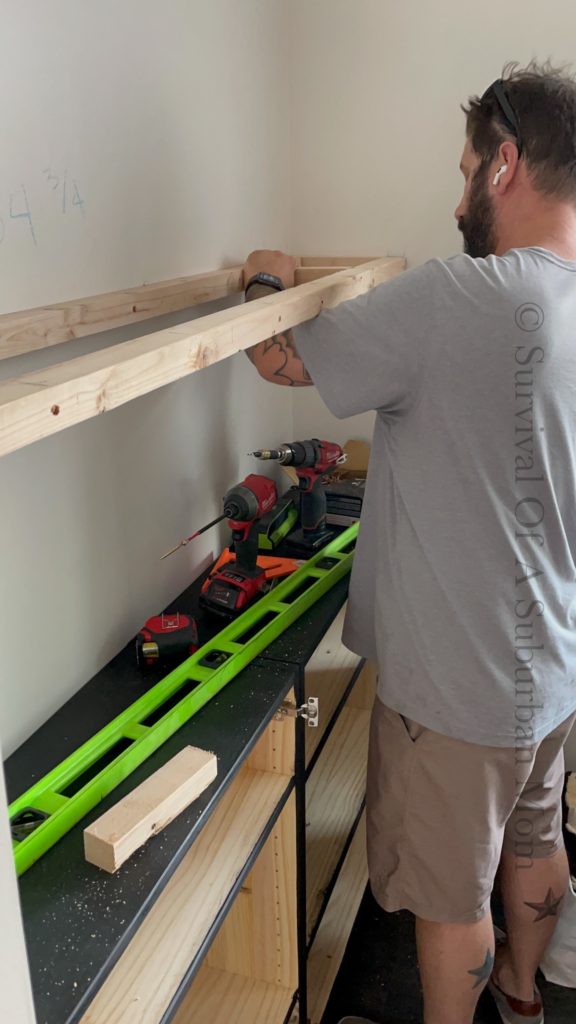
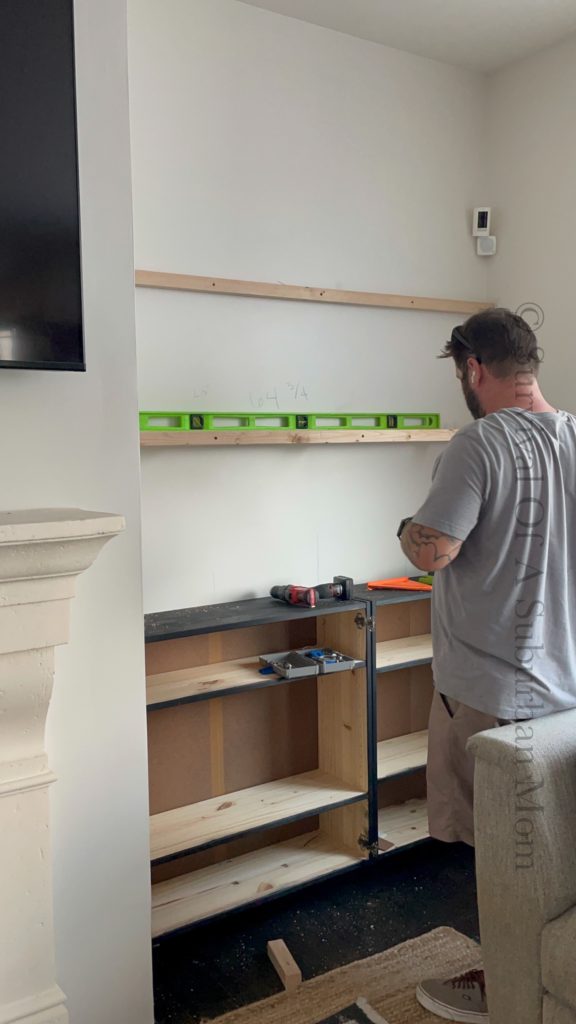
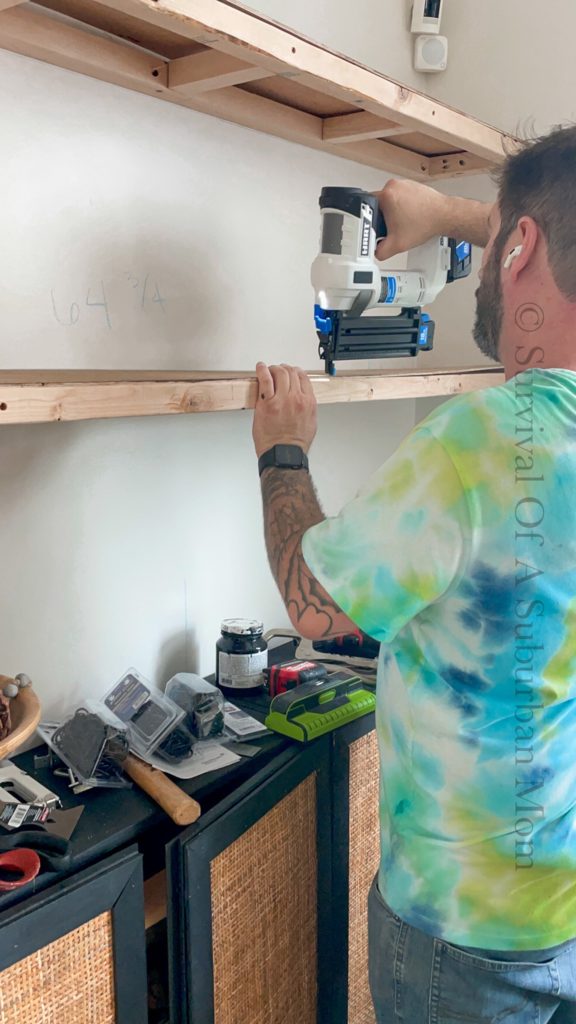
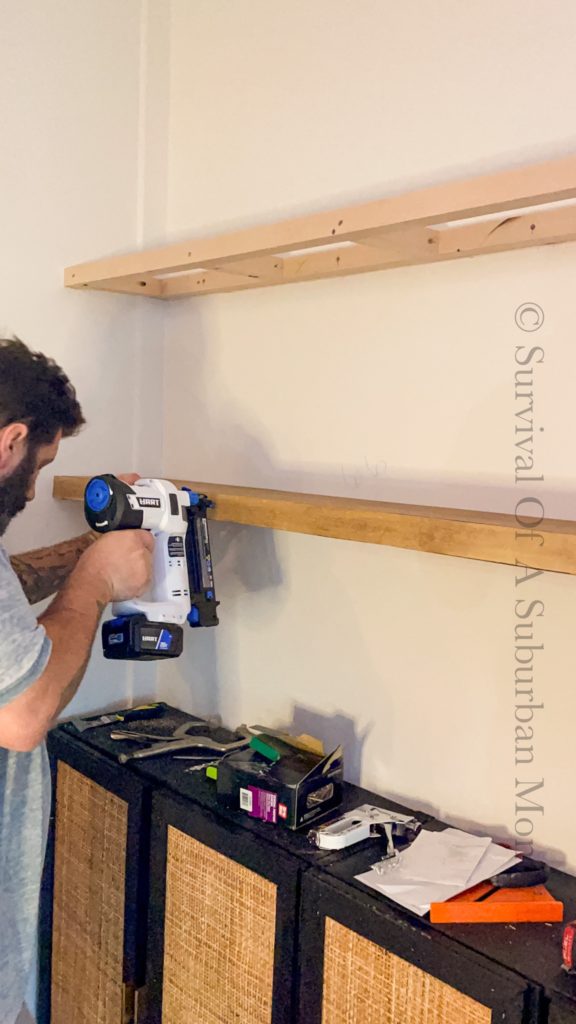
DIY Floating Shelves and cabinets
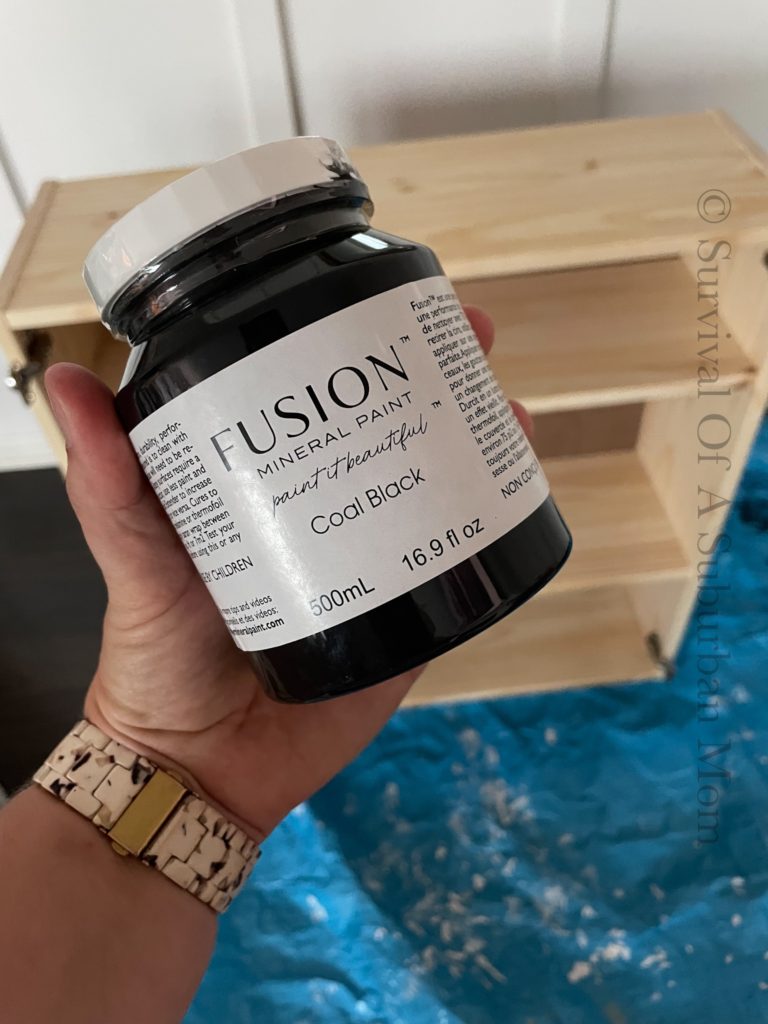
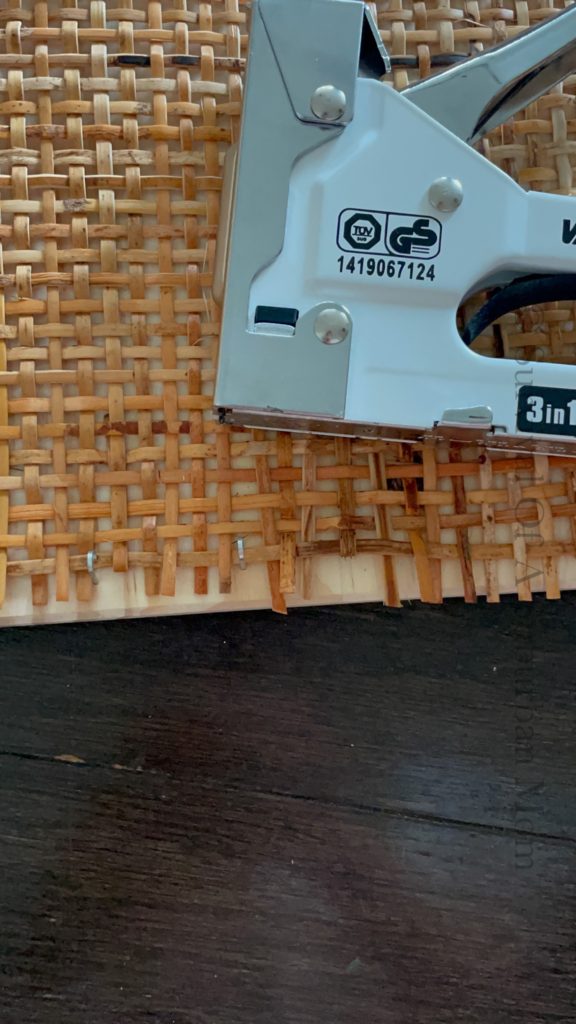
The Cabinets on the side are ikea Ivar cabinets and I ordered some radio weave can webbing to adhere to the front. Then trimmed them out, and added some legs
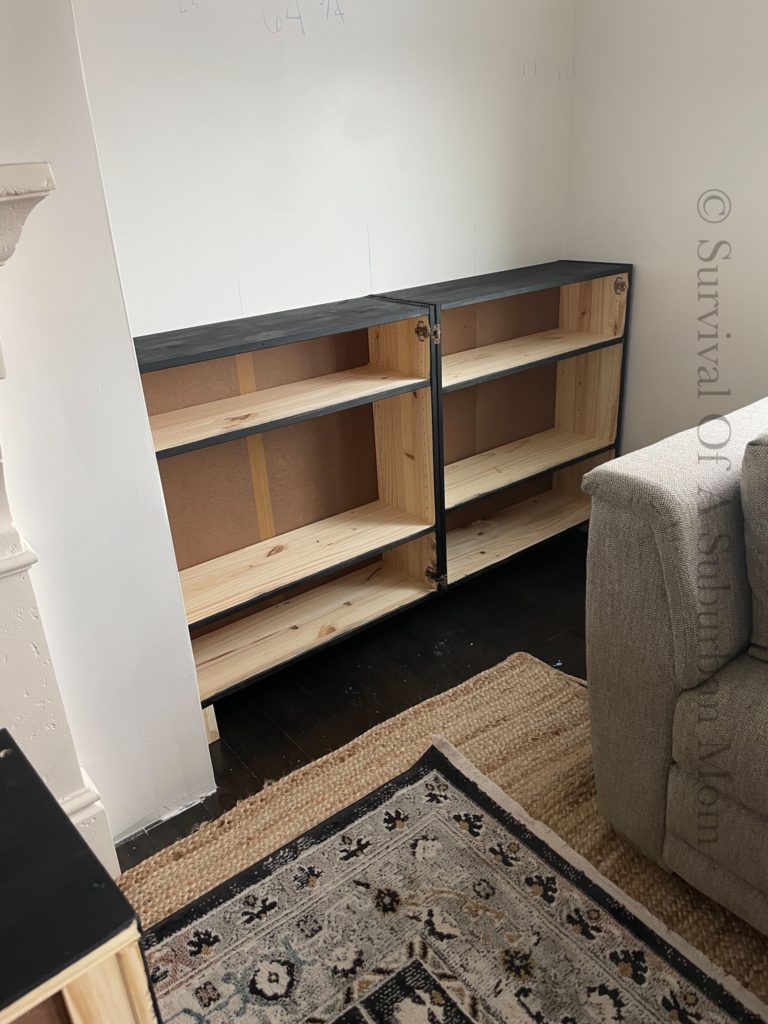
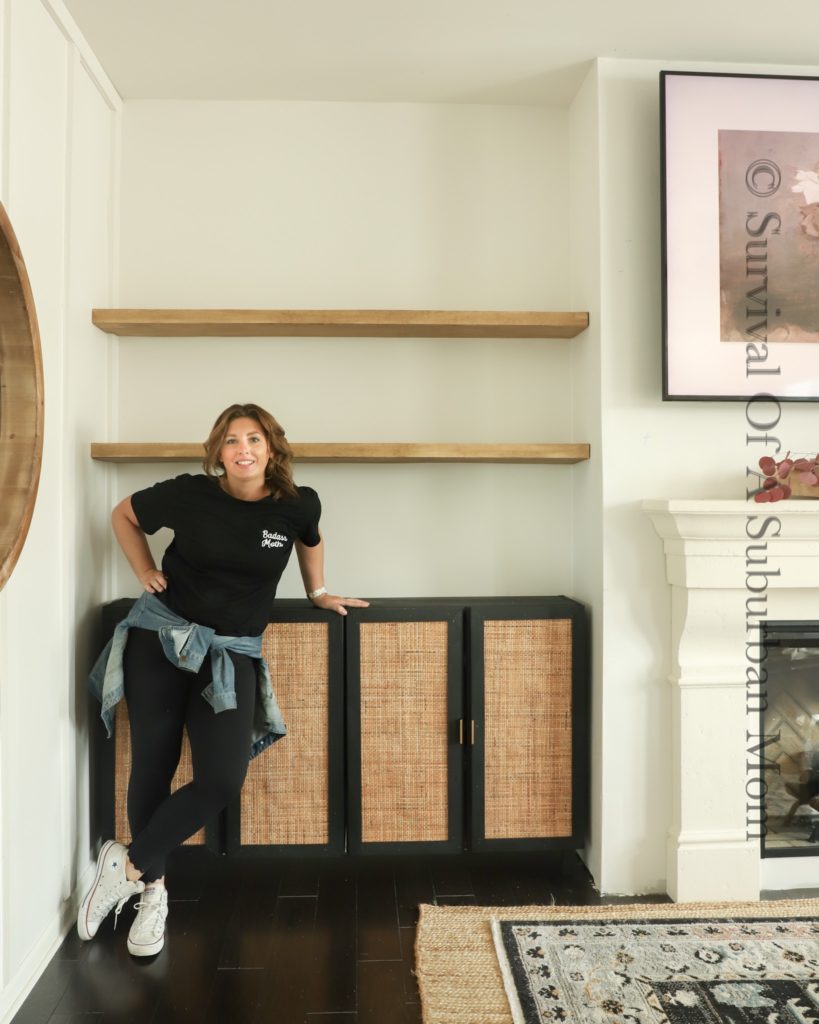
The shelves we built by ripping down 2×4’s and making frames. Once the frames were done we took plywood(underlayment) and cut it down to size. Using the nail gun we nailed the play wood to the frames.
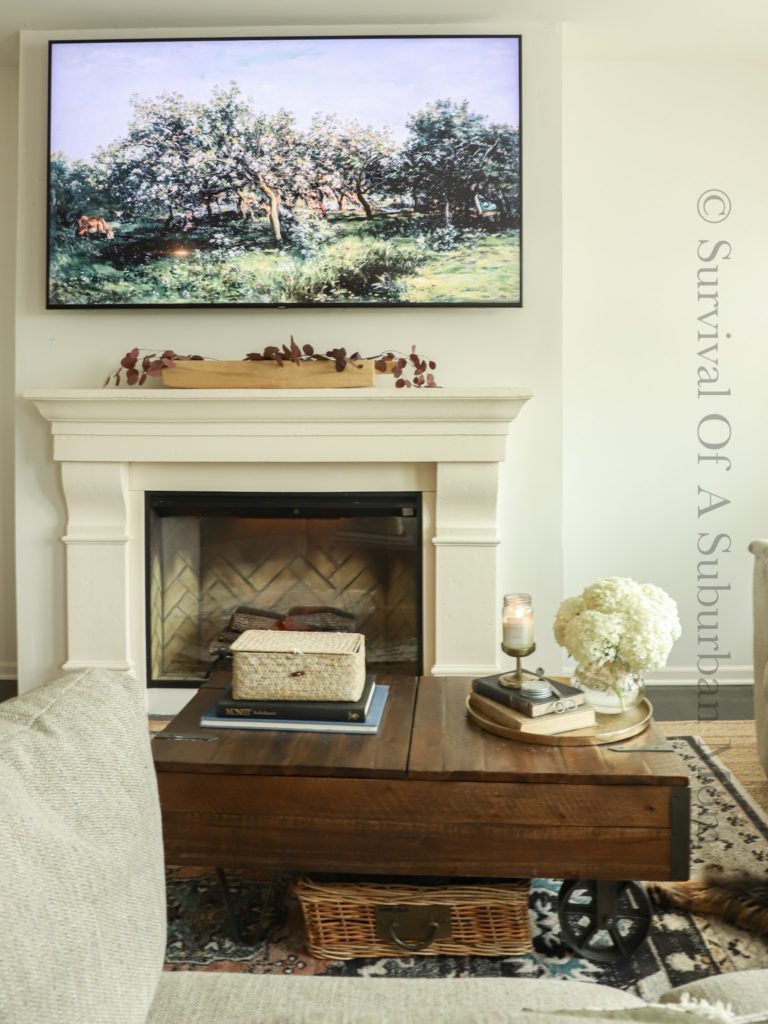
The Final Result
I am so over the moon with this space! It’s so crazy how much the entire room changed, and feels so inviting. I couldn’t thank Modern Blaze enough for this opportunity to partner with them! Just in time to cozy up in the chillier days ahead