DIY Kids Office Space
Where do I begin!! We’re day five into remote learning and it’s a wild ride!! When I got the news about a month ago, that we would be going back to school remotely, I immediately felt overwhelmed… if I could feel anymore overwhelmed! I knew I needed to get us ready, and organized for back to school, even if it was going to look a lot different this year.
My first thought was where were we going to set up and be comfortable. A place where the kids would not be distracted easily, but I could jump in to help, if needed. I ended up choosing the basement, since my office is down there, I knew (or hoped) I could get some office work done while they were learning. While giving myself the perfect opportunity to clean out a neglected, disorganized corner down there.
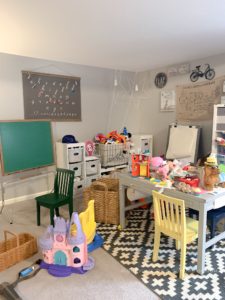
Now that our location had been pinpointed, how, and what was I going to do? At first I tried to move a few things around, hang some new lights, but it wasn’t cutting it. I did some research, created a budget, and found the IVAR cabinets at Ikea, which worked out great since I gave myself a $300 budget (since we didn’t need as many back to school items, and clothes, and shoes, it worked itself out!)
Painting
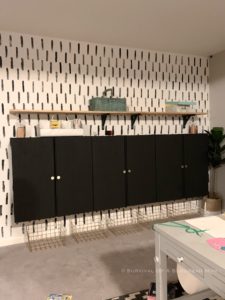
Cleaning out this corner, and moving everything across the room, and then time to paint!!! I spent $23 on a gallon of Sherwin Williams Alabaster, and I had some of the Sherwin Williams Tricorn Black left over from another project. A Simple coat, well actually two, coats of the Alabaster and it already looked like a new space!
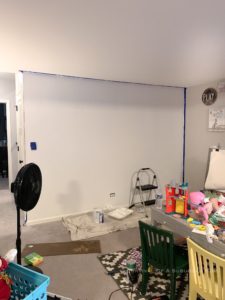
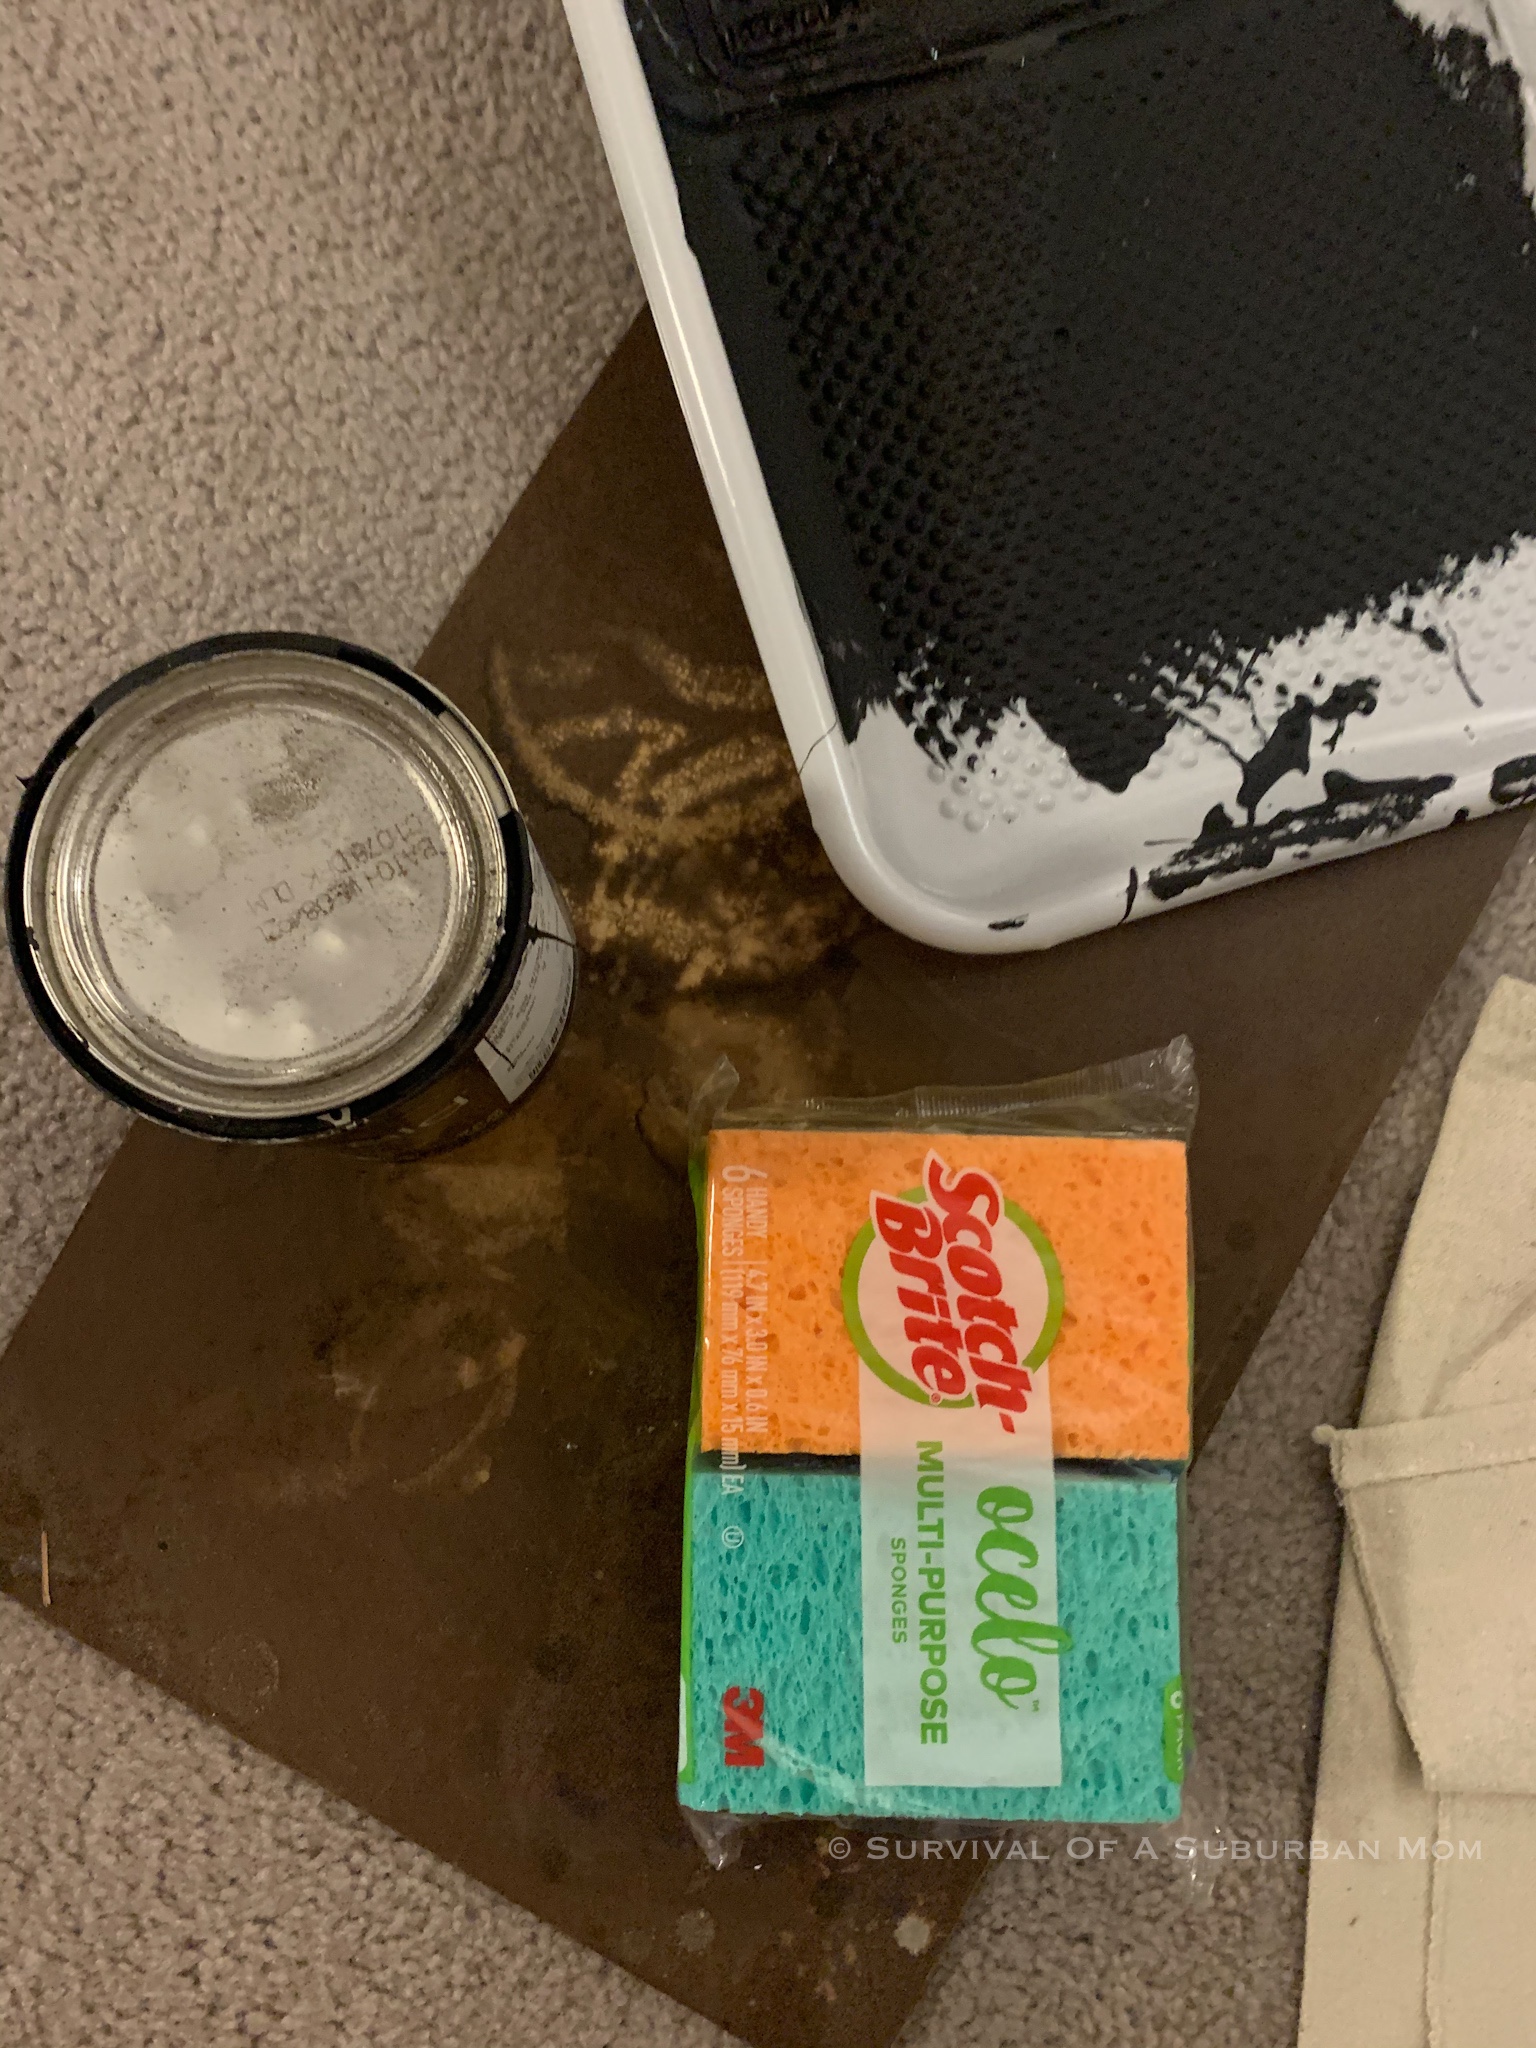
Then it was time for sponge painting, I’m not going to lie, I was intimidated. Cutting the edges of the sponge, to make it a little bit rounded. Next dipping the sponge in the paint doing a few practice dabs on a scrap piece of wood. Once I got a feel for it, I set up the laser level to make the first row at top straight. From there it was a piece of cake!

Cabinets
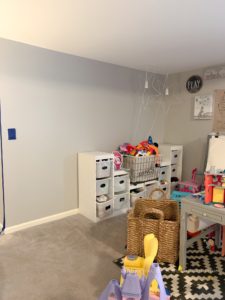
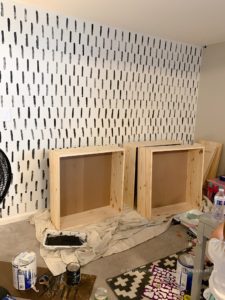
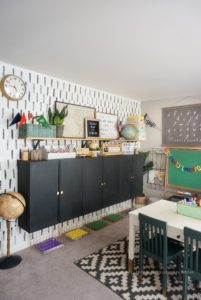
I picked three of the IVAR cabinets up from Ikea and they were $70 dollars per cabinet, which was the most expensive part of the whole update. I assembled them, and painted them the Tricorn Black by Sherwin Williams. Once they were painted and dried, I applied finishing wax to seal them. What I liked about the IVAR cabinets is that ikea gives the option to let them be footing cabinets. Following the painting and sealing we got them hung on the wall, just above the electrical outlet.
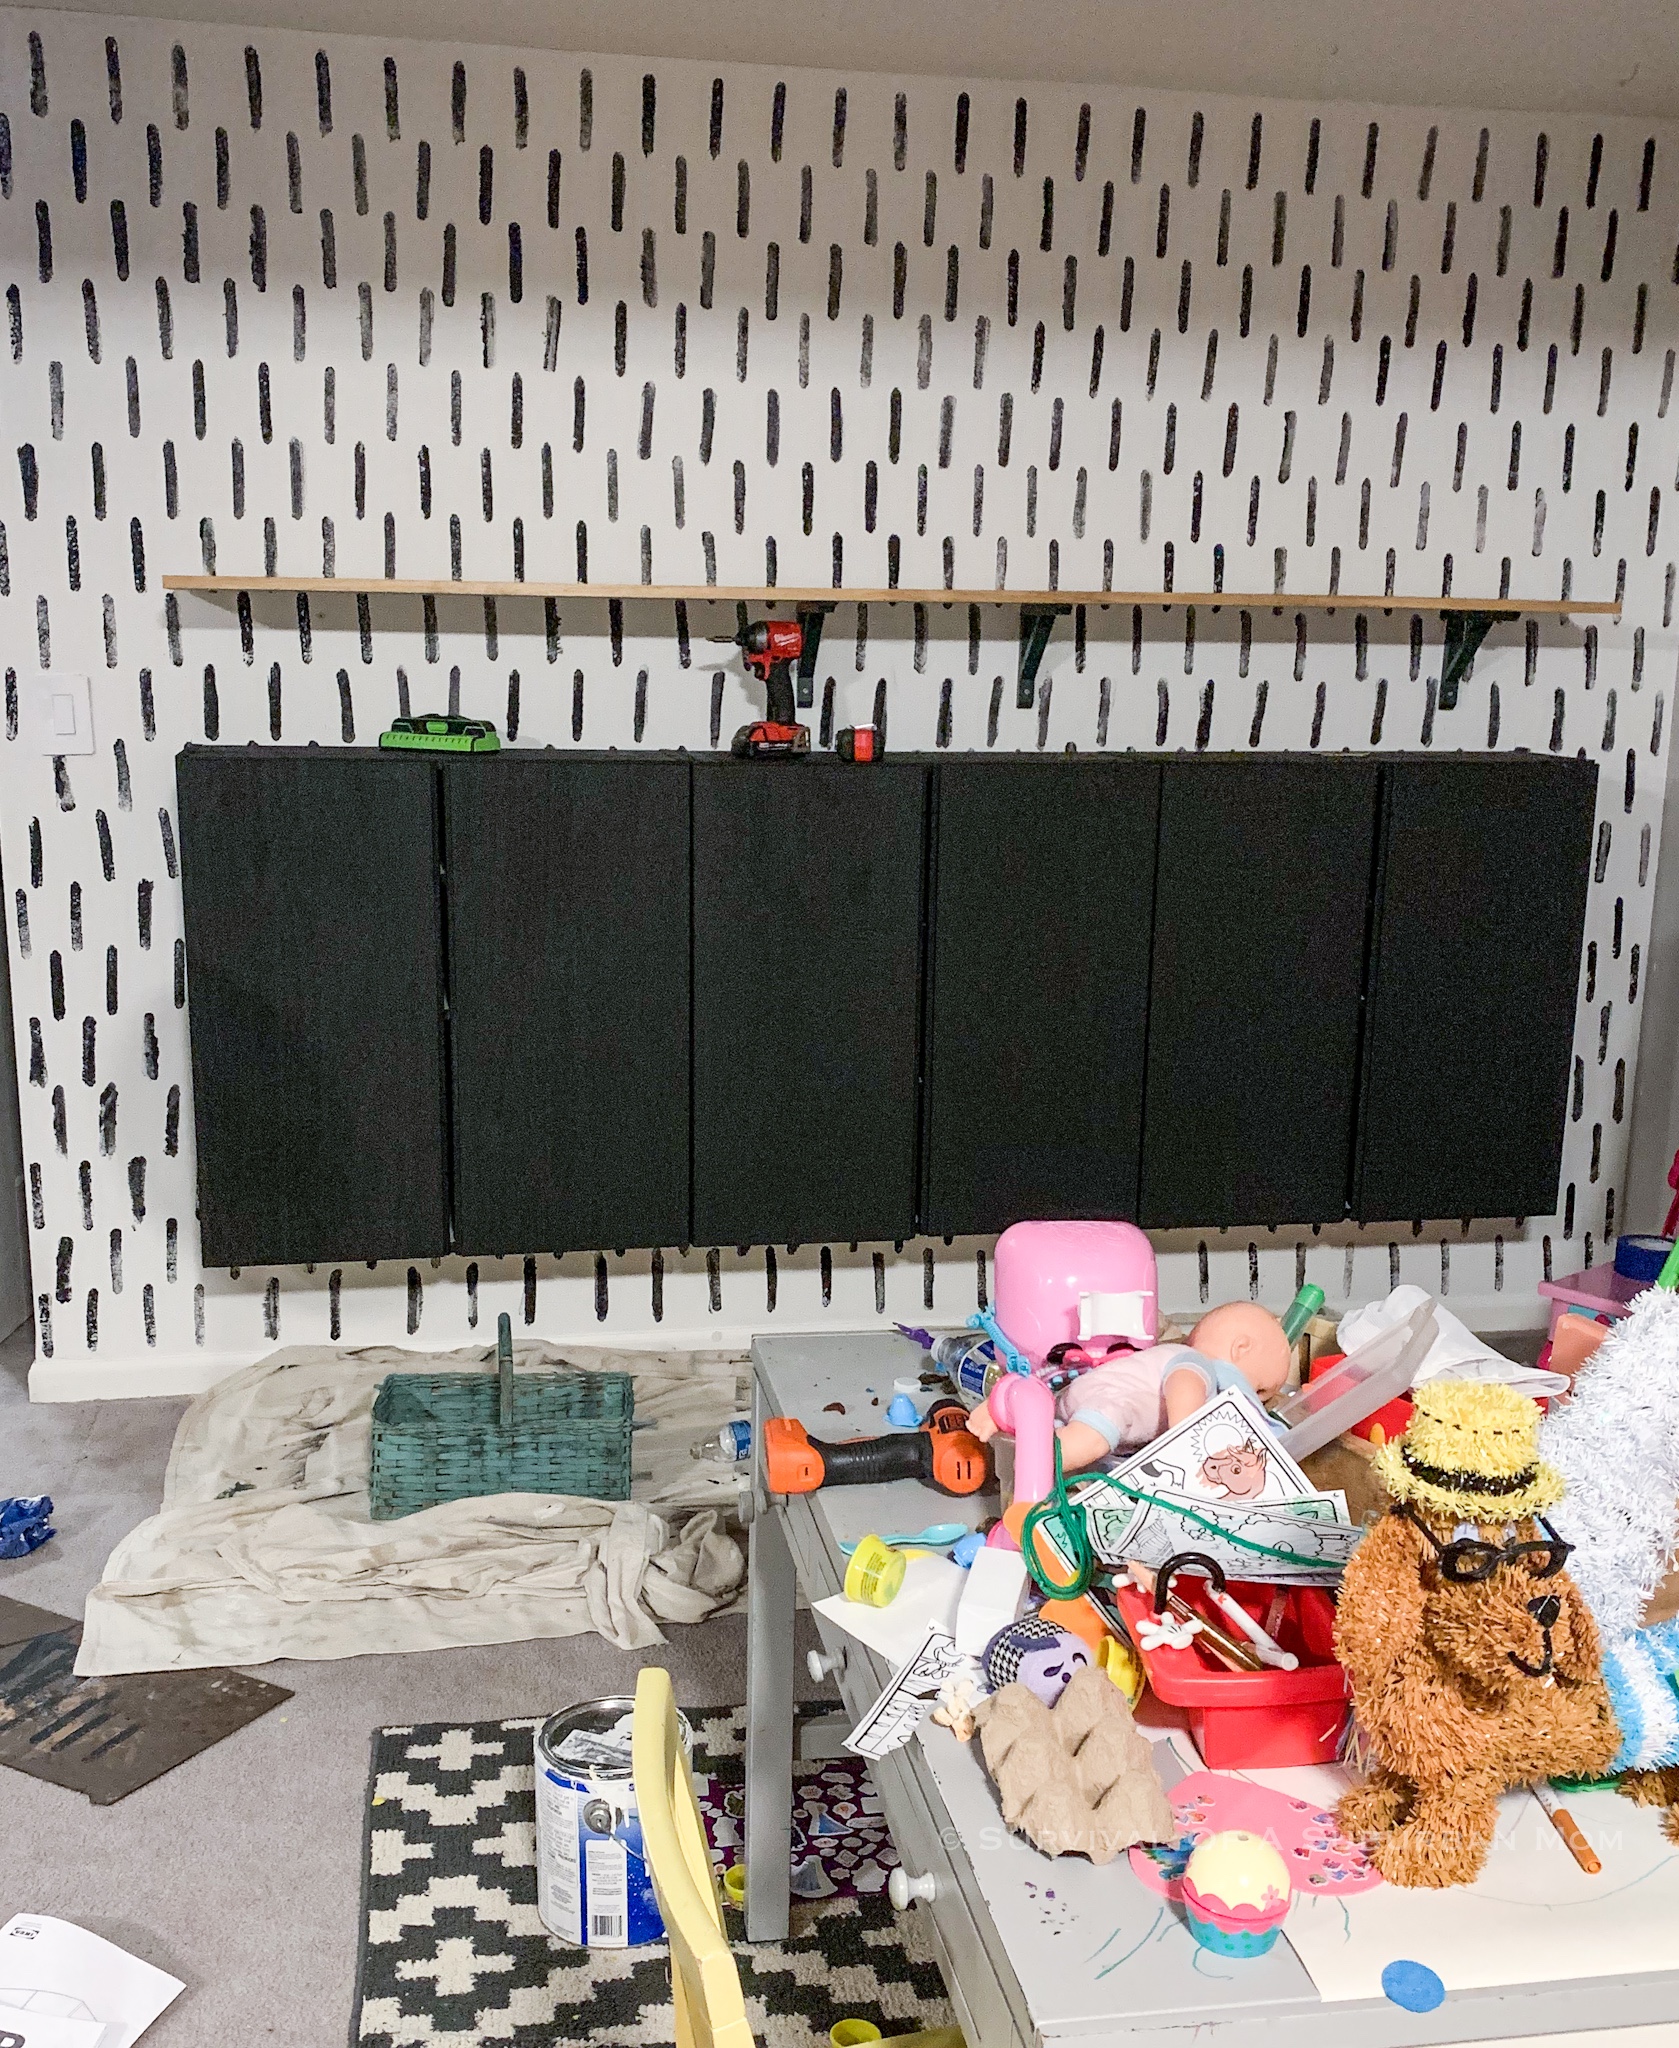
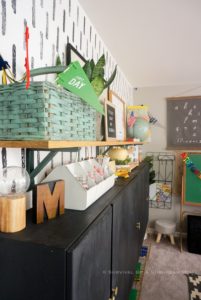
The finishing touches, before decor of course! The shelf which is just a 1×10 common board cut to the length we needed, and I stained using Golden oak. To secure the wood board I picked up four Sandshult brackets from IKEA. Giving them an extra touch I spray painted them hunter green.
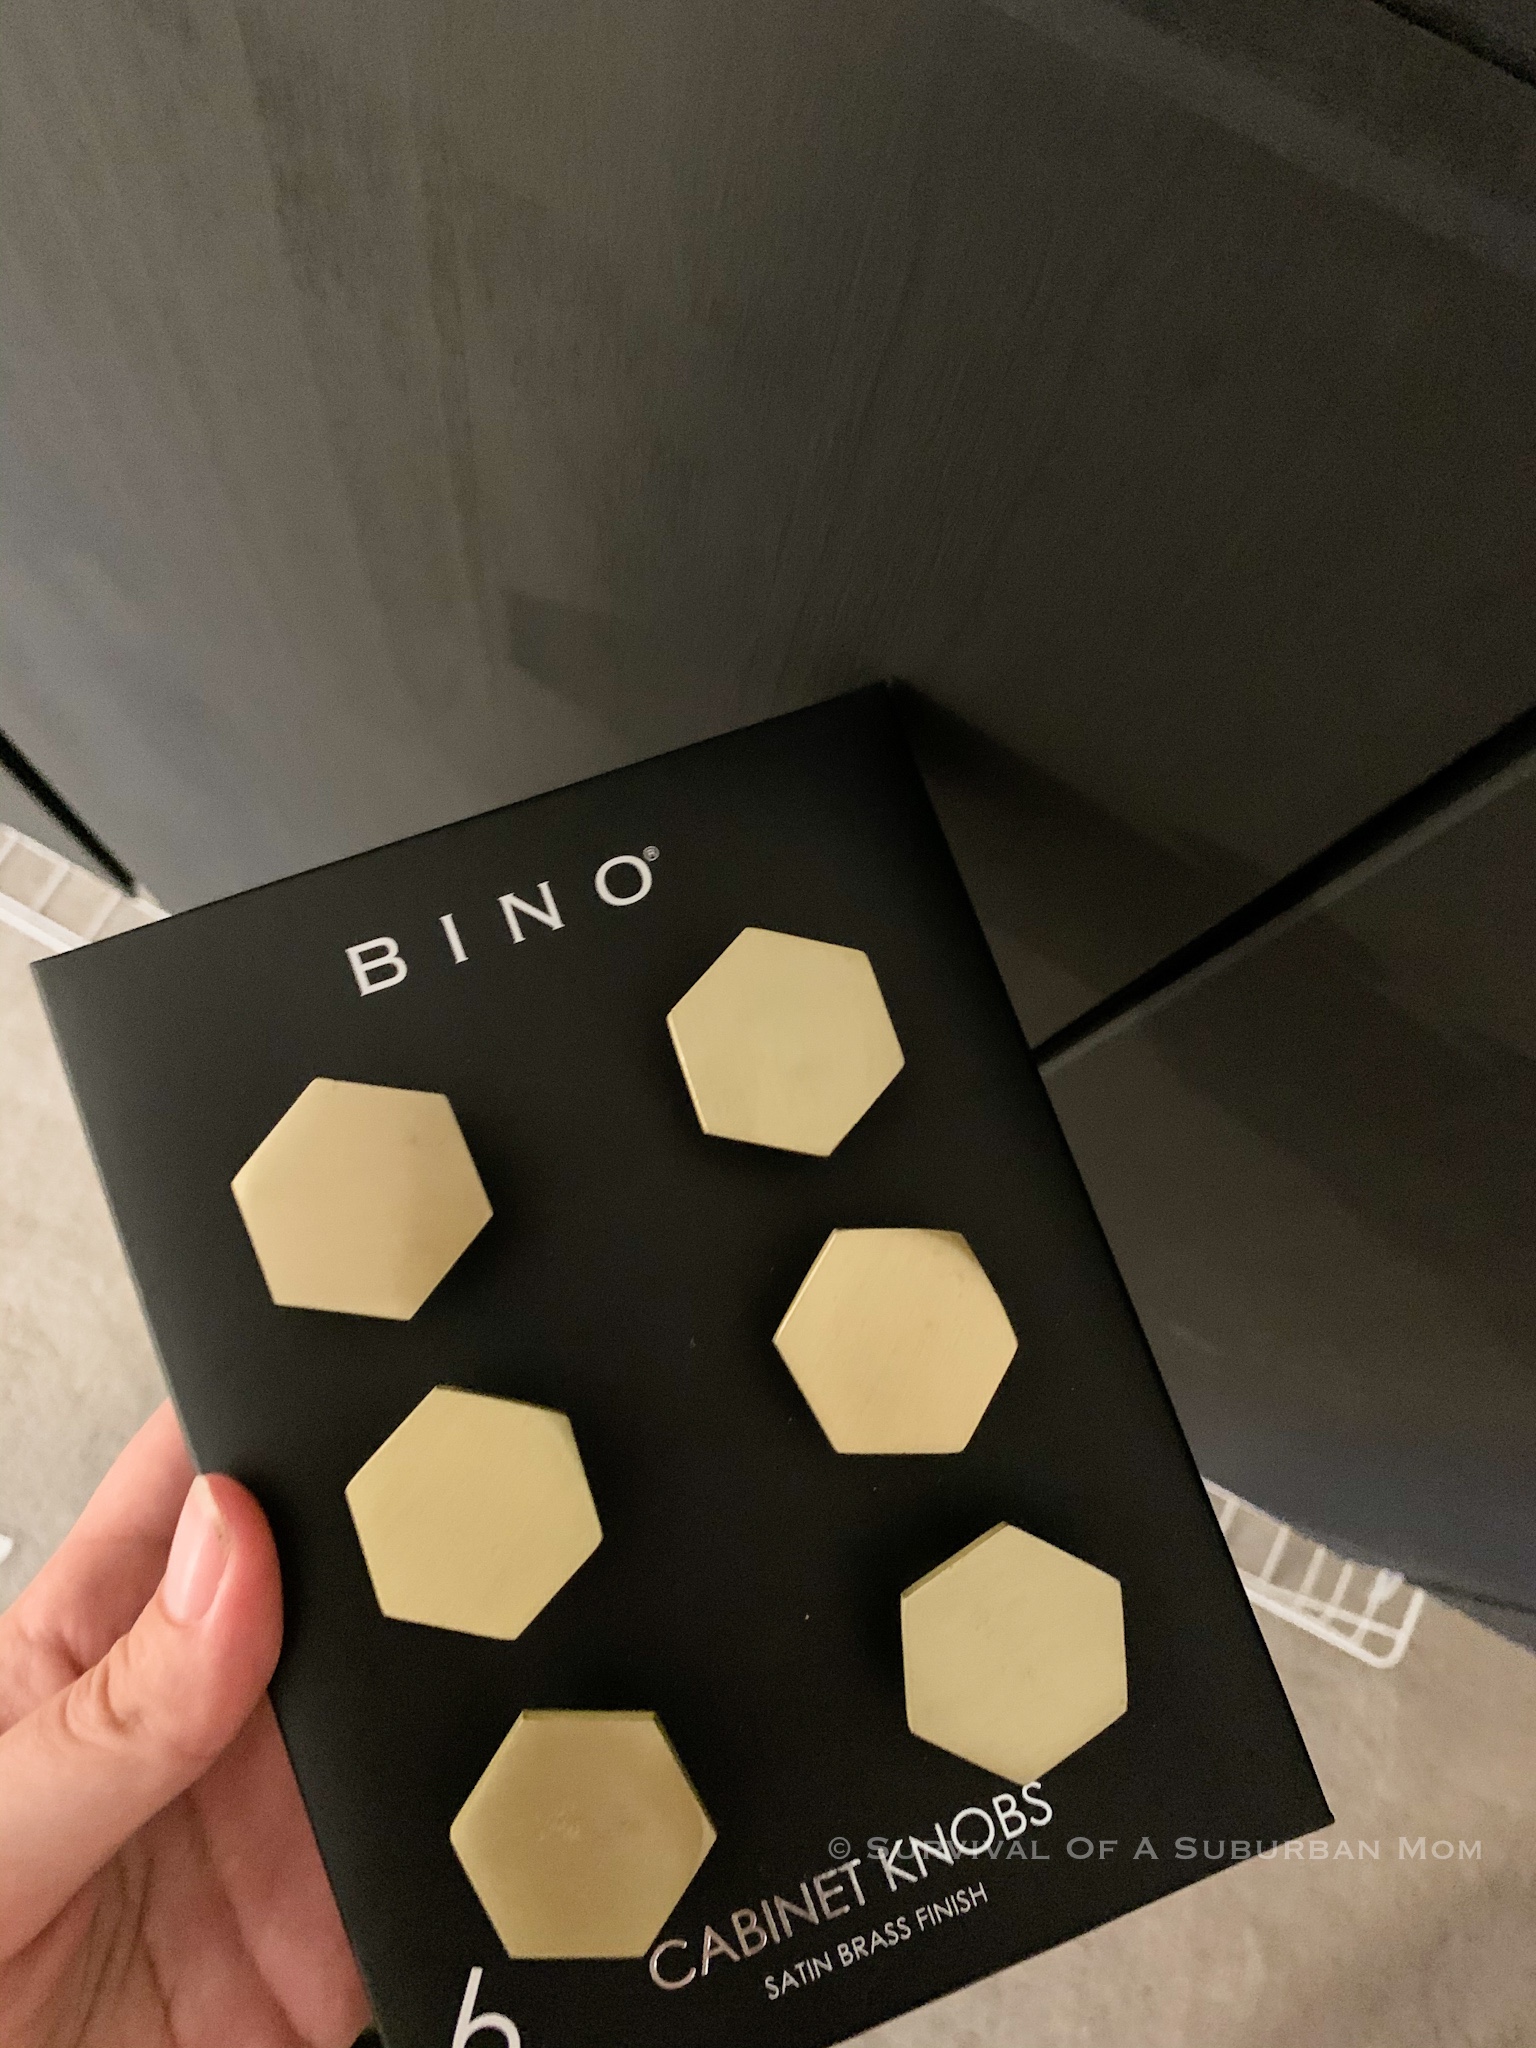
And adding some hardware from amazon, to give the cabinets just a little bit more character
Storage
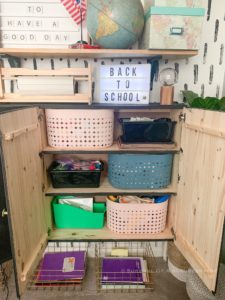
Once the cabinets were hanging, it was time to find some storage baskets to fit inside the cabinets. It took me a few tries, but I ended up lucking out and found ones that fit perfect, from the Target Bullseye Playground. The part I was dreading… going through the neglected toys and actually getting it all organized. Once that was done, we made sure we had room in them for all of our extra school supplies. I ended up finding these white wire baskets at Target, and spray painting them to look metallic. They worked perfect for under the cabinets, to store books, folders, notebooks, etc.
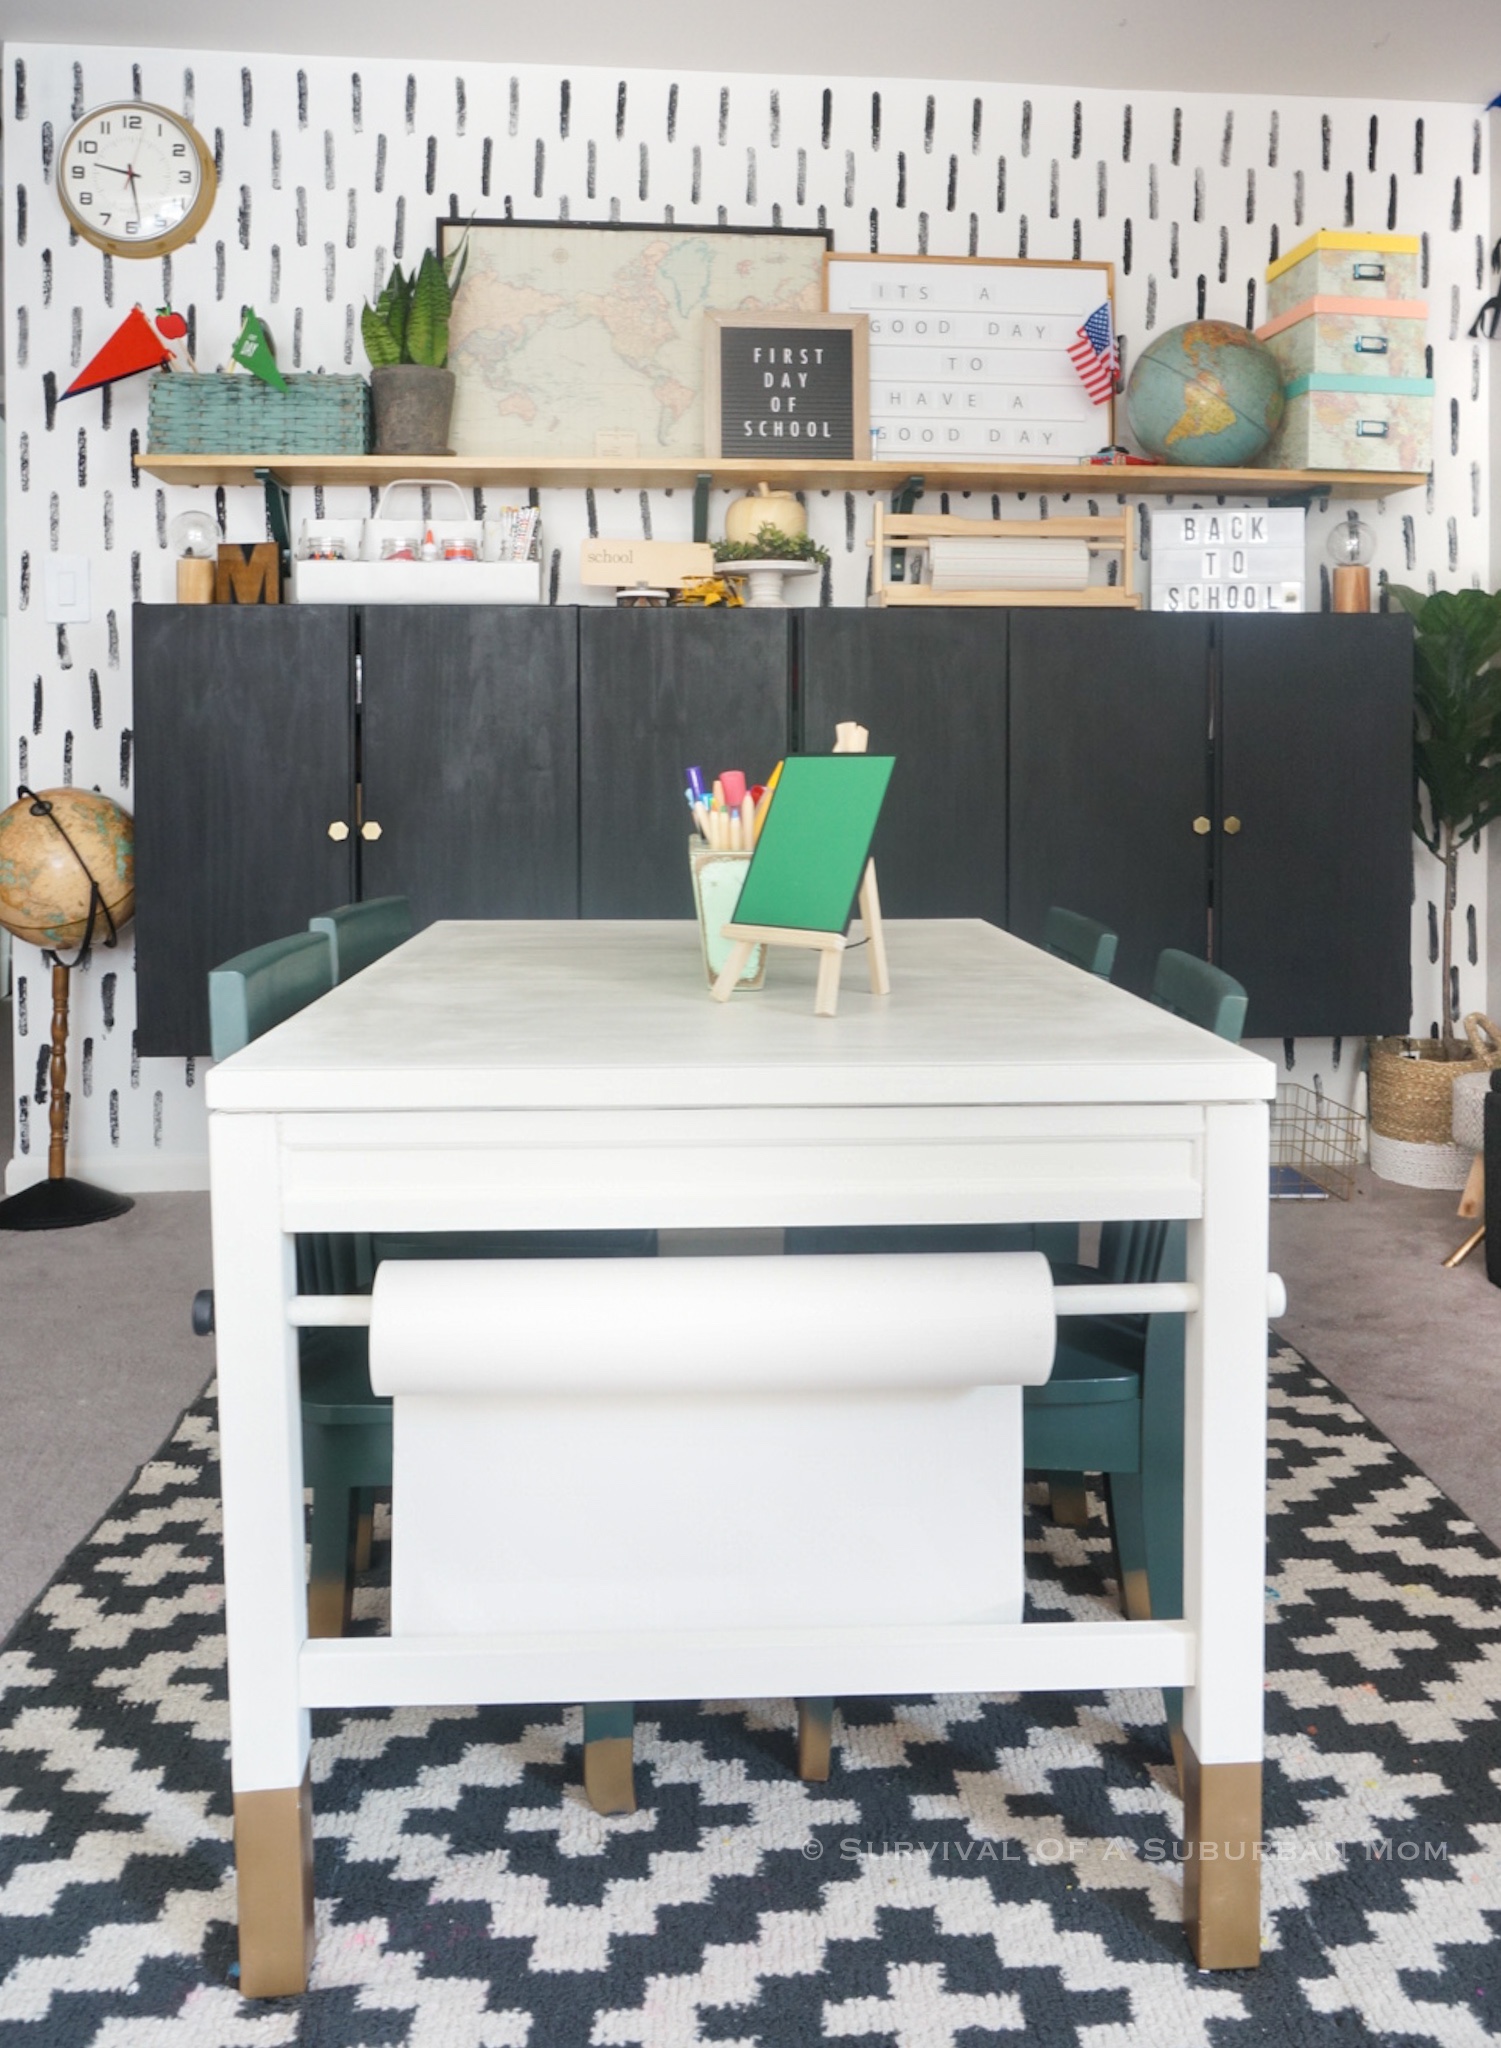
Kids Table
A few years ago, I found this kids table at a thrift store for $35 which was a steal since it was a $300 kids table!! It was blue, but when I got it home I spray painted it grey. Fast forward to the present and about 3 years later it needed a face lift! Using rustoleum chiffon cream I painted the table , and added a little touch by spray painting the legs with rustoleum metallic aged bronze. What a difference it made!!!
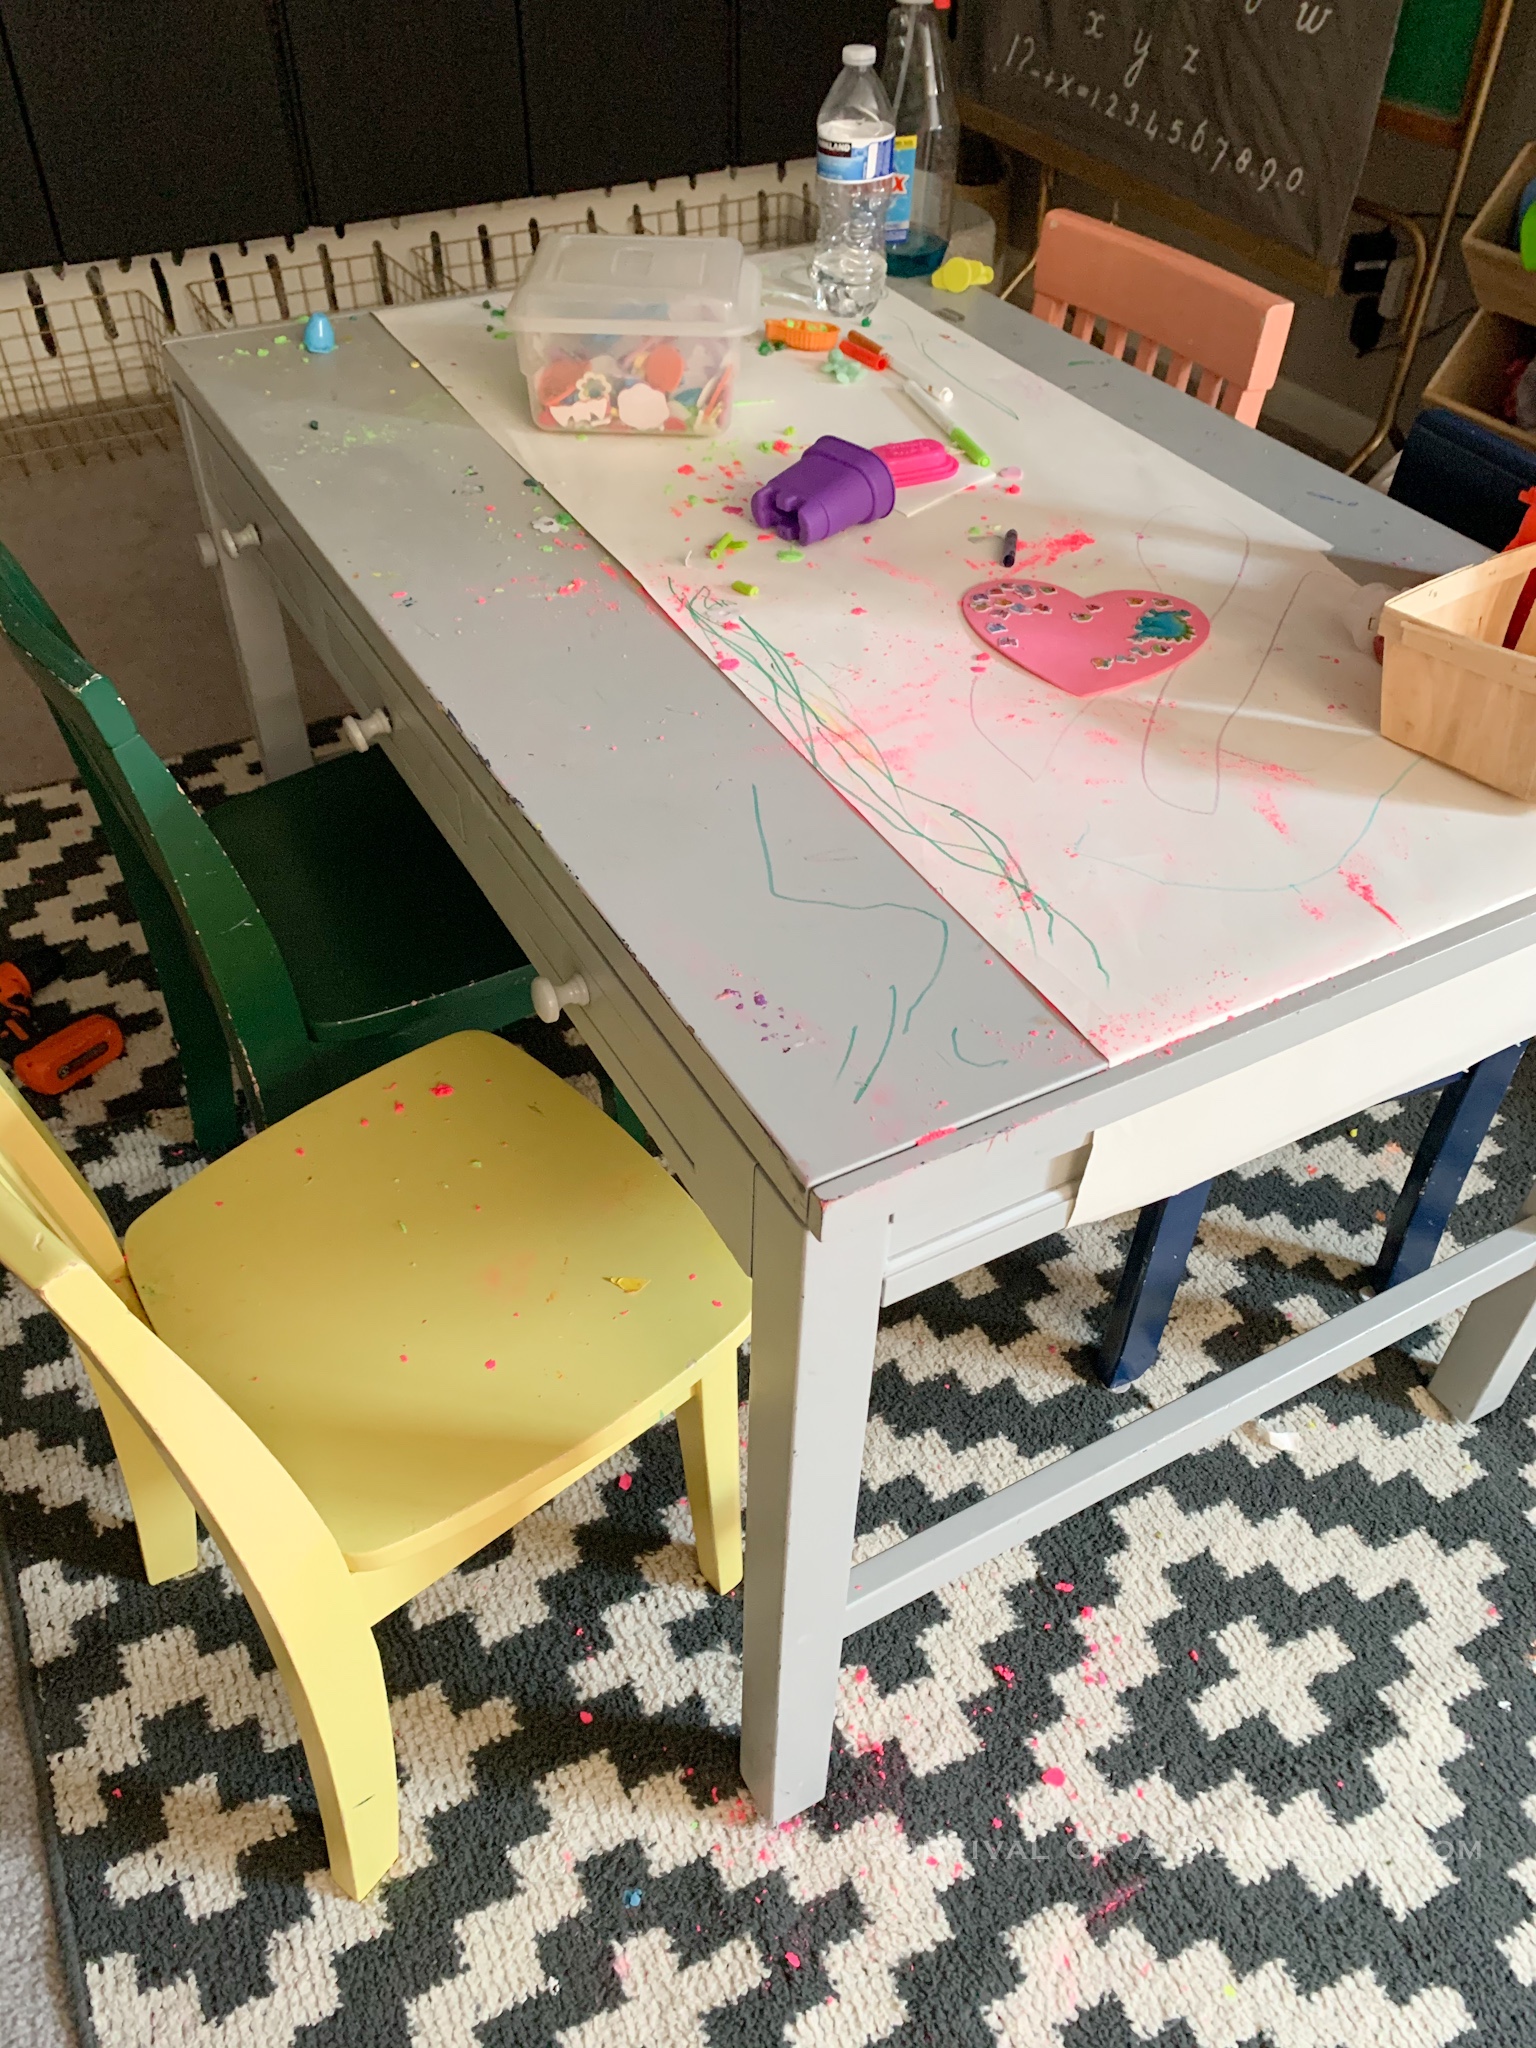
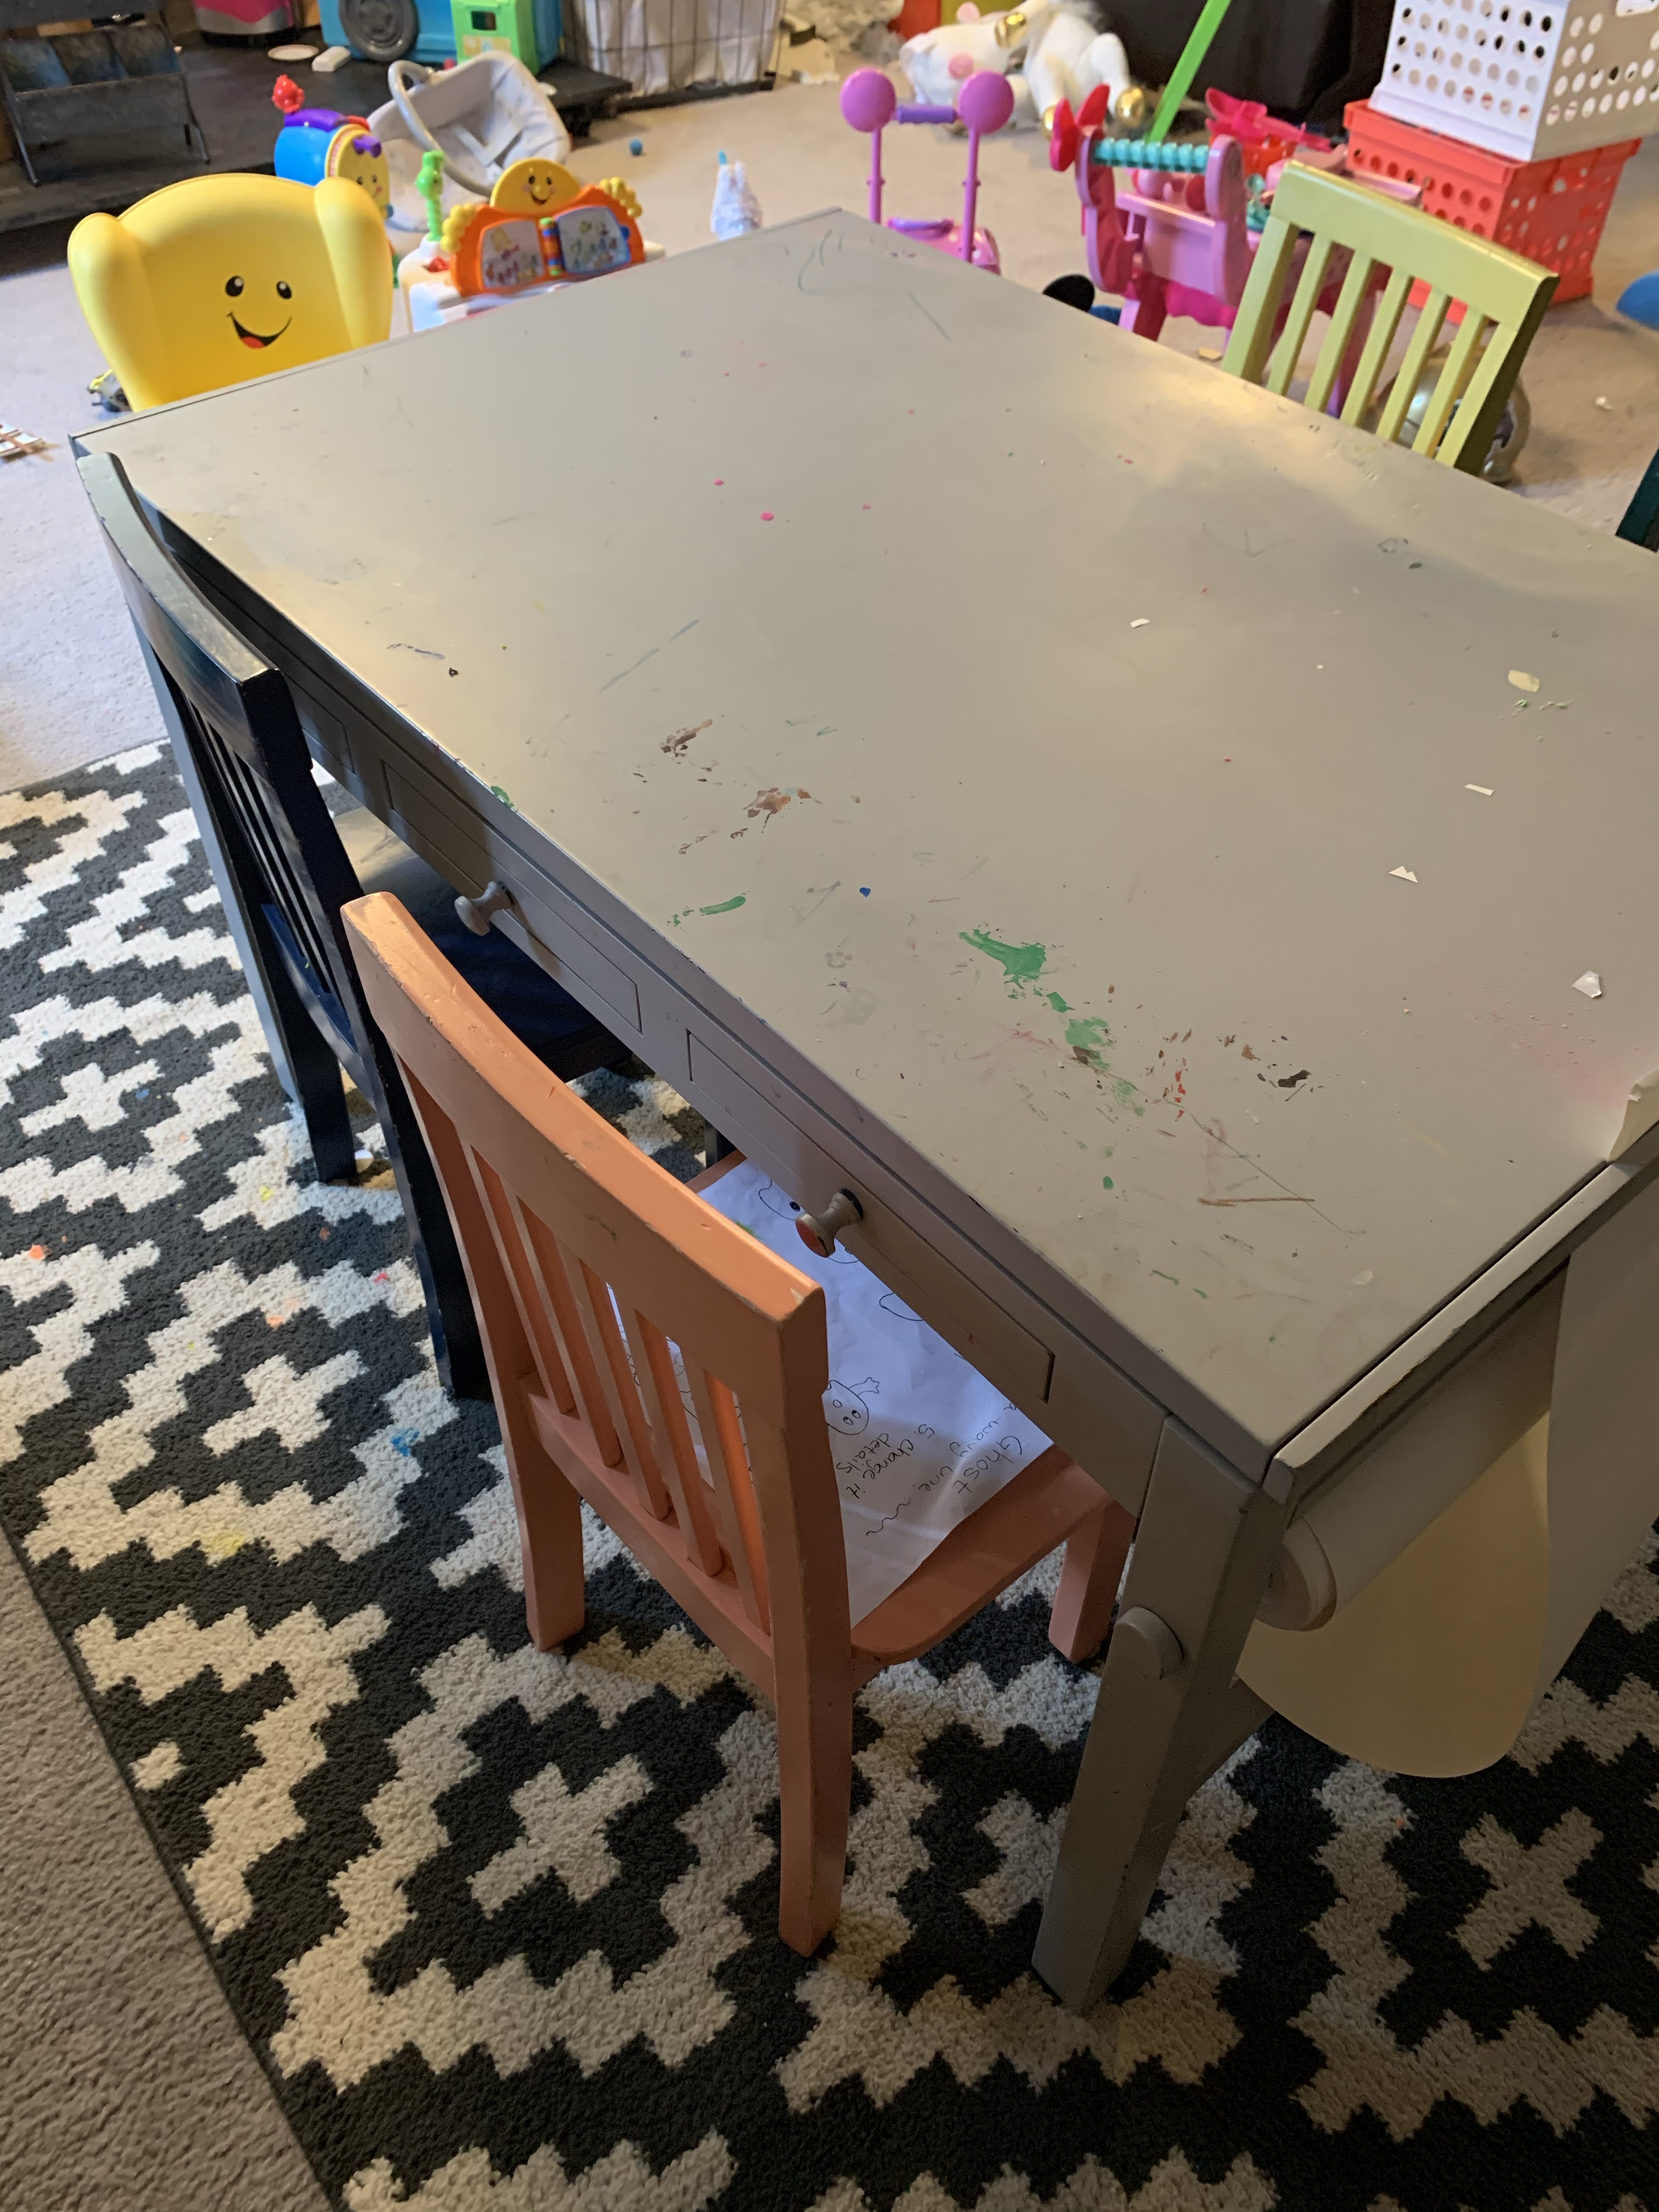
Time to give the chairs a new look, using the same color as the brackets. Rustoleum Hunter green I spray painted the chairs. To give the chairs a matching look to the table I spray painted the bottom of the legs with the same metallic aged bronze spray paint.
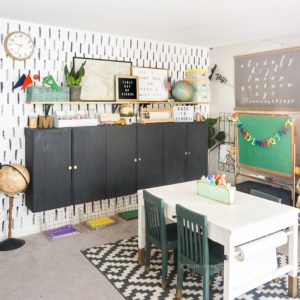
Decor
Time to decorate!!! The best part!!! Giving the final touches!! I found a vintage chalkboard on Facebook marketplace that was local (total luck!) and majority of the decor I had owned… I know.. I know… maybe I’m a hoarder!😉 The map was a goodwill find for 3.99 that I painted the frame black, and the letter board I found at hobby lobby a couple of years ago. The baskets were found at goodwill or Facebook marketplace along with the vintage globes!
Back To School
And that’s it!!! We’re as ready as we’re going to be in these crazy times!!! My Like to know it page may have additional links for supplies and decor used. Hoping you all a great school year, whether it be in person or virtually!!!