Dining Buffet Refinish
I’m dragging this week, and it’s just the beginning! School has been in session for a grand total of a week, and Jackson has brought home a cold that has infected all of us. Since I’m not moving fast this week, I’ve been meaning to share a project I worked on over the Summer. My dining room Buffet!
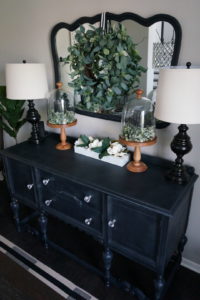
I love to refinish furniture whenever I get a chance, which isn’t as often because… Kids. I swear it keeps me sane to go out and paint some type of furniture! We moved into our house just under a year, and little by little I’ve been furnishing and decorating. One thing about furnishing and decorating, its more than a hobby, its become an obsession for me! The most obsessive part, I love to do it on a budget. So when I found this buffet on a garage sale page for $70 dollars I knew it was the perfect for the dining room. I also found a perfect mirror to hang above the buffet for $30 dollars. Double score, I found these both a couple weeks apart both on a garage sale page!
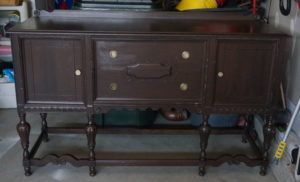

Let me tell you how excited my husband was to drive 40 minutes and get this into our minivan!(spoiler alert, He was NOT) but come on, it was totally worth it! So because it’s a garage sale site it can be a little deceiving since I couldn’t physically see the buffet. My plan was to sand down to get that raw wood look, that I’m totally obsessed with right now. But my plan changed when I saw it in person, and noticed that it had been painted twice already. So I took the easy way out, Chalk paint.
Usually I make my own chalk paint for less than $10 dollars, but I wanted to give the Magnolia Chalk Paint a try. I picked up the brush and paint both at Target, because it was super convenient. I chose the color Blackboard, since I couldn’t get that raw wood look I thought dark would match well with my dining room. 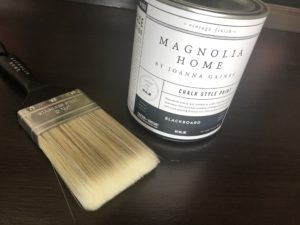
Some things I liked about Magnolia chalk paint:
- It dried fast
- A little bit goes a long way. Meaning its sold in a quart and I was able to paint 2 coats on the buffet and a mirror, and there is still some left
- easy to apply, went on smooth and covered the imperfections without any prep work
- seemed pretty comparable to Annie Sloan’s.
- convenient (sold at Target)

As you can see I put Jackson to work! He must find it as therapeutic as me, because I had to fight him for the brush. Actually it was nice because he was getting into those hard to reach places for me. Word of advice, let your 5-year-old tackle the hard spots! After two coats and fighting the weather. You do not want to use this paint in high humidity, it will get to sticky and dry horribly. And then you’ll have to resand and start over again!
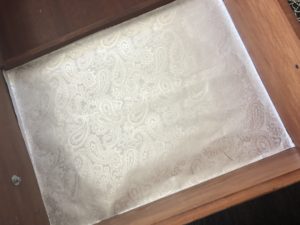
After my painting buddy and I were done painting I used Polycrylic in the aerosol can. which is so easy to work with and dries super fast. Once we got the buffet in the house I worked on relining the drawers with wrapping paper. This was a first time for me, so I was a bit nervous. I bought wrapping paper at home goods, because they have the cutest, and 1 roll is $3.99.
I only used a roll of wrapping paper, and I was able to line two large drawers and the bottoms of the two cabinets. This also allowed for a couple of mess ups. as I was off on my cuts a couple of times.
Items needed for the drawer lining:
- Wrapping paper
- measuring tape ( I used my sewing tape as it is flexible)
- mod podge
- scissors
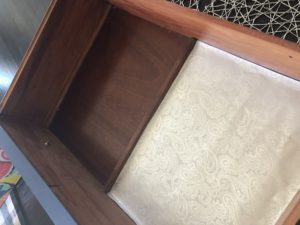

- I simply measured the drawer with the measuring tape and cut my wrapping paper
- I placed it in the drawer and then did trimming to make sure it fit in perfectly
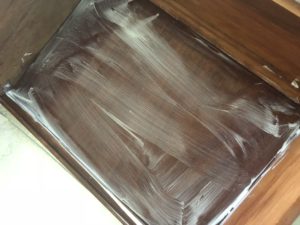
- After that I mod podged the drawer and placed the wrapping paper back in the drawer
- placing it on top of the mod podge slowly and trying to make sure there were no bubble( which I took a credit card afterwards to smooth out and make sure I got any bubbles out
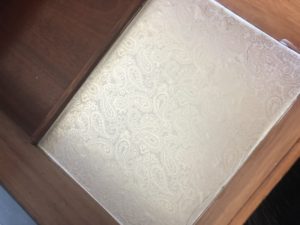
- After it was in straight, I mod podged the top and let dry
- I let dry overnight before I put anything in them
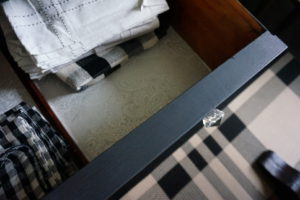
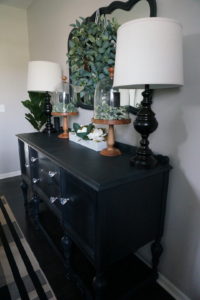
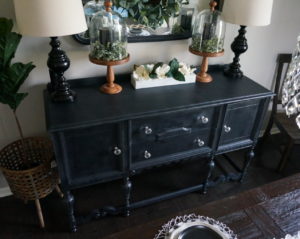
After all that it was finally done! And time to decorate!

Now that I have this all wrote up and published, I have an itch! Time to get on those facebook garage sale sites. My husband is going to be so pleased!