DIY Peel & Stick Vinyl Flooring
Ahhh!!! So close yet so far!! Two major parts of this office renovation are done!!! Painting and floors…
I thought it would be a good time to check in, and let you know what I’ve been up to! The painting is done, and I went with Sherwin Williams Marshmallow. I love it, and I chose it because of the purple undertones. I needed an undertone that would keep it warm, and just thought that this shade of white did a great job of warming up my basement office.
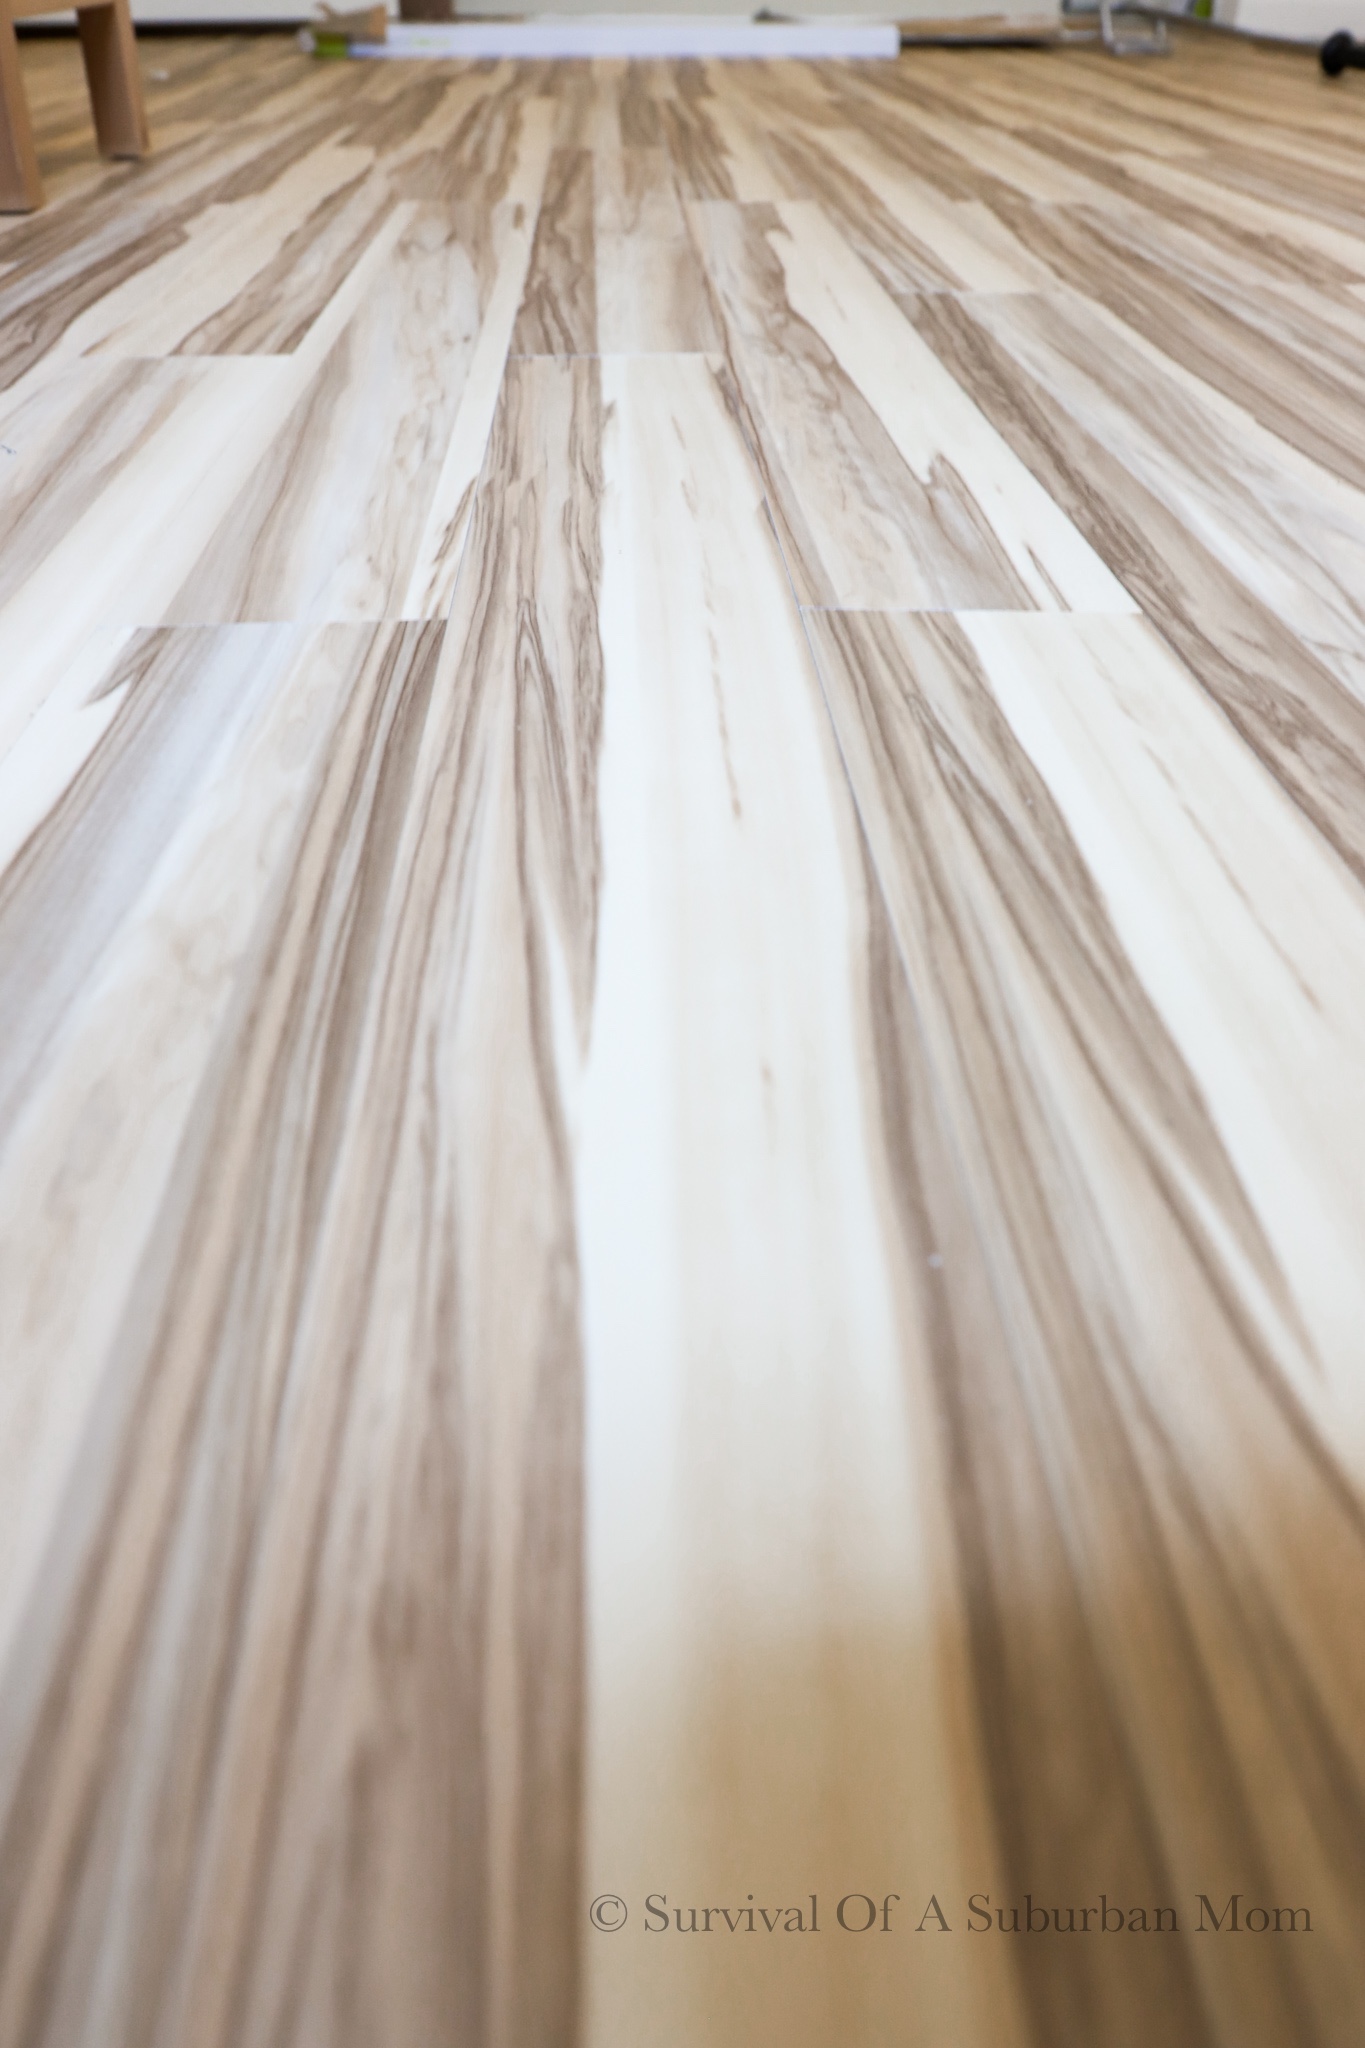
Once the walls were primed, painted, and dried it was time for the floors!! If you didn’t catch my previous blog, I chose Dura Decor’s peel and stick vinyl in natural hickory. You can read all the details on how, and why I made my decision to use Dura Decor right here.
Okay, let’s get down to all the details of how the install went. It went like this… seriously one of the easiest things I’ve ever done, just make sure you get yourself a good pair of knee pads, and it should be a fairly easy job.
The first thing I did before installing, and painting was removing the existing carpet, padding and tack strip. Once the old was out, and I finished painting, I cleaned the floors really well with a hepa filtered vacuum (my dyson) I made sure to get up as much dirt and dust I could.
For the subfloor we used plywood. After doing a bunch of research I found that the peel and stick would adhere best to plywood. I picked up 6 sheets of $15 underlayment plywood from the hardware store. To secure the plywood to each piece we used duct tape. After the plywood was down, and taped, I went ahead and vacuumed again. Making sure the floor was as clean as possible, I wanted to make sure the vinyl adhered to the plywood with no interference.
It’s go time, time to make the magic happen. And by magic, I mean laying down the peel and stick vinyl flooring. I was nervous when I peeled the back off of the vinyl that the adhesive wasn’t going to adhere well enough. I was so wrong, they adhered so well to the plywood, it was like magic!
Laying the Peel & Stick
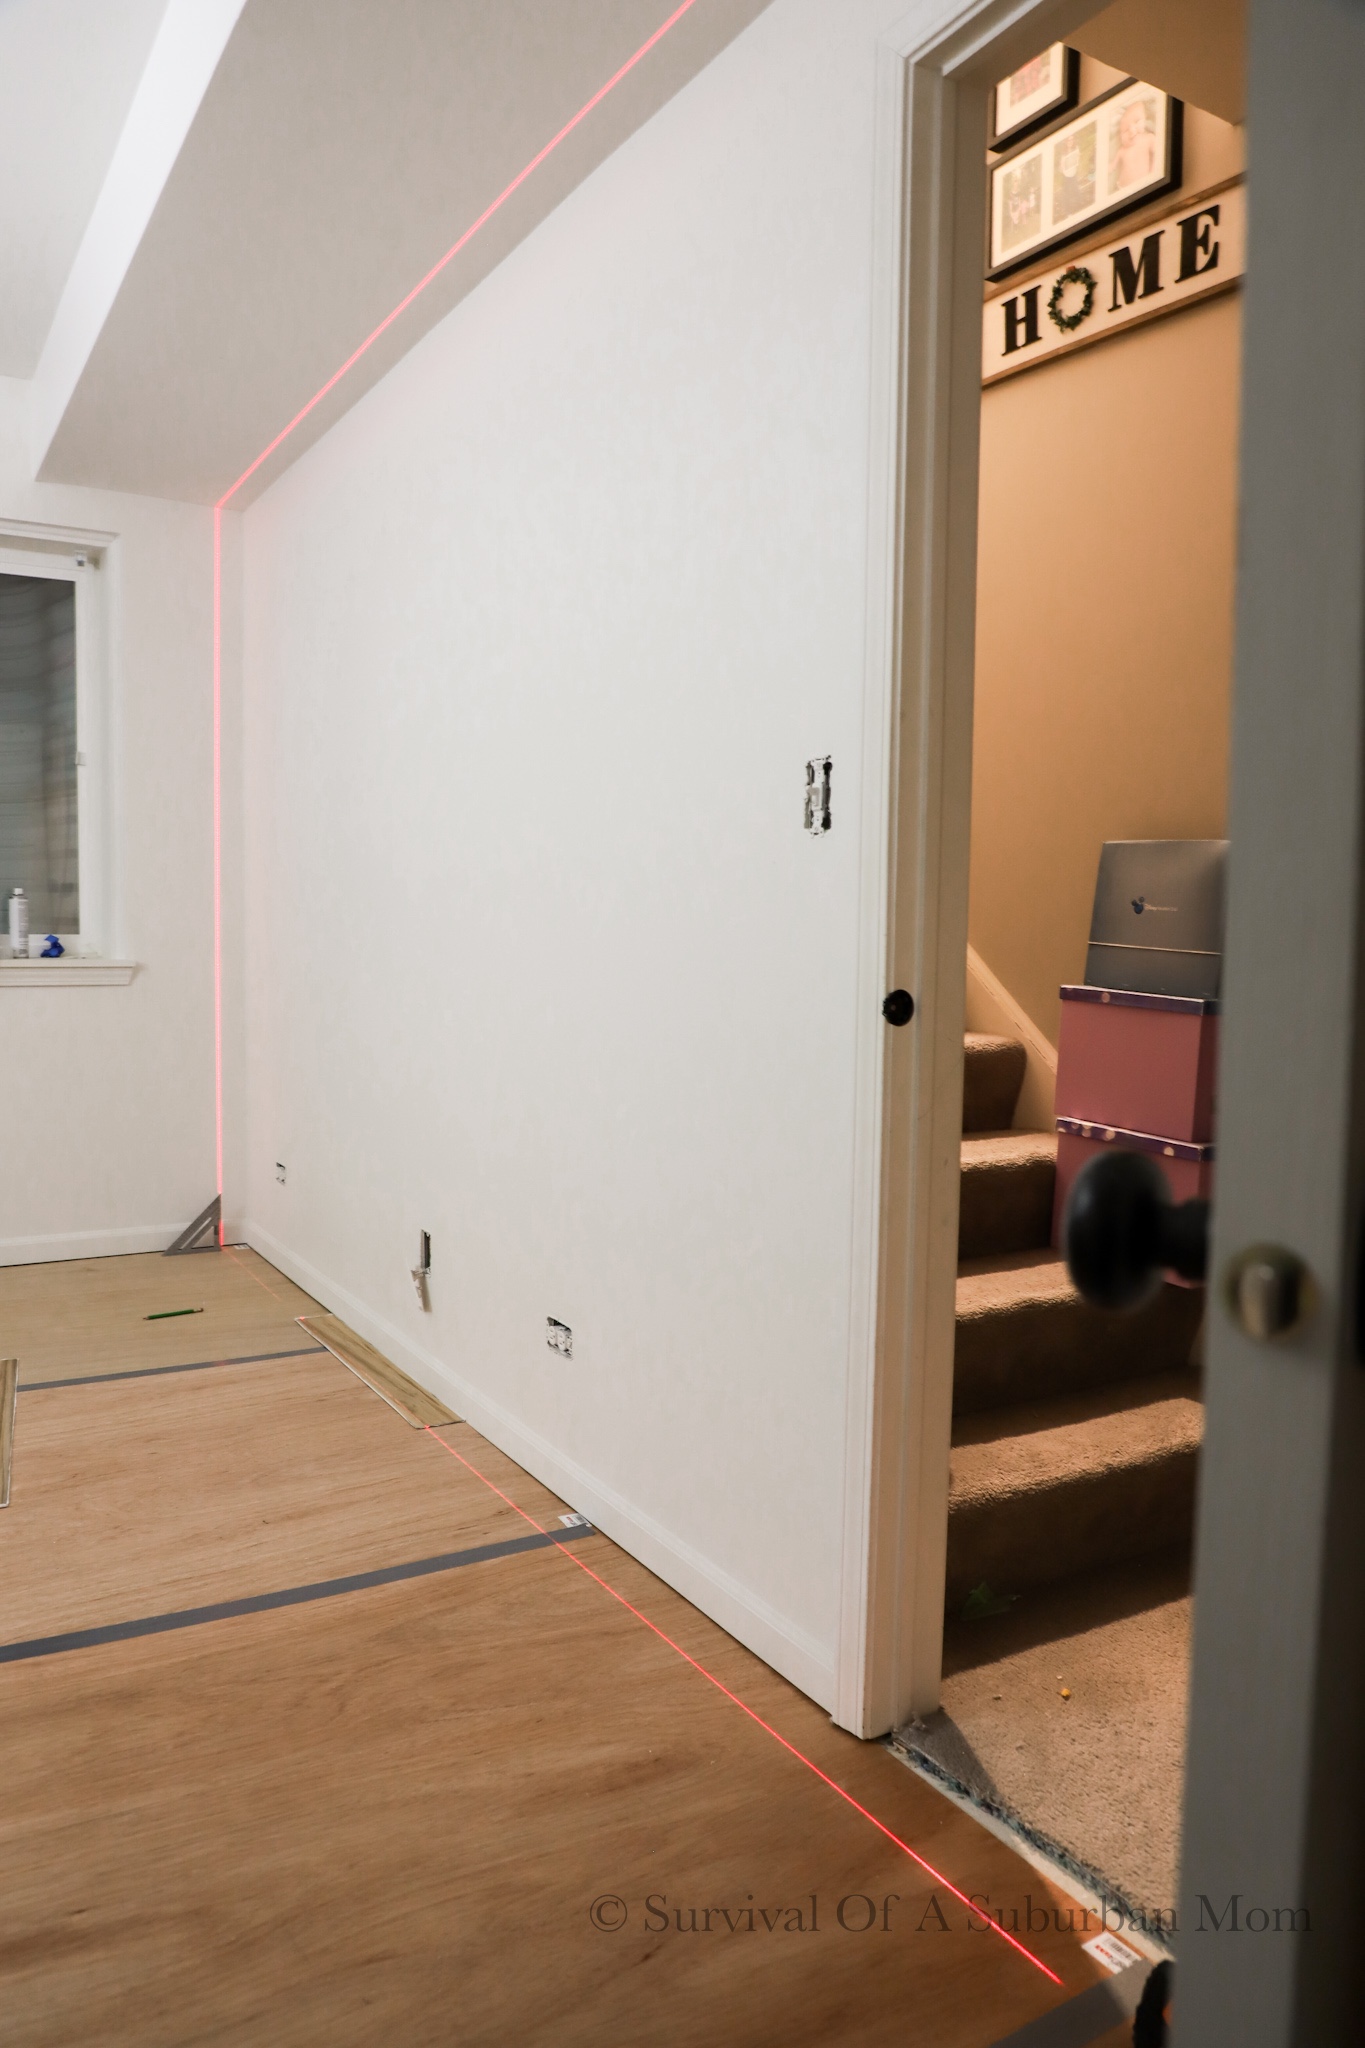
When laying flooring, the key is to have the boards run with direction of the longest walls in the room. First row of vinyl I made sure was straight. I used a laser to line up the straight edge and went from there. When I got to the other end of the room I cut my last piece using scissors.

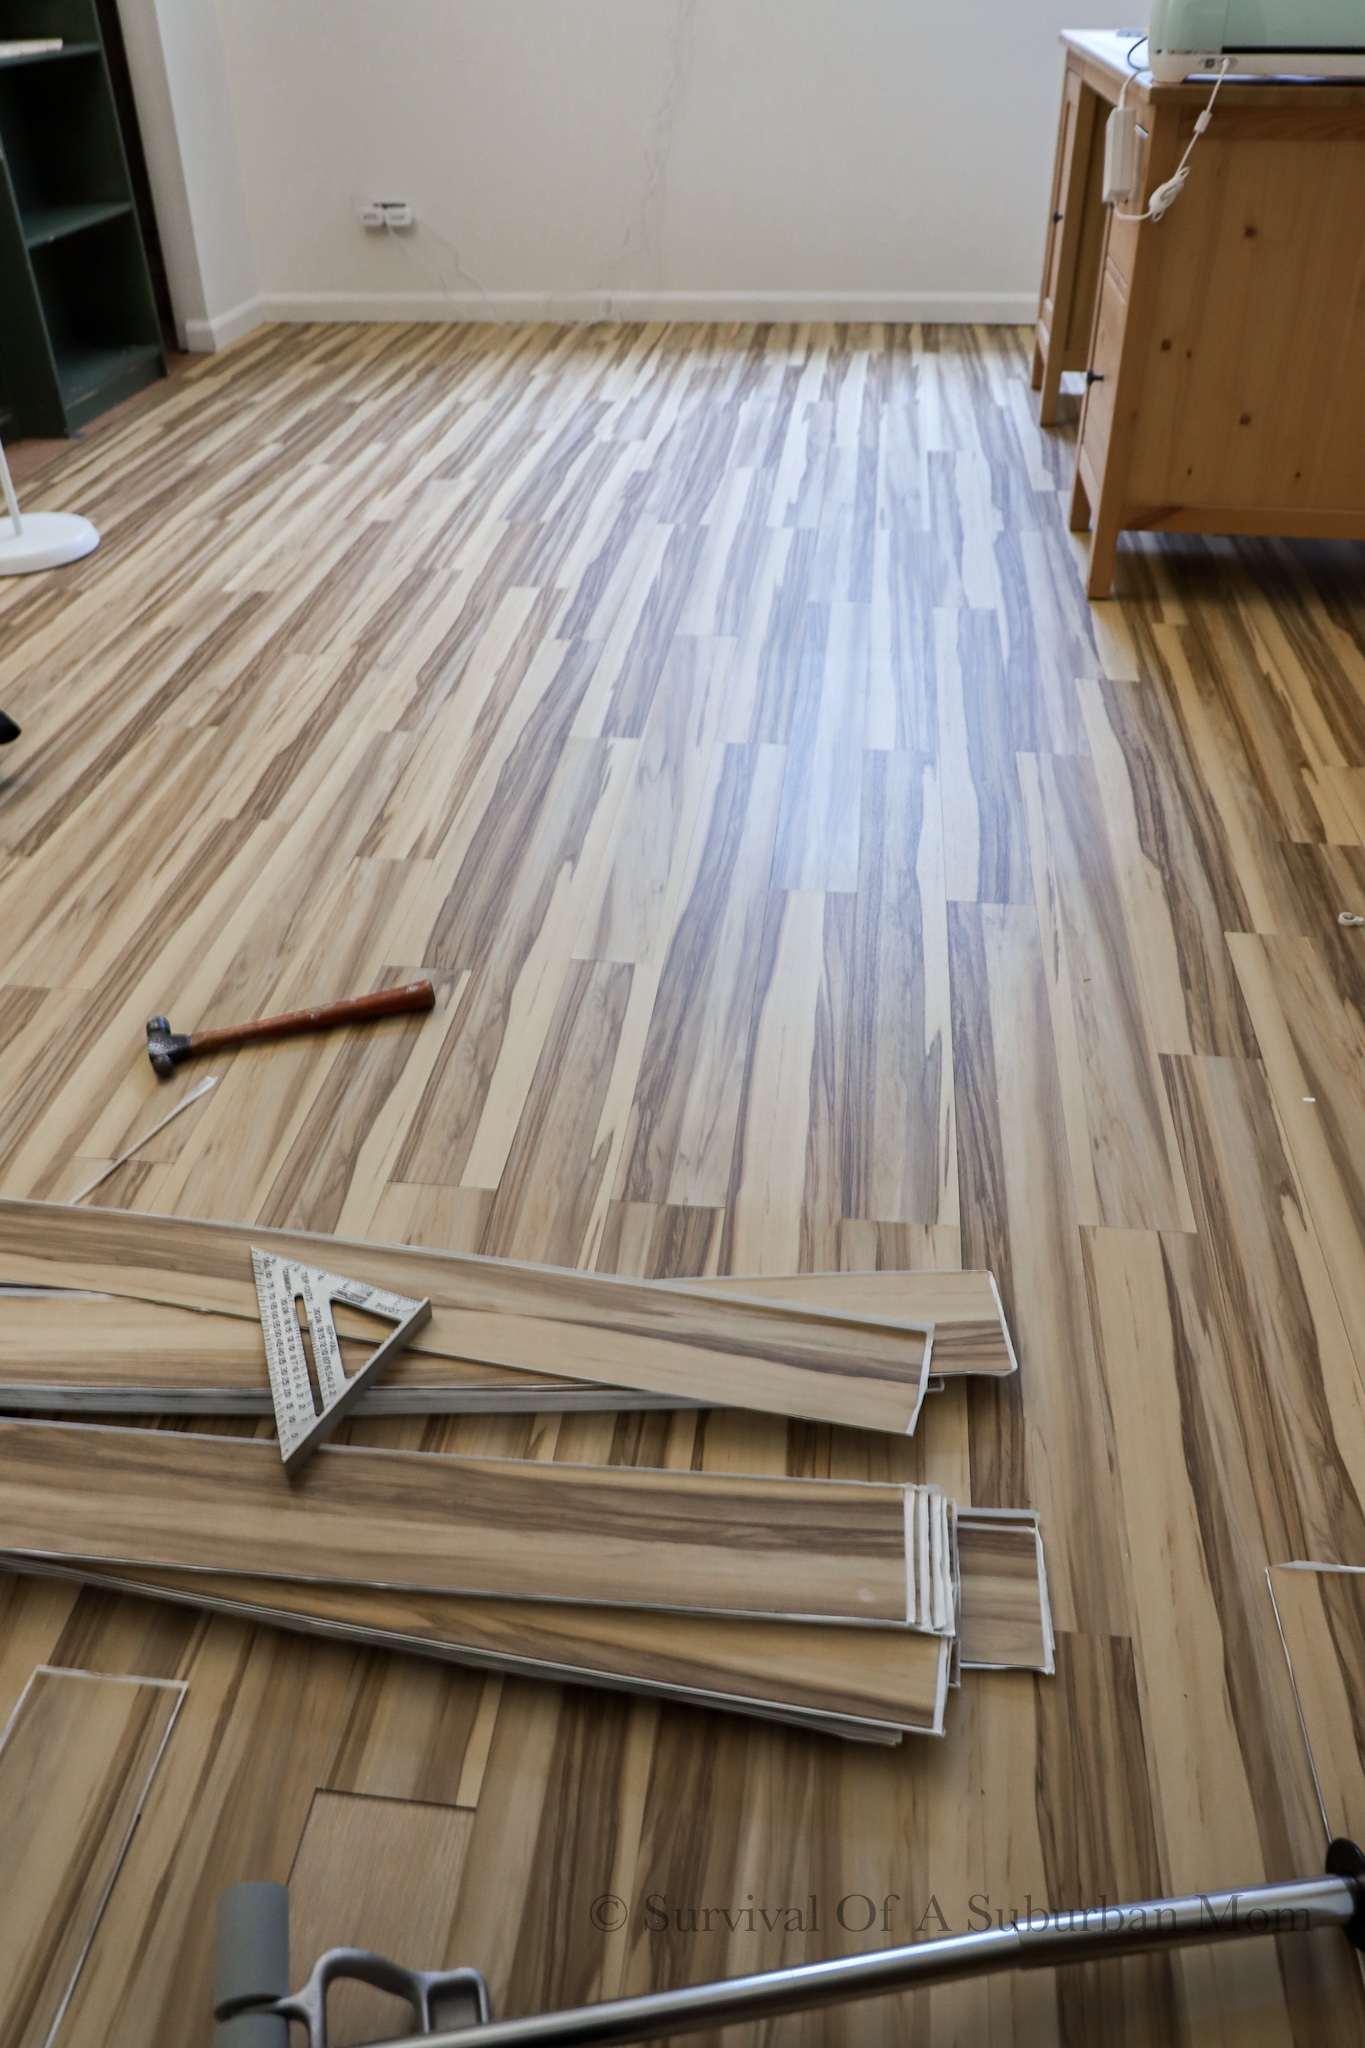
Making sure the piece was longer than 6” I started the next row with it. Mixing the sizes will stagger the seams, and give the flooring a more natural look. Once I laid a few rows of the vinyl, I went ahead and rolled it out using a floor and wall roller.
I also wanted to point out that I opened six different boxes, and grabbed a piece from a different one of the six boxes. This also gives the floor a more natural look, and make sure none of the patterns are exact.
With that, I was able to knock these floors out in about 4 hours! And no joke, its probably the easiest thing I’ve done so far in the office reno!! And what a wonderful update from the carpet. They’ve been installed for just about two weeks now, and there hasn’t been one incident!!

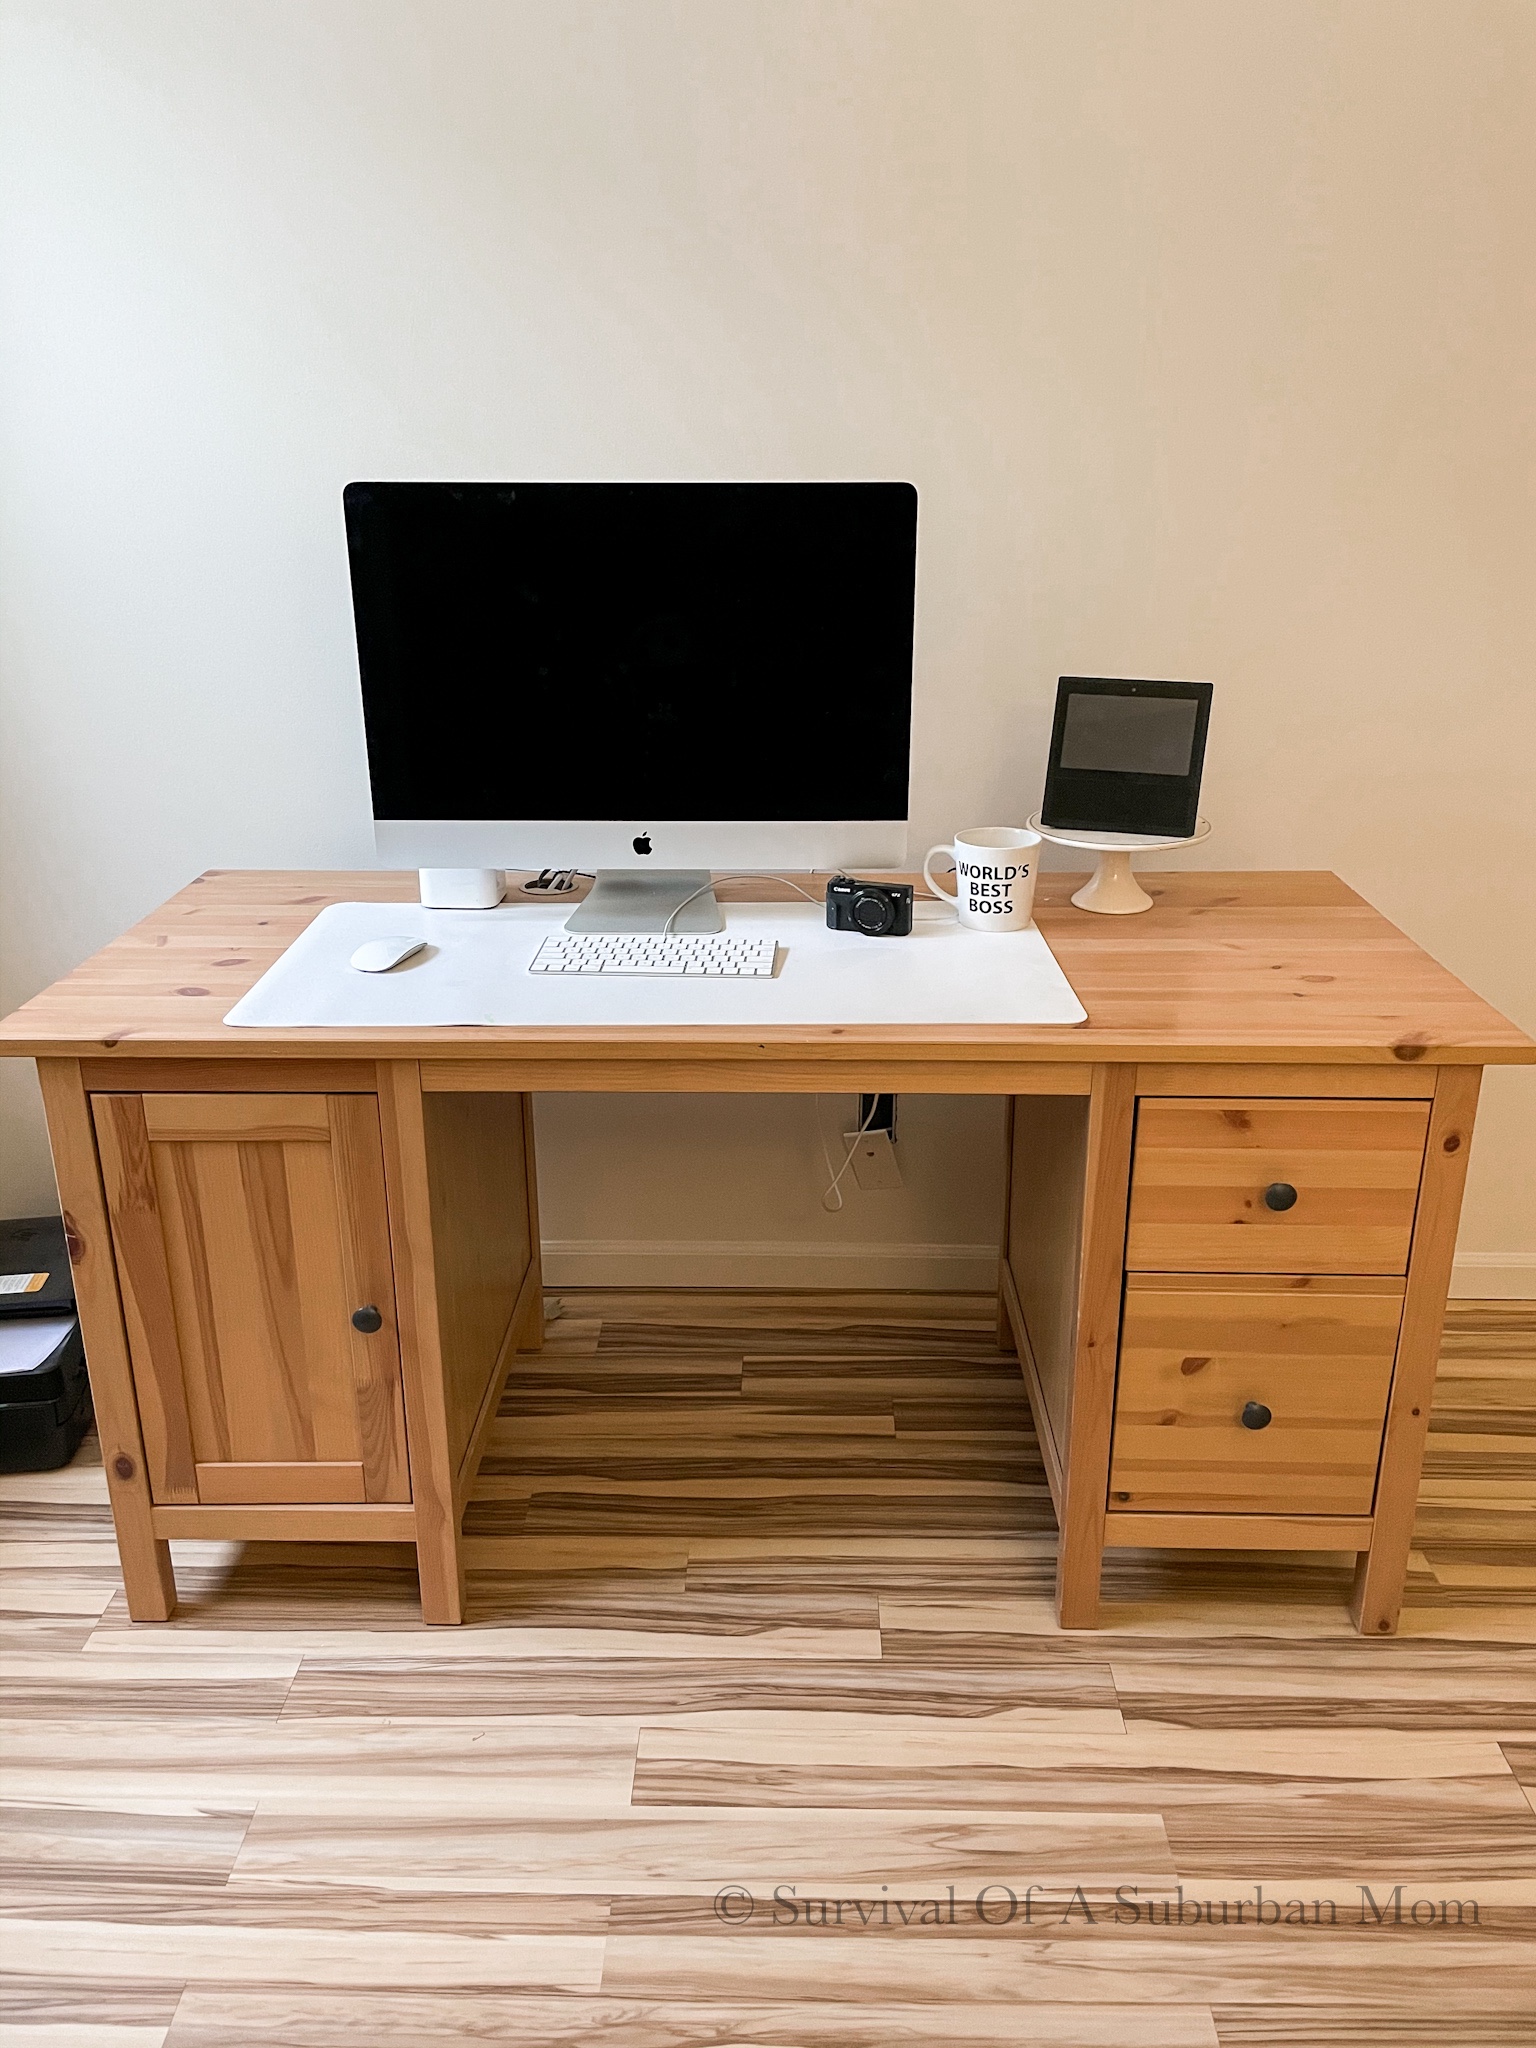
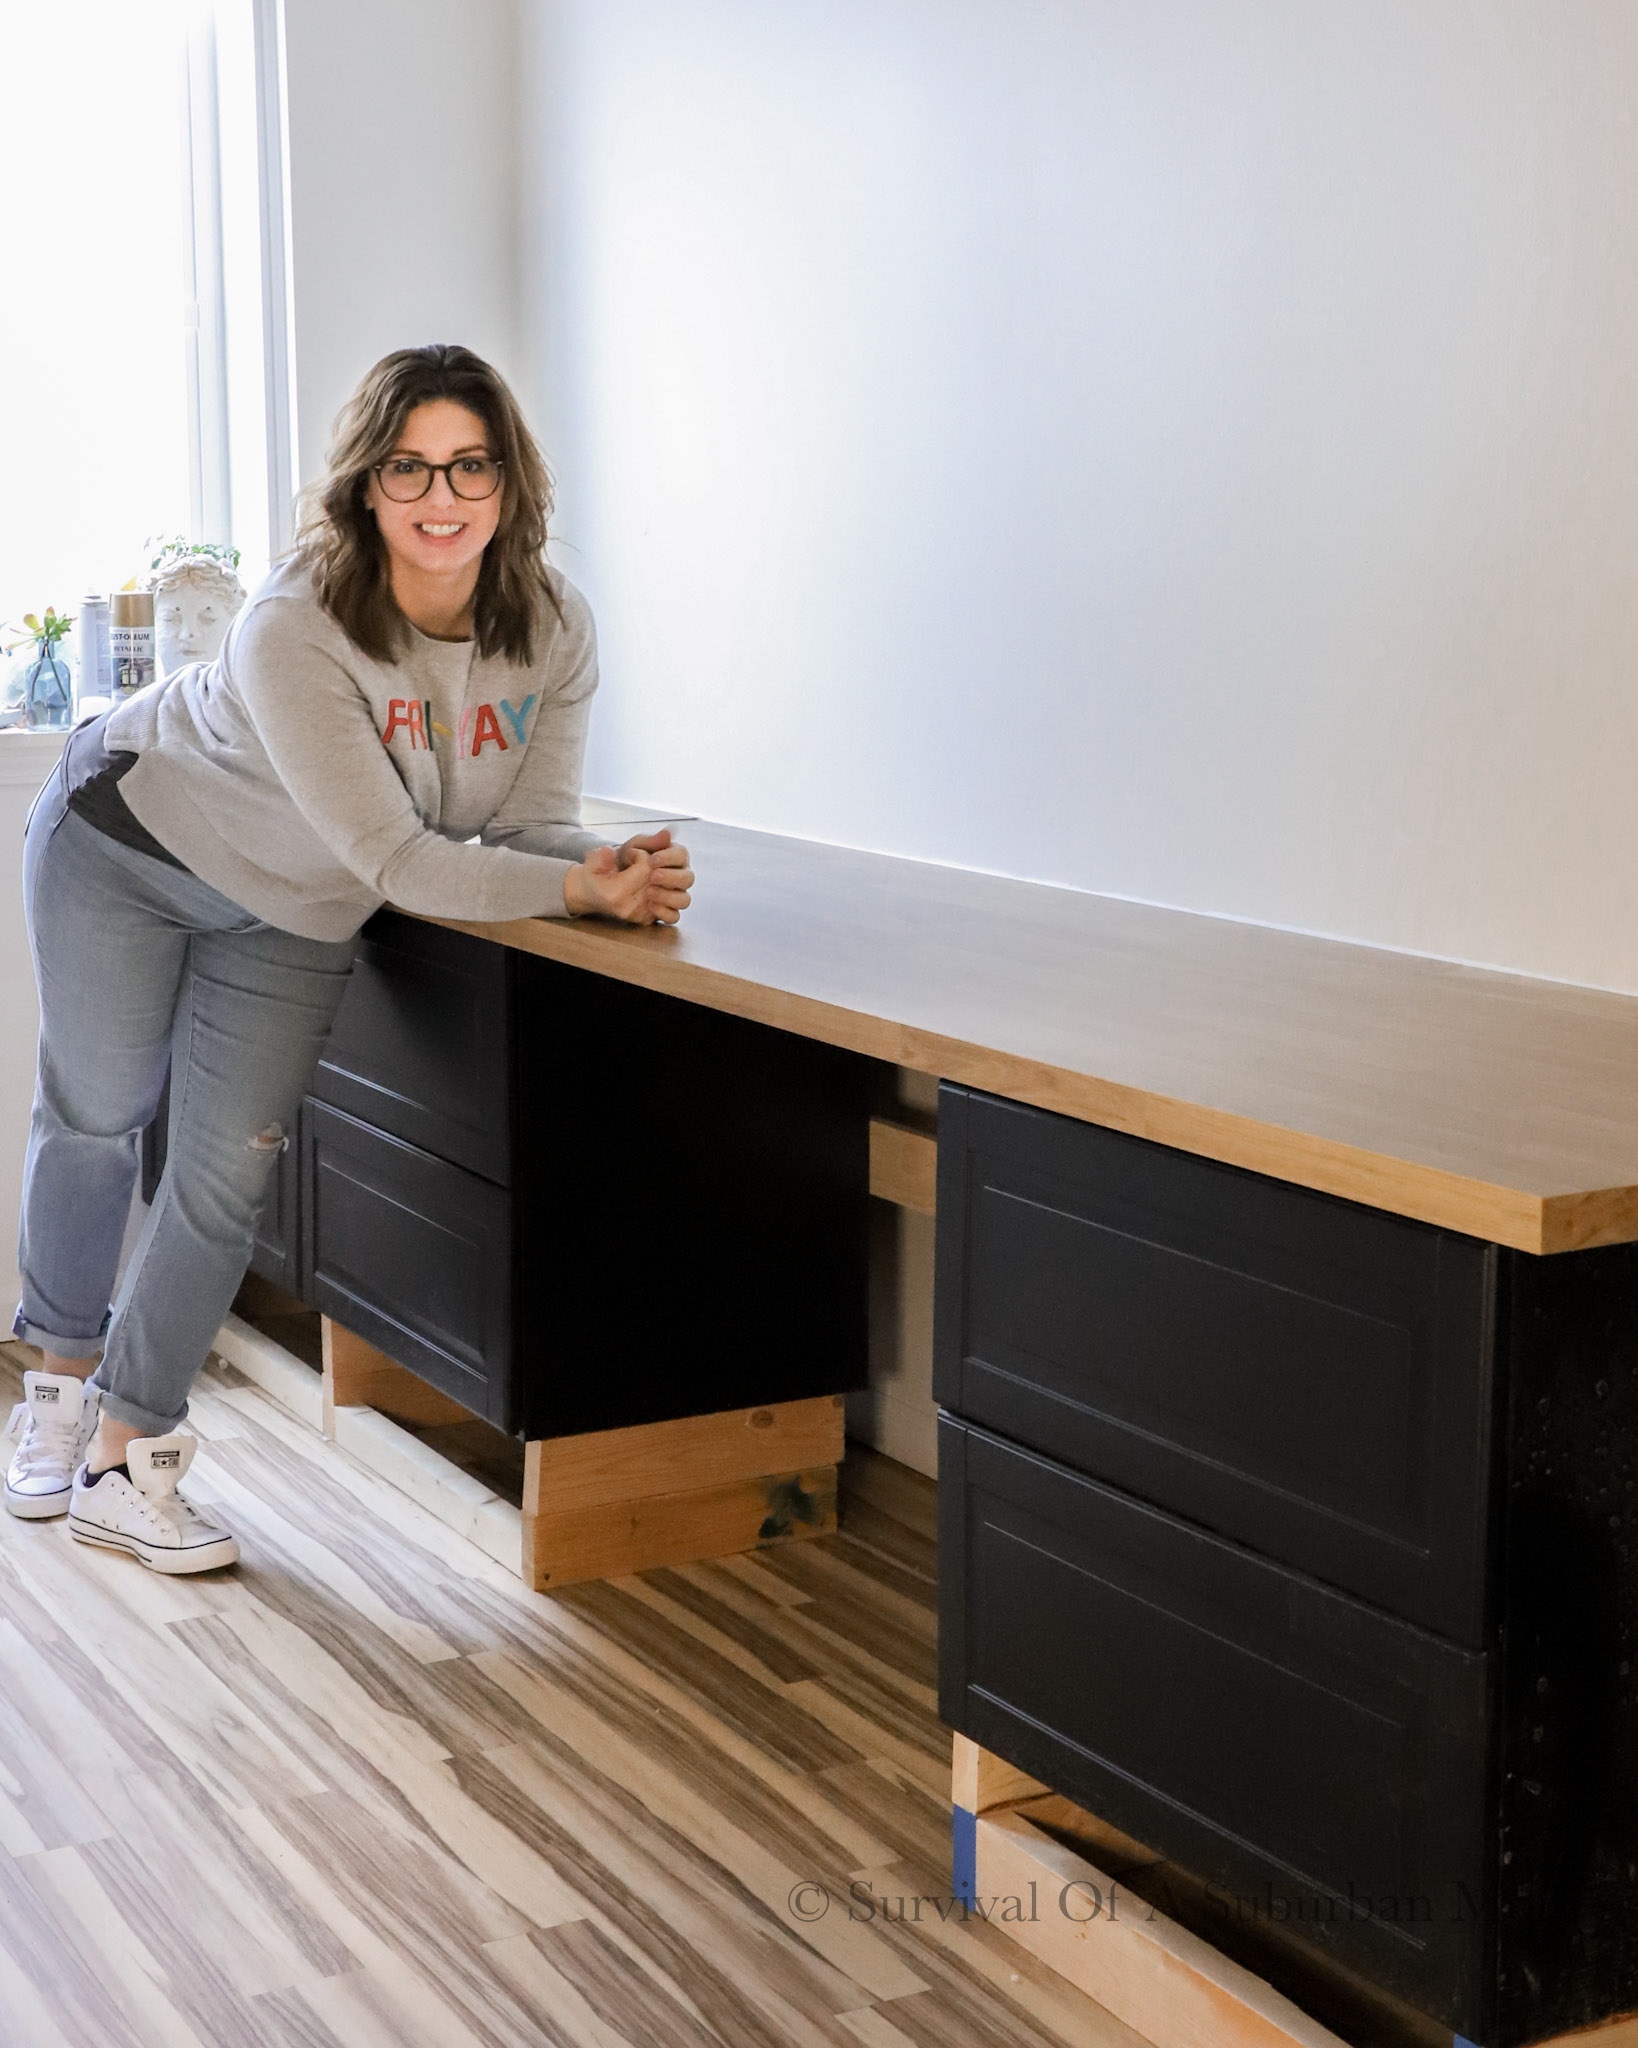
Everyone that has seen Dura Decor’s Peel and Stick Vinyl, has complimented me on them!! Making me so excited for what’s to come in this space!! Next up.. Desk Built in!!
Next Up… Desk Built in