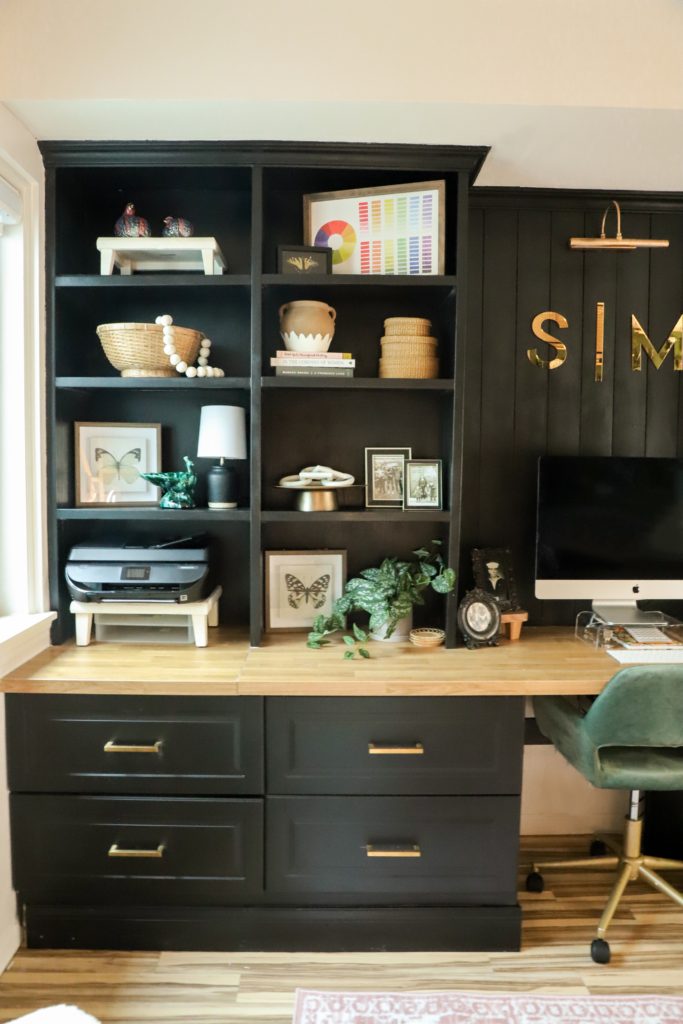
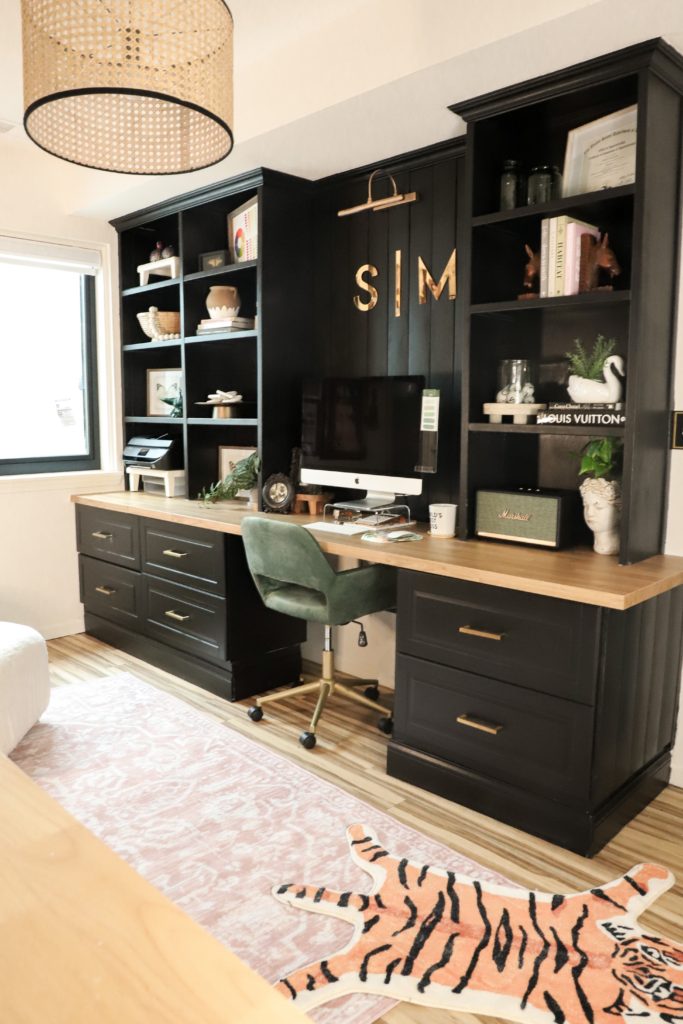
Desk Built in
Hey friends!! The Desk Built In is done, and I am loving that I have an organized, and functional place to blog. Furthermore, I still can’t believe that my whole plan came from two Ikea bathroom vanities that I found in the clearance area!
Bottom Cabinets
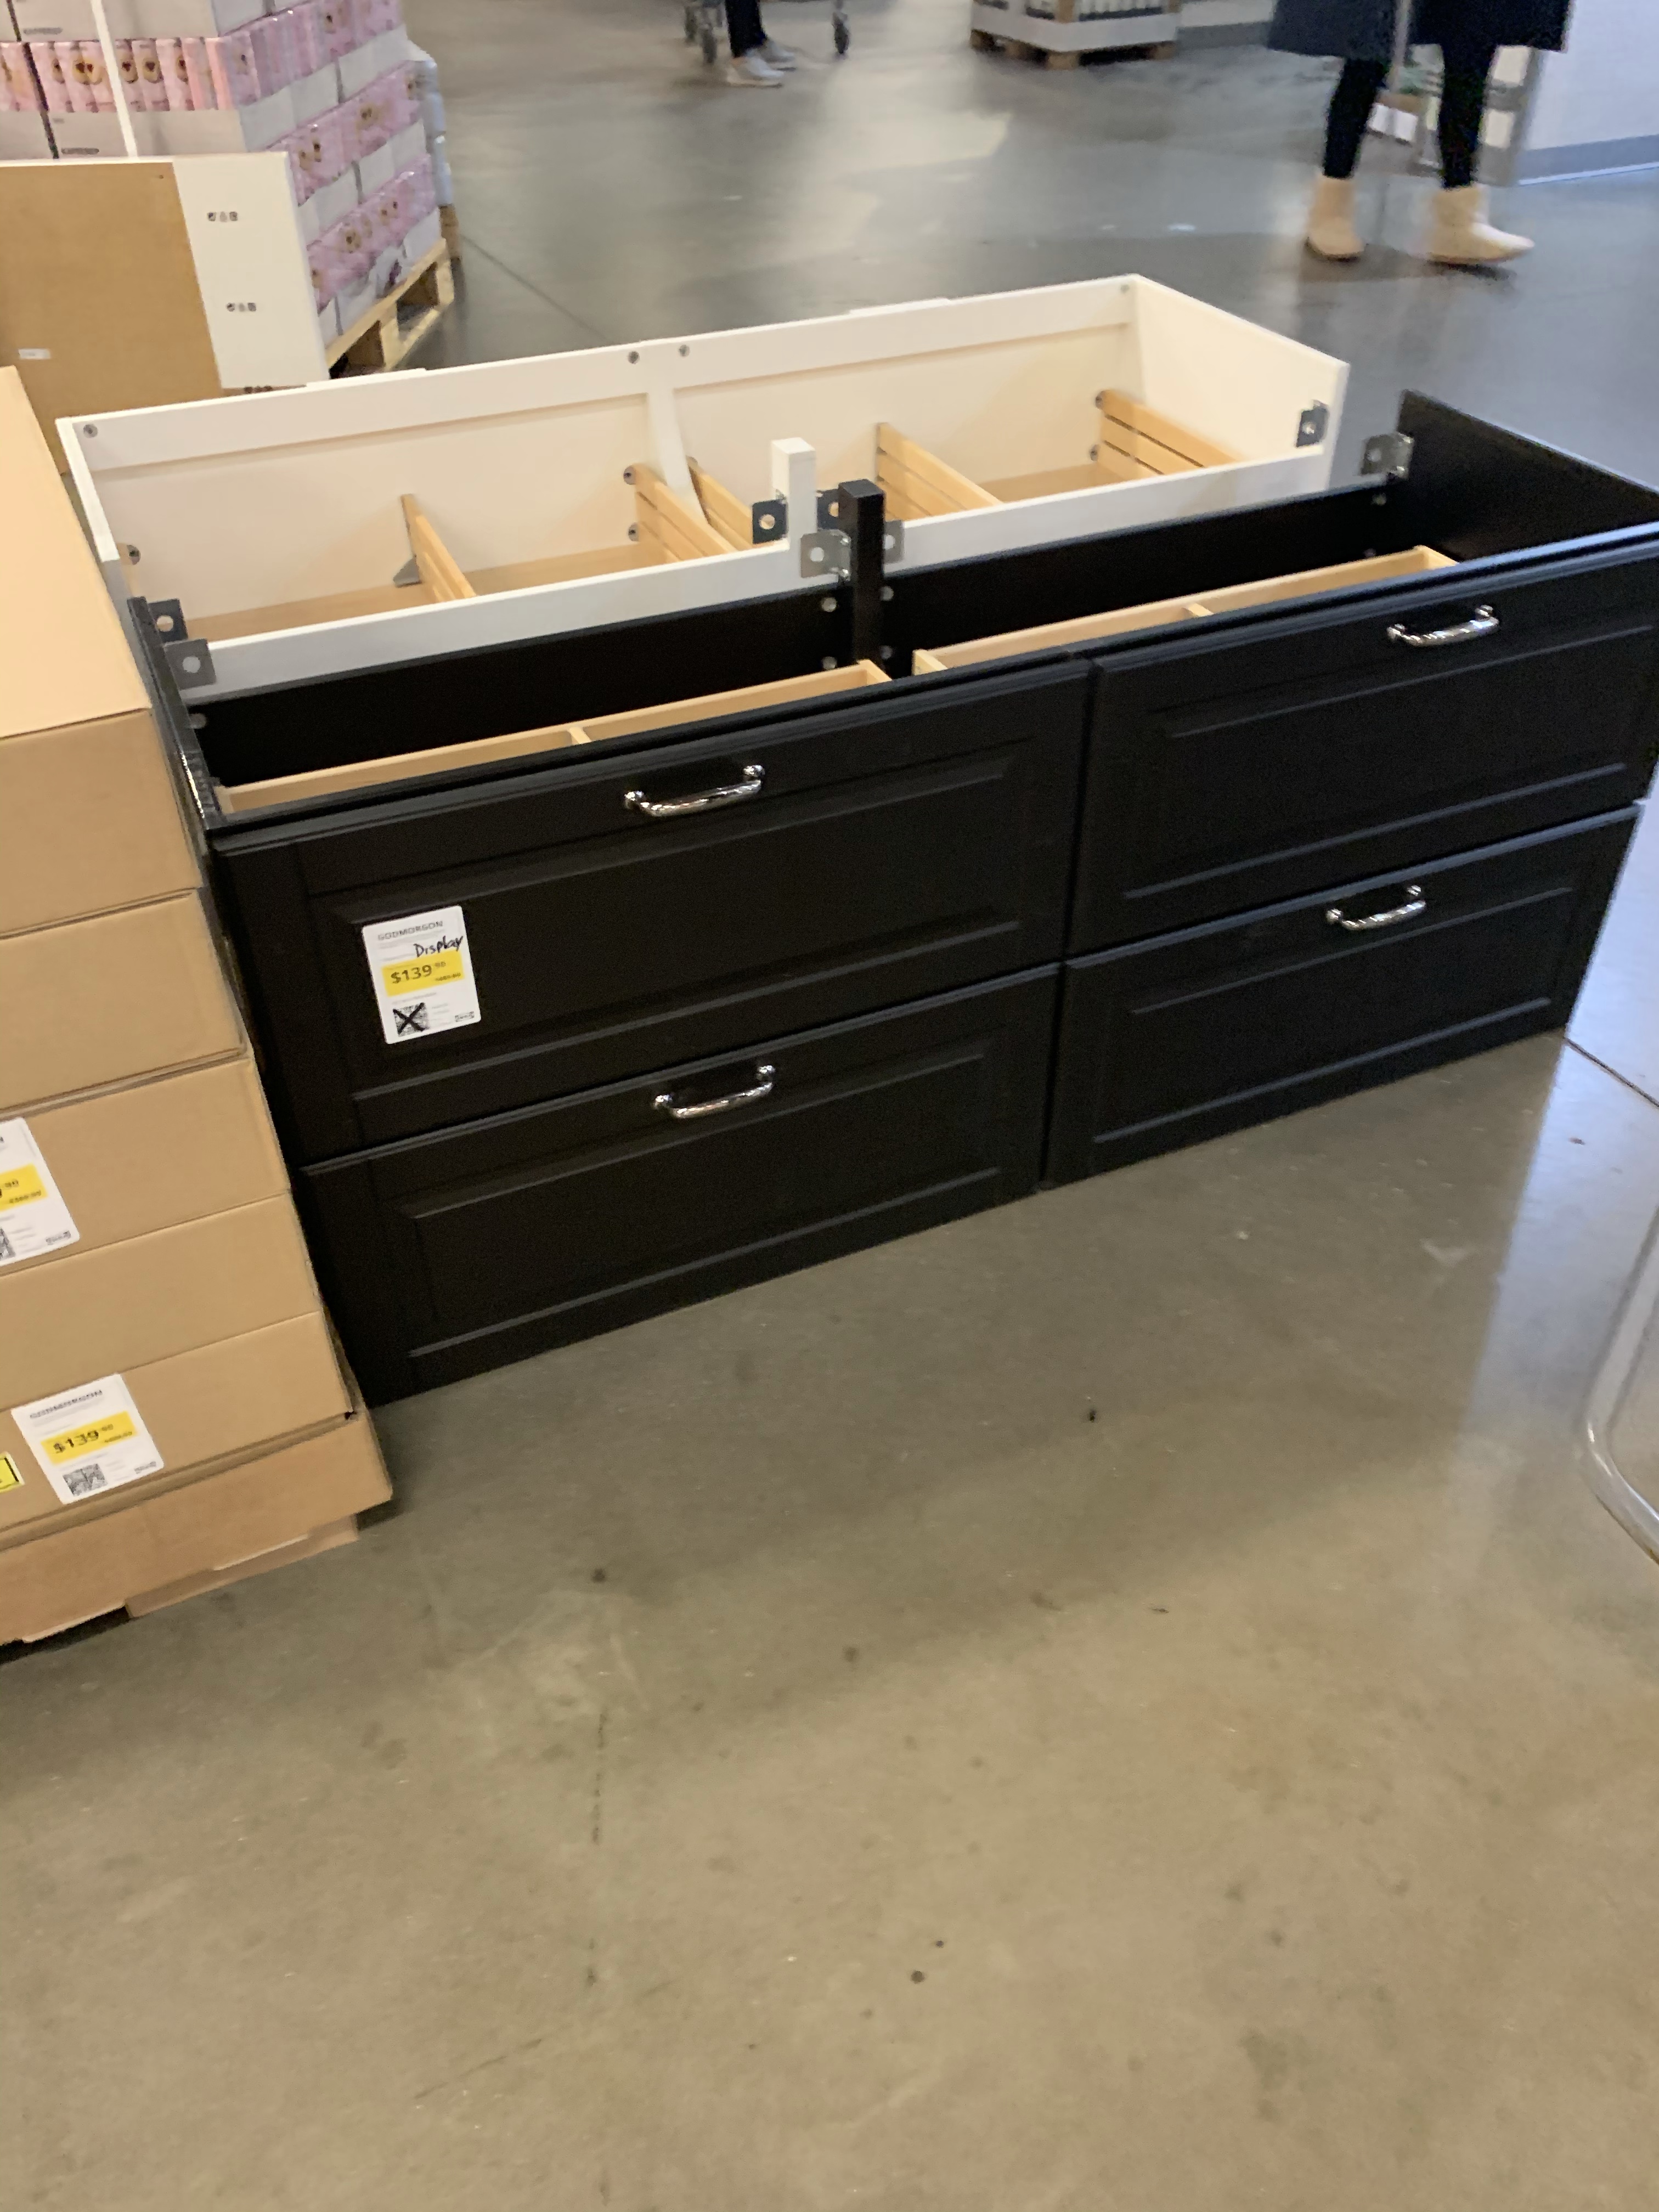
Walking through IKEA, well actually speed walking, since Rob was in the car waiting. I was on a mission to grab one small thing, but I can’t avoid taking a peek at the clearance area. Quickly going to take a small glance, I found these GODMORGON bathroom vanities on clearance, and ready for me to take home. You can imagine Rob’s surprise, and excitement when I came out with two unassembled bathroom vanities!
After explaining to Rob that I’m not crazy, and I don’t have an Ikea addiction ( yes, I do) we drove home, and it was time to assemble. Assembling the vanities was easy enough. Honestly, I was so excited to find these, I didn’t even think about measurements. Two vanities were not going to fit on the wall I was using. Luckily, I was able to use one full vanity, and only half of the second vanity.
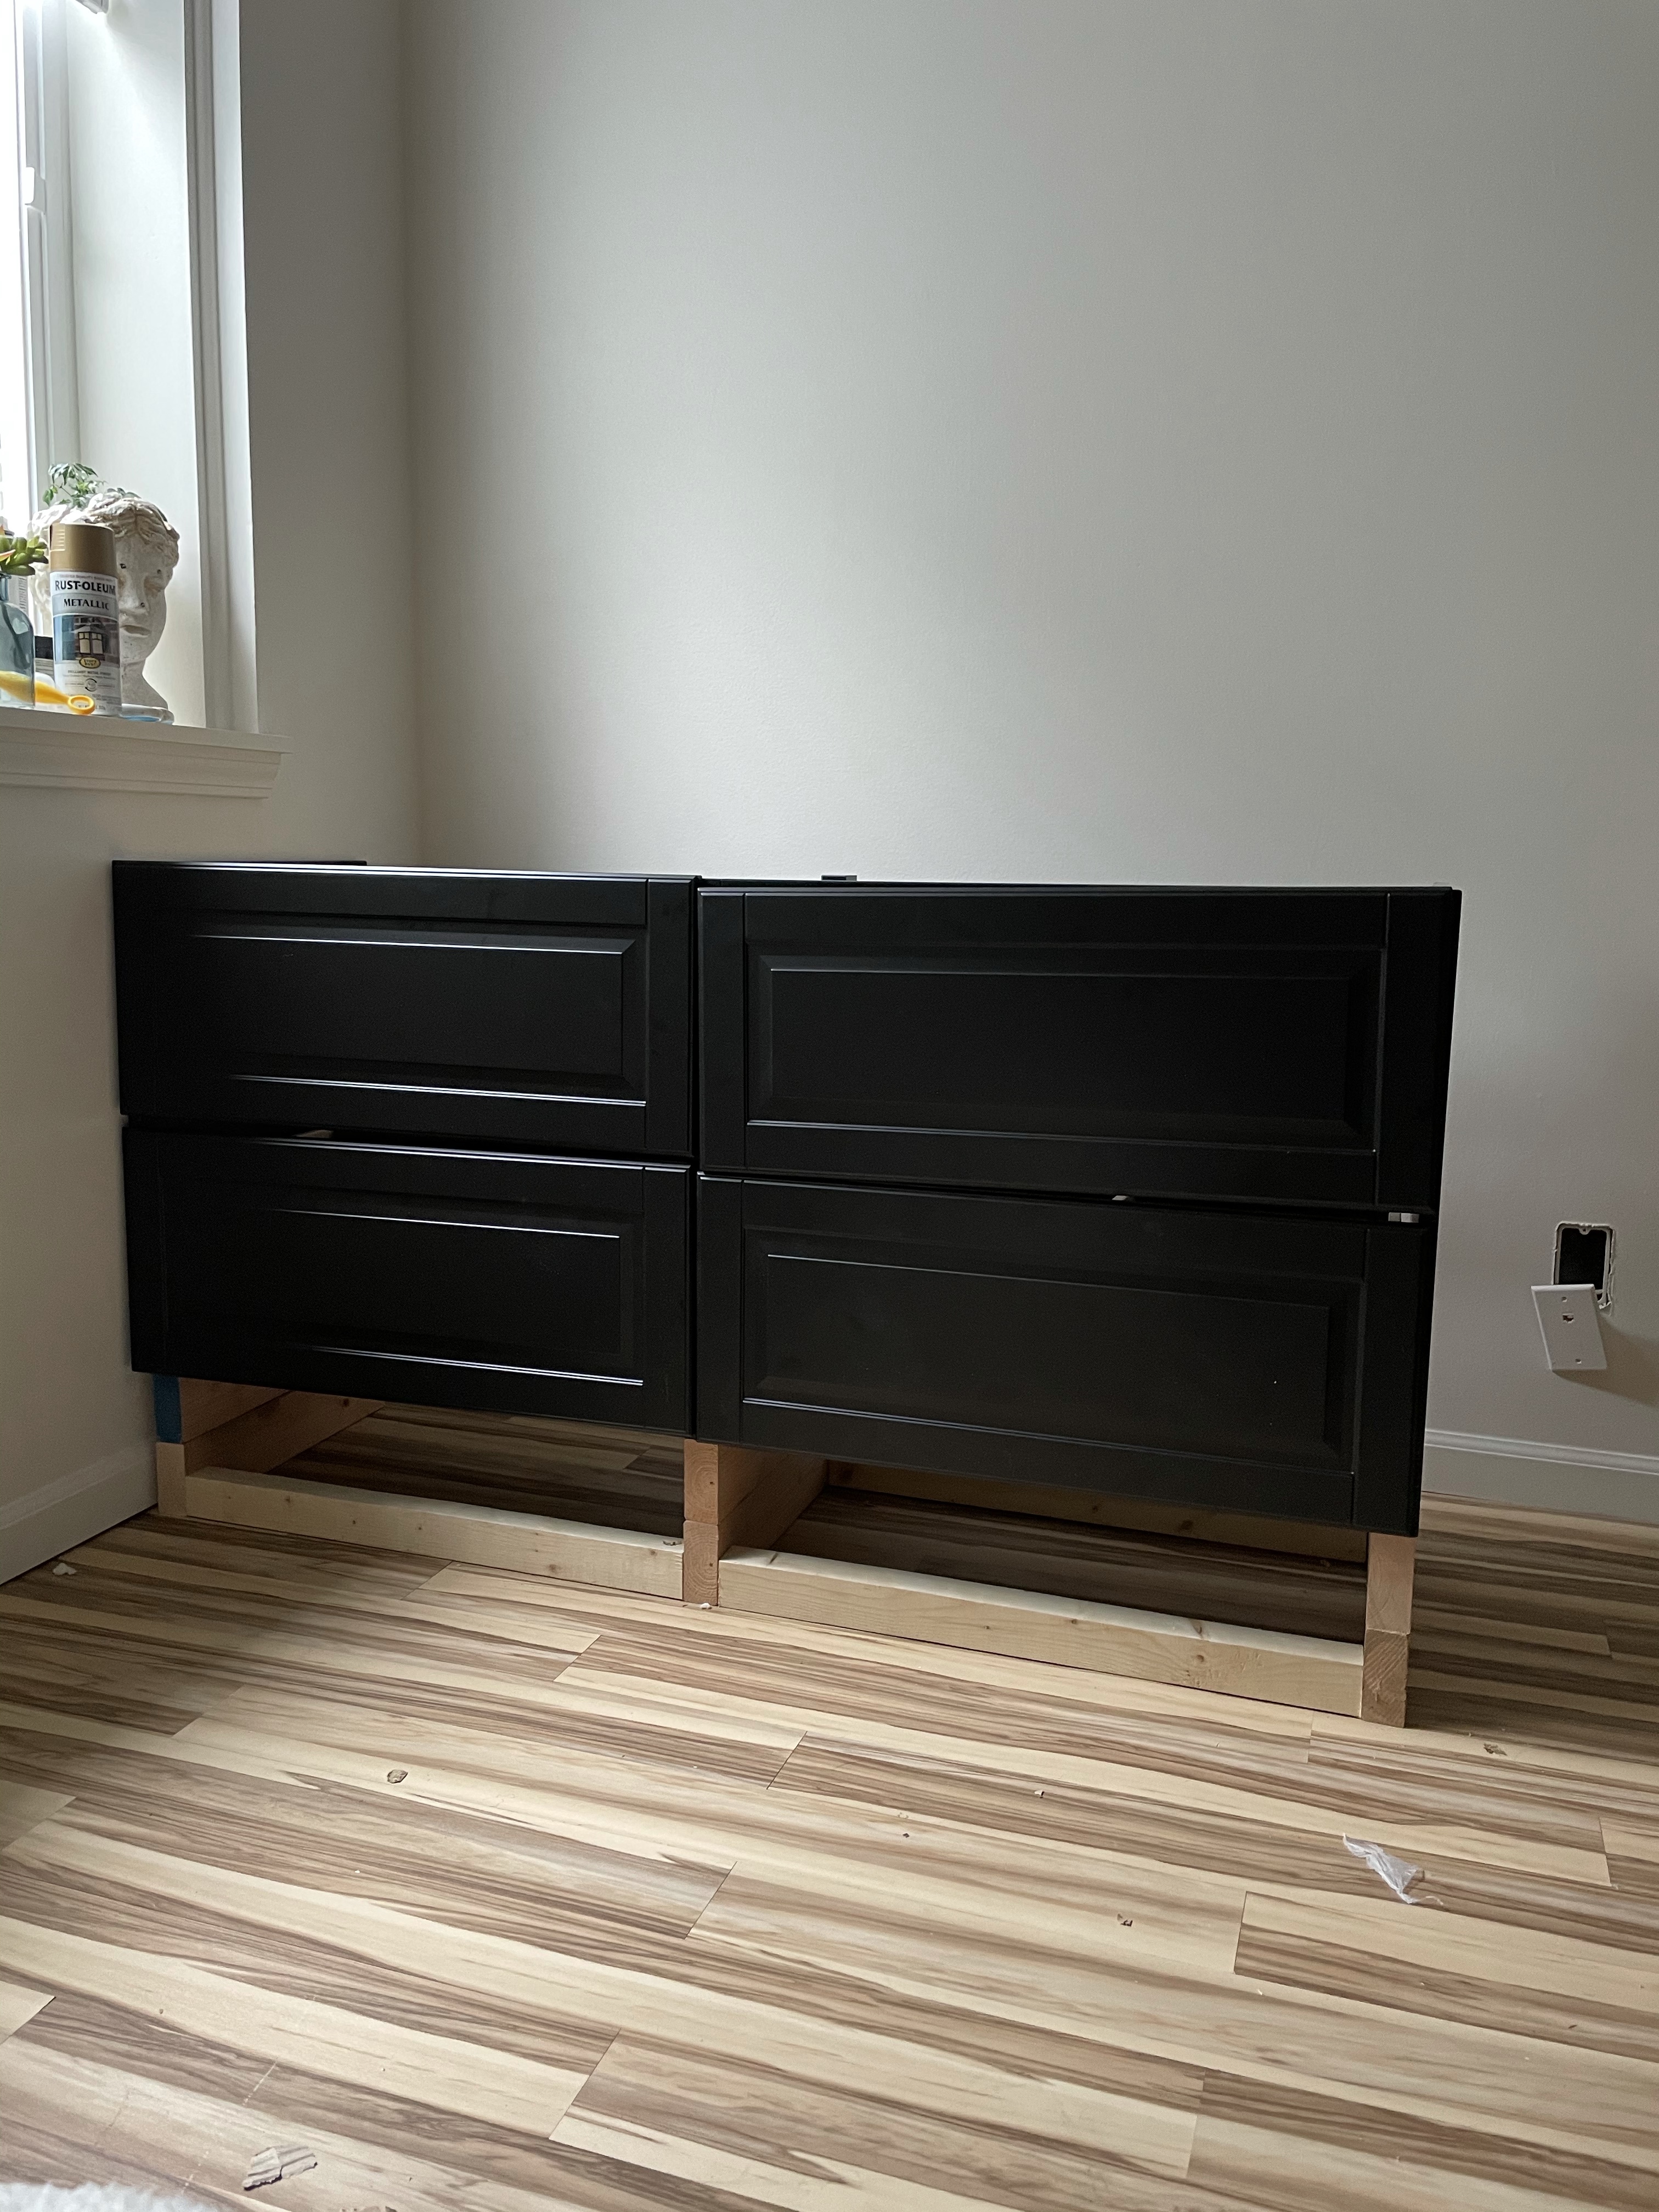
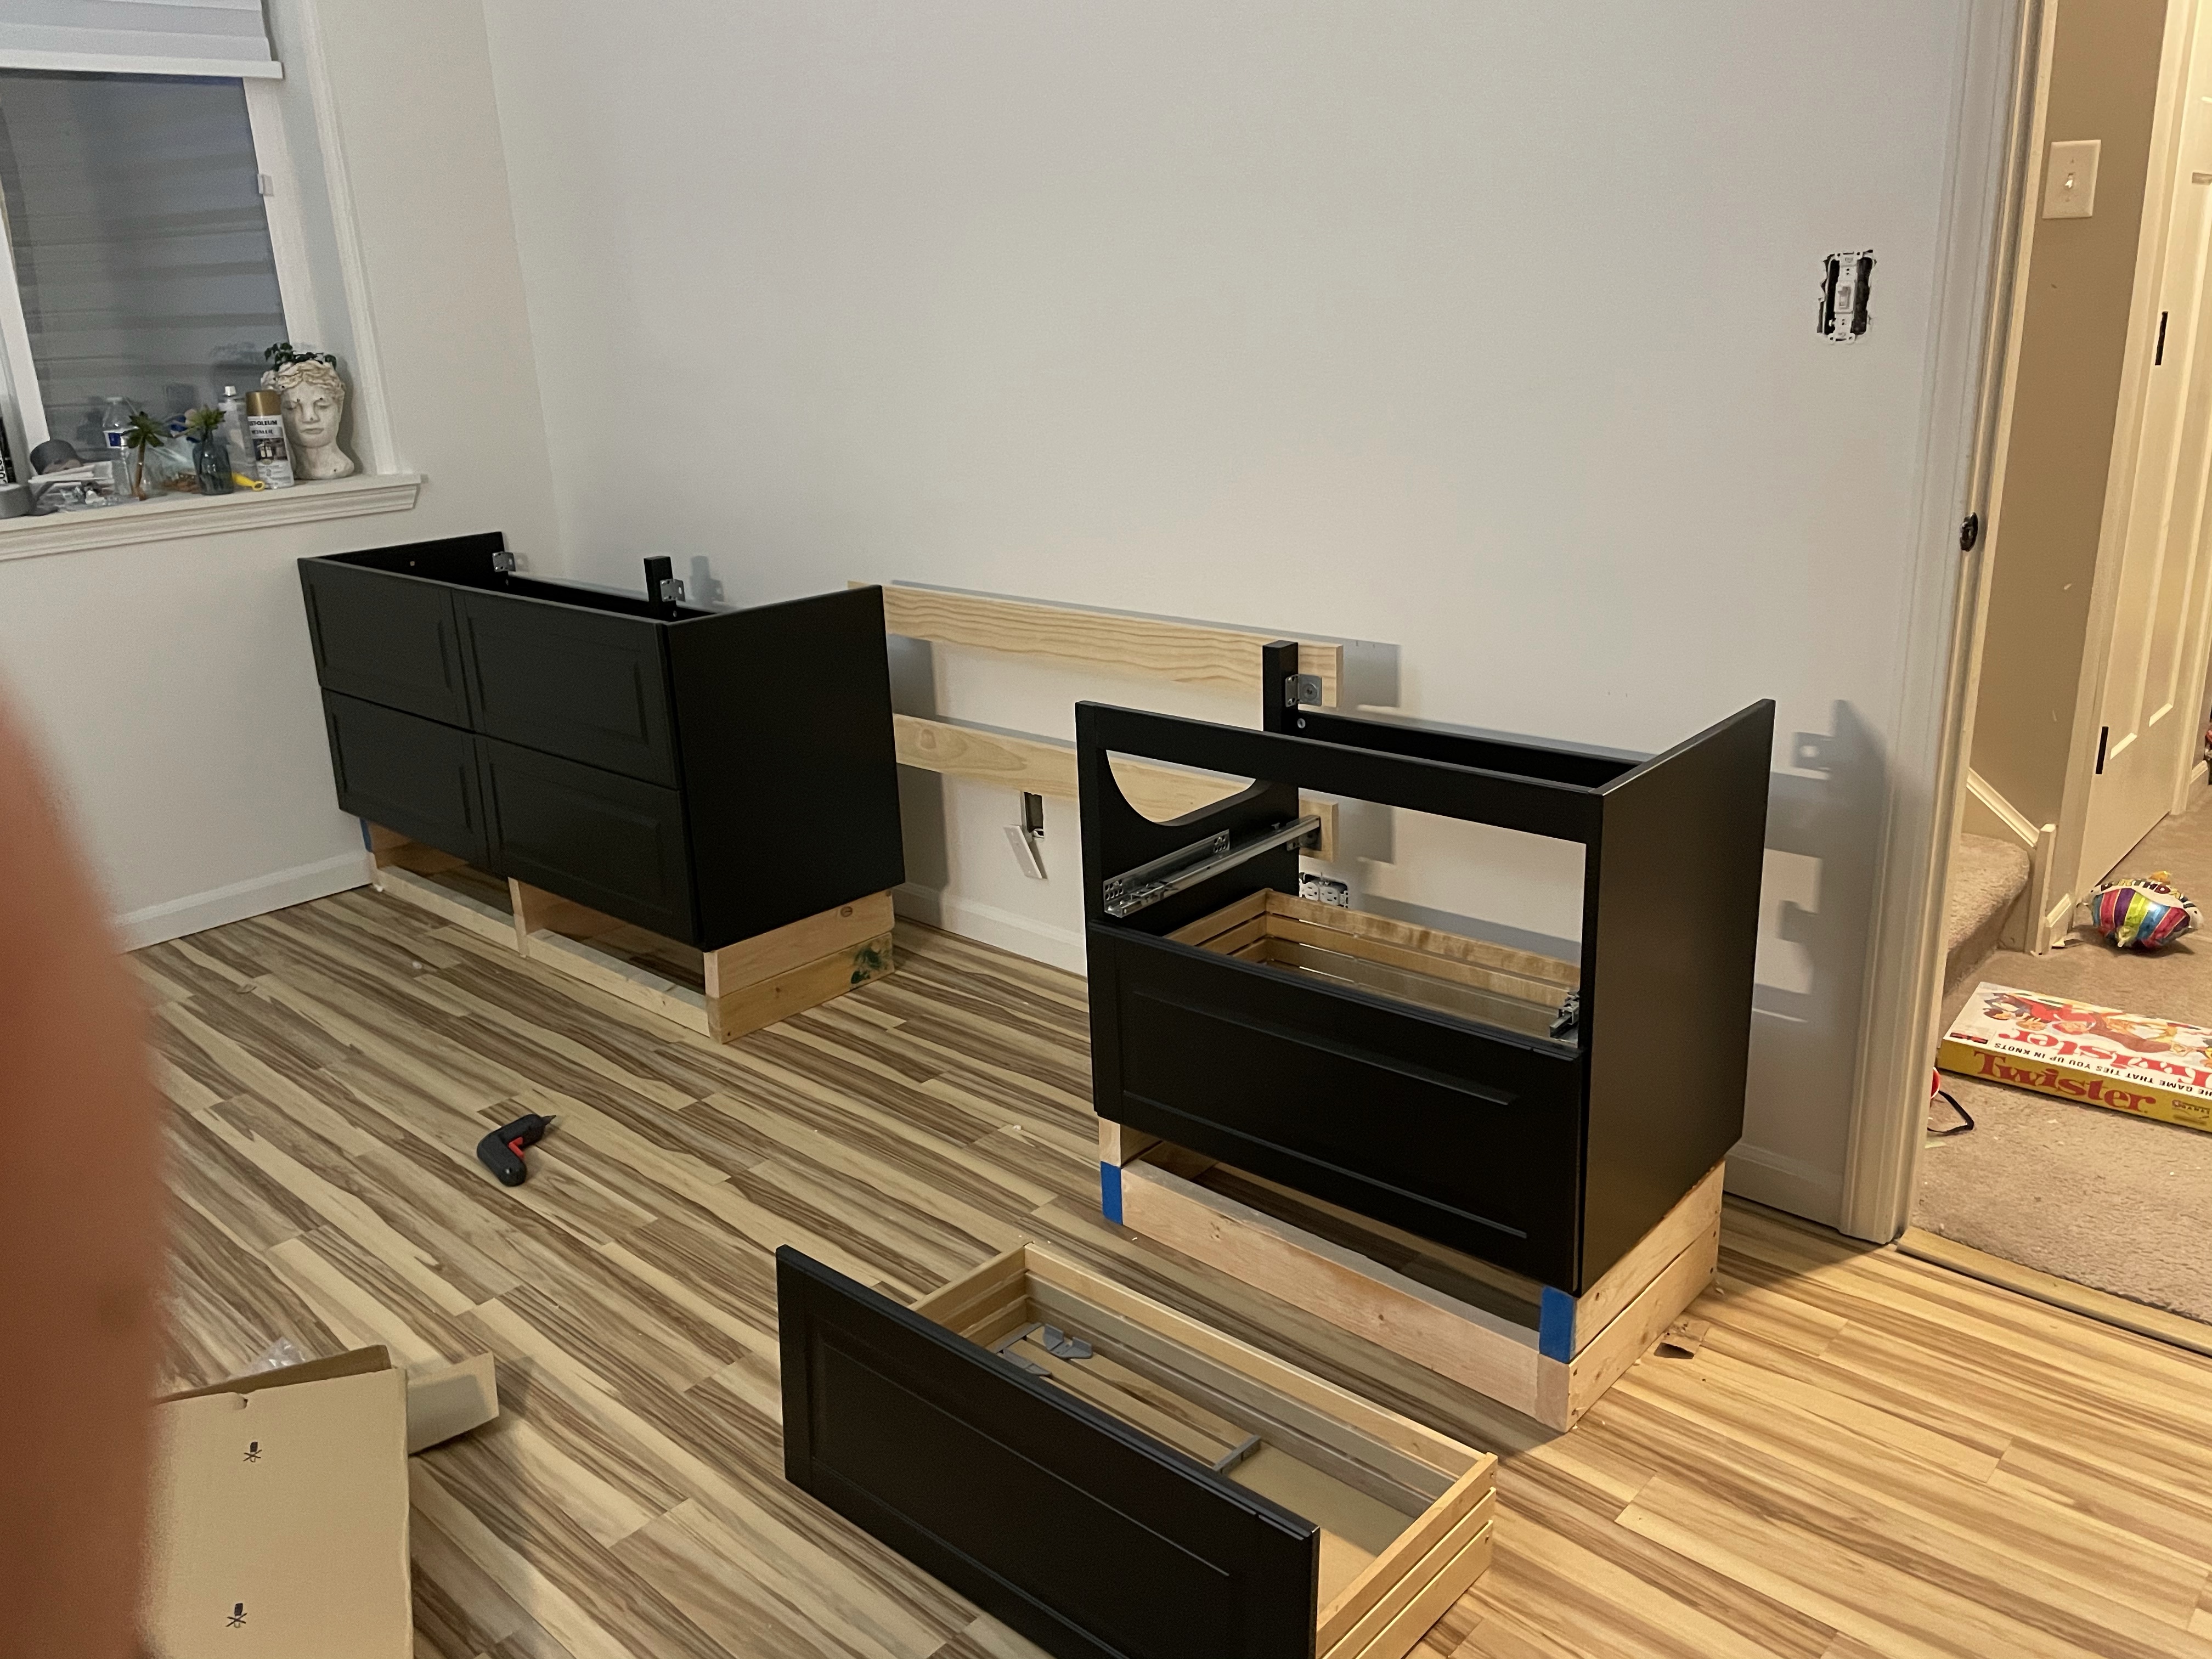
Because these were meant to be for a bathroom the height and depth were a little off. Using scrap 2×4’s we had in our garage we were able to build these cabinets up. And give them more depth so they would be deep, and high enough to sit at.
Countertop
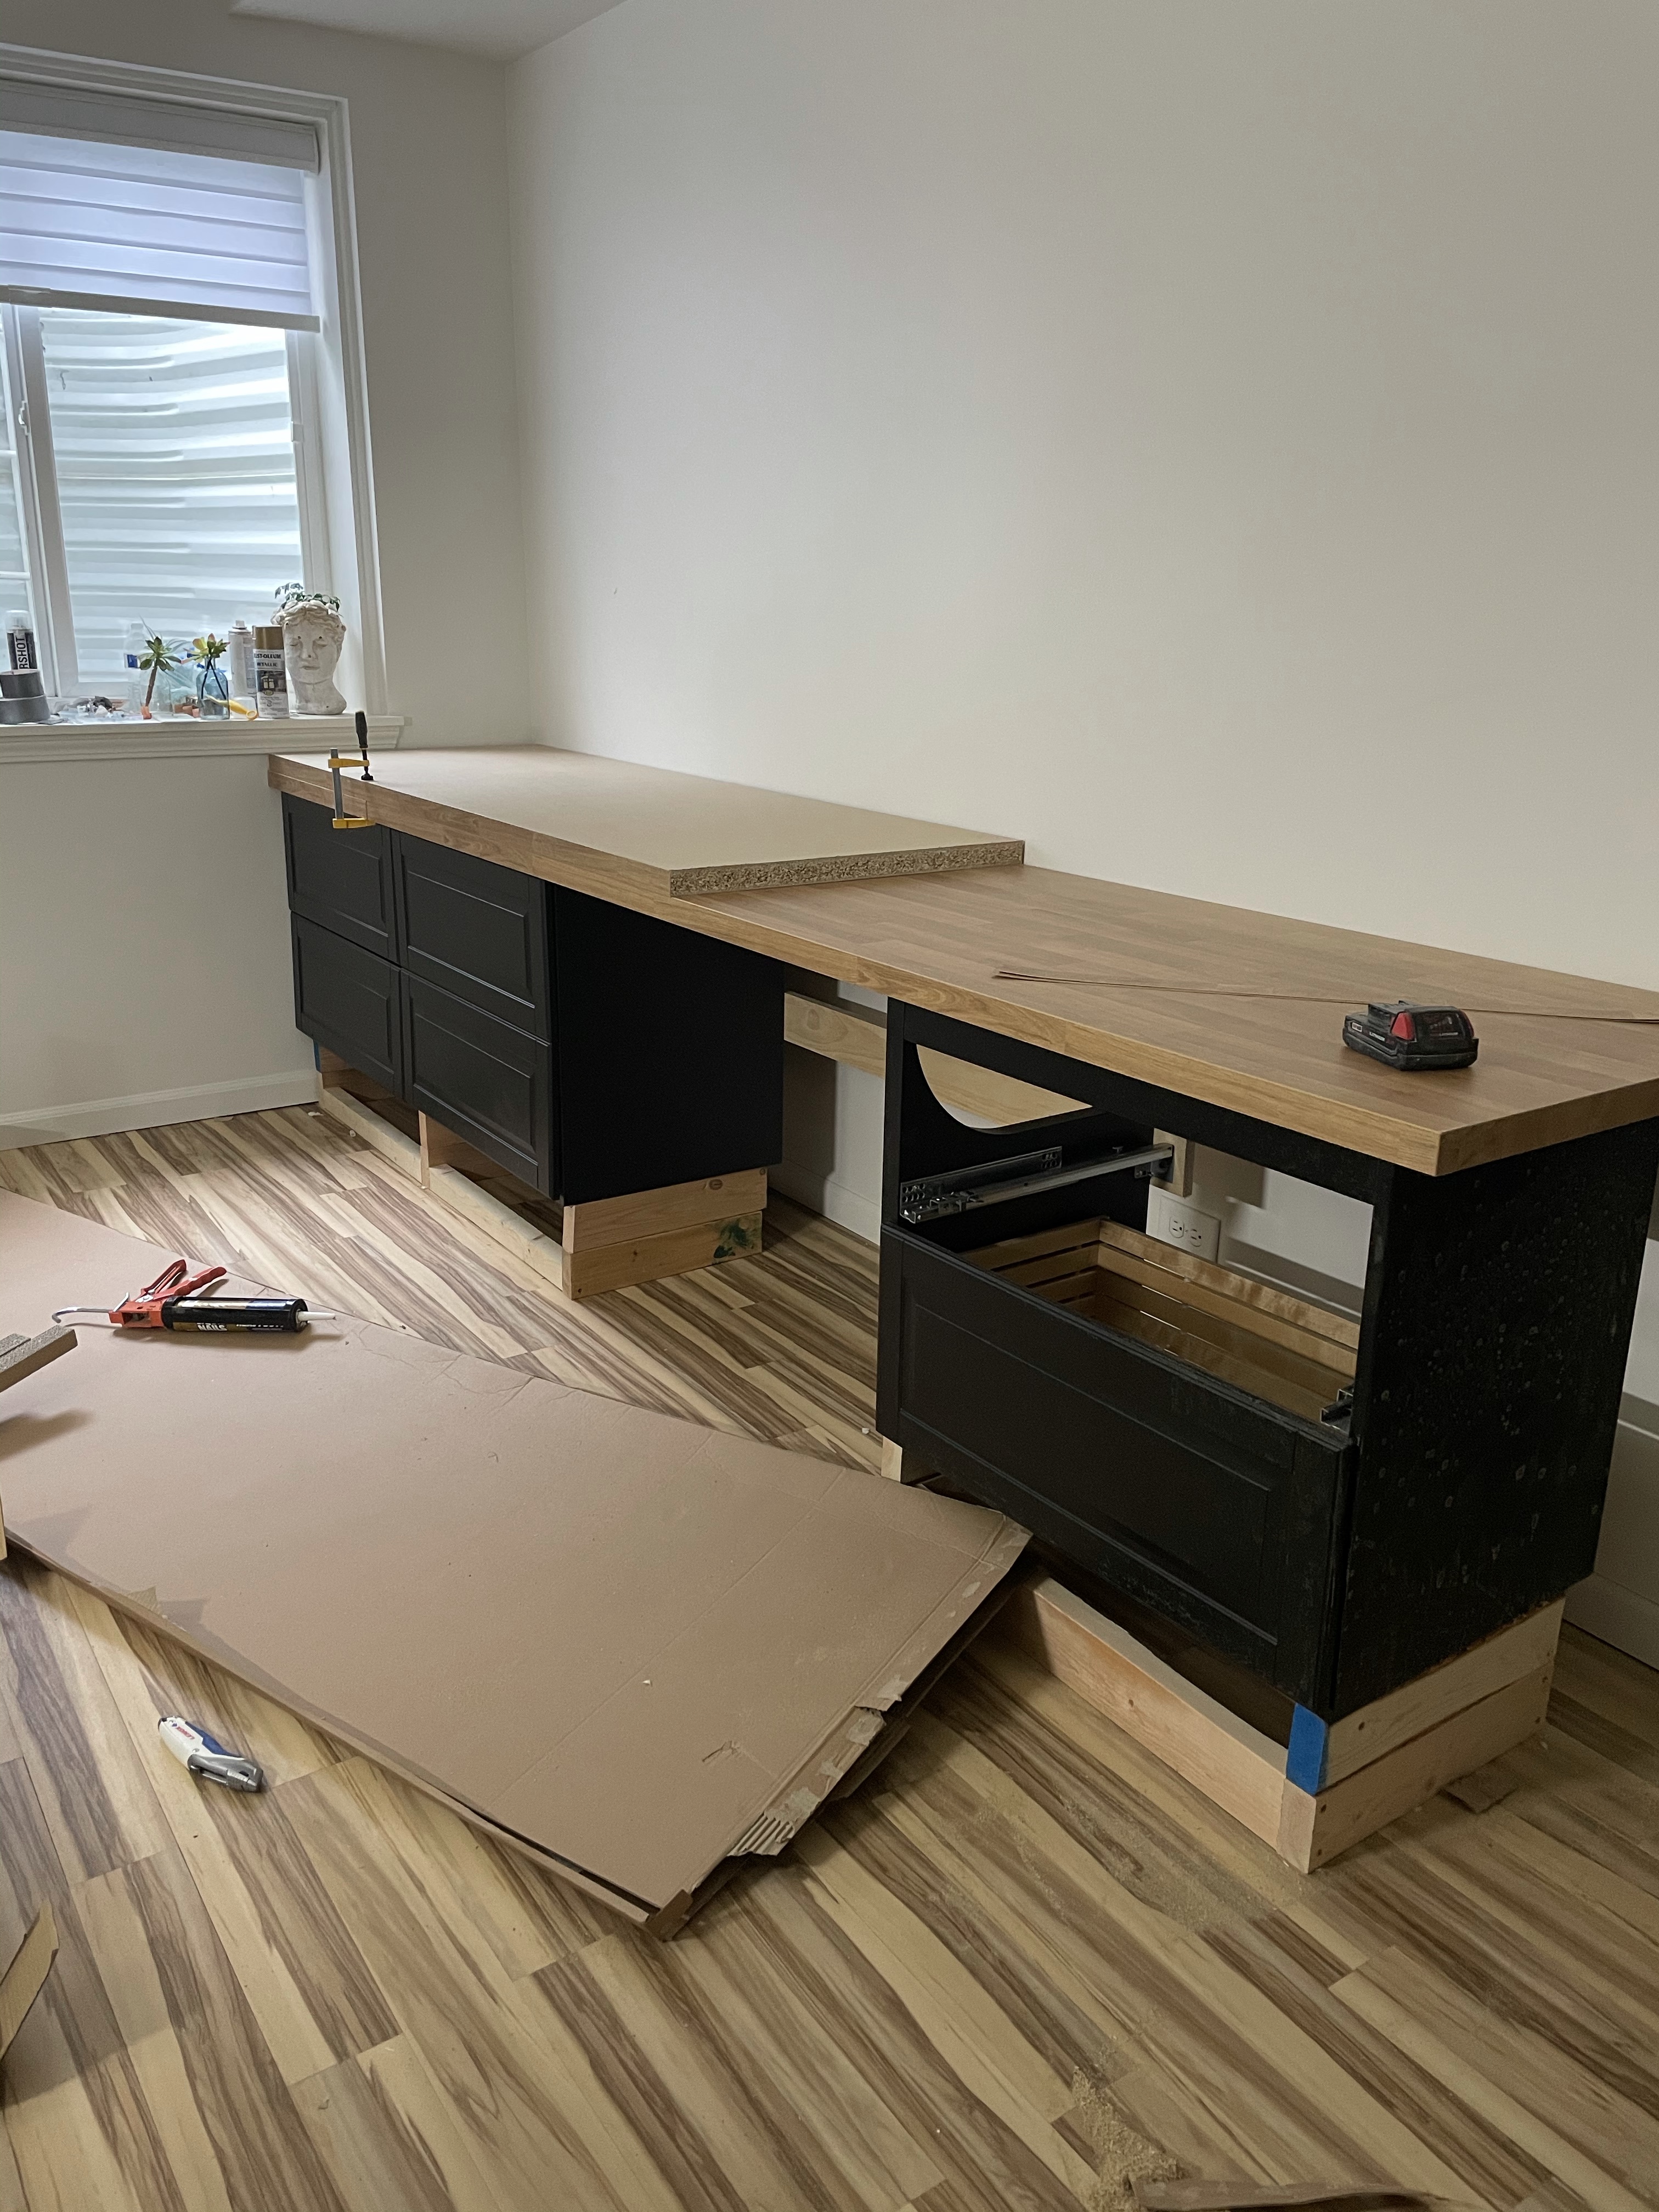
Finding a custom size countertop was my next problem to solve. Then I found laminate butcher block countertops, at Ikea for around $60. So, it was back to Ikea I went, and grabbed two countertops.
Once I was done building the cabinets, and they were mounted to the wall, and it was time for the countertops. One of the countertops had to be cut, down a few feet. But, on the plus side, I will use the extra for the basement bar project. Using silicone caulk we caulked this to the cabinets and to the wall. Letting it sit for about 48 hours, and now it was time to build the shelves.
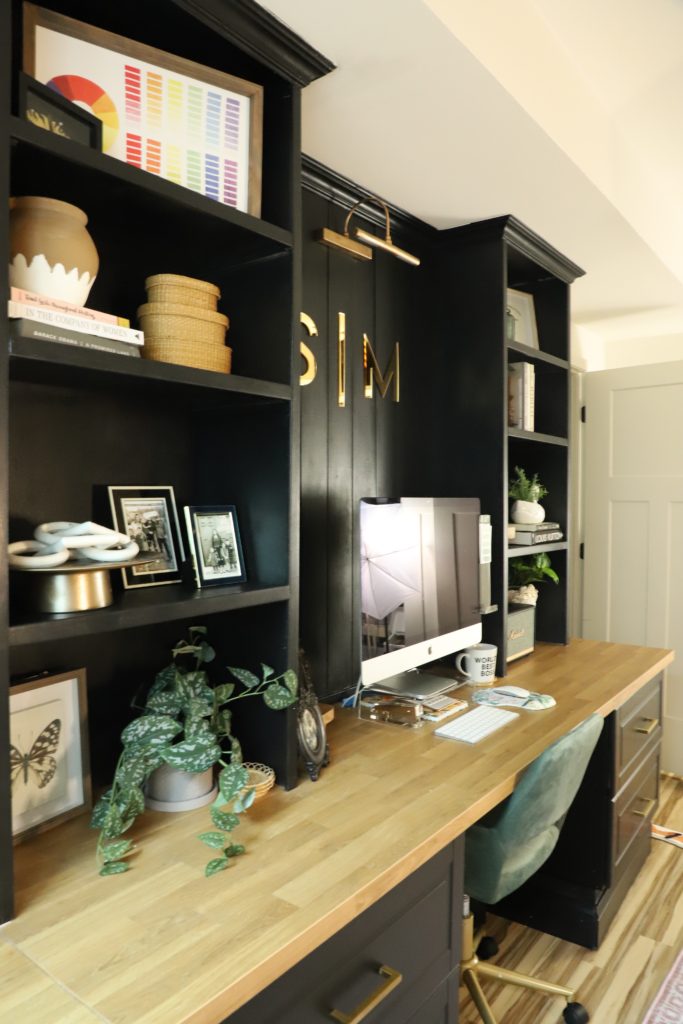
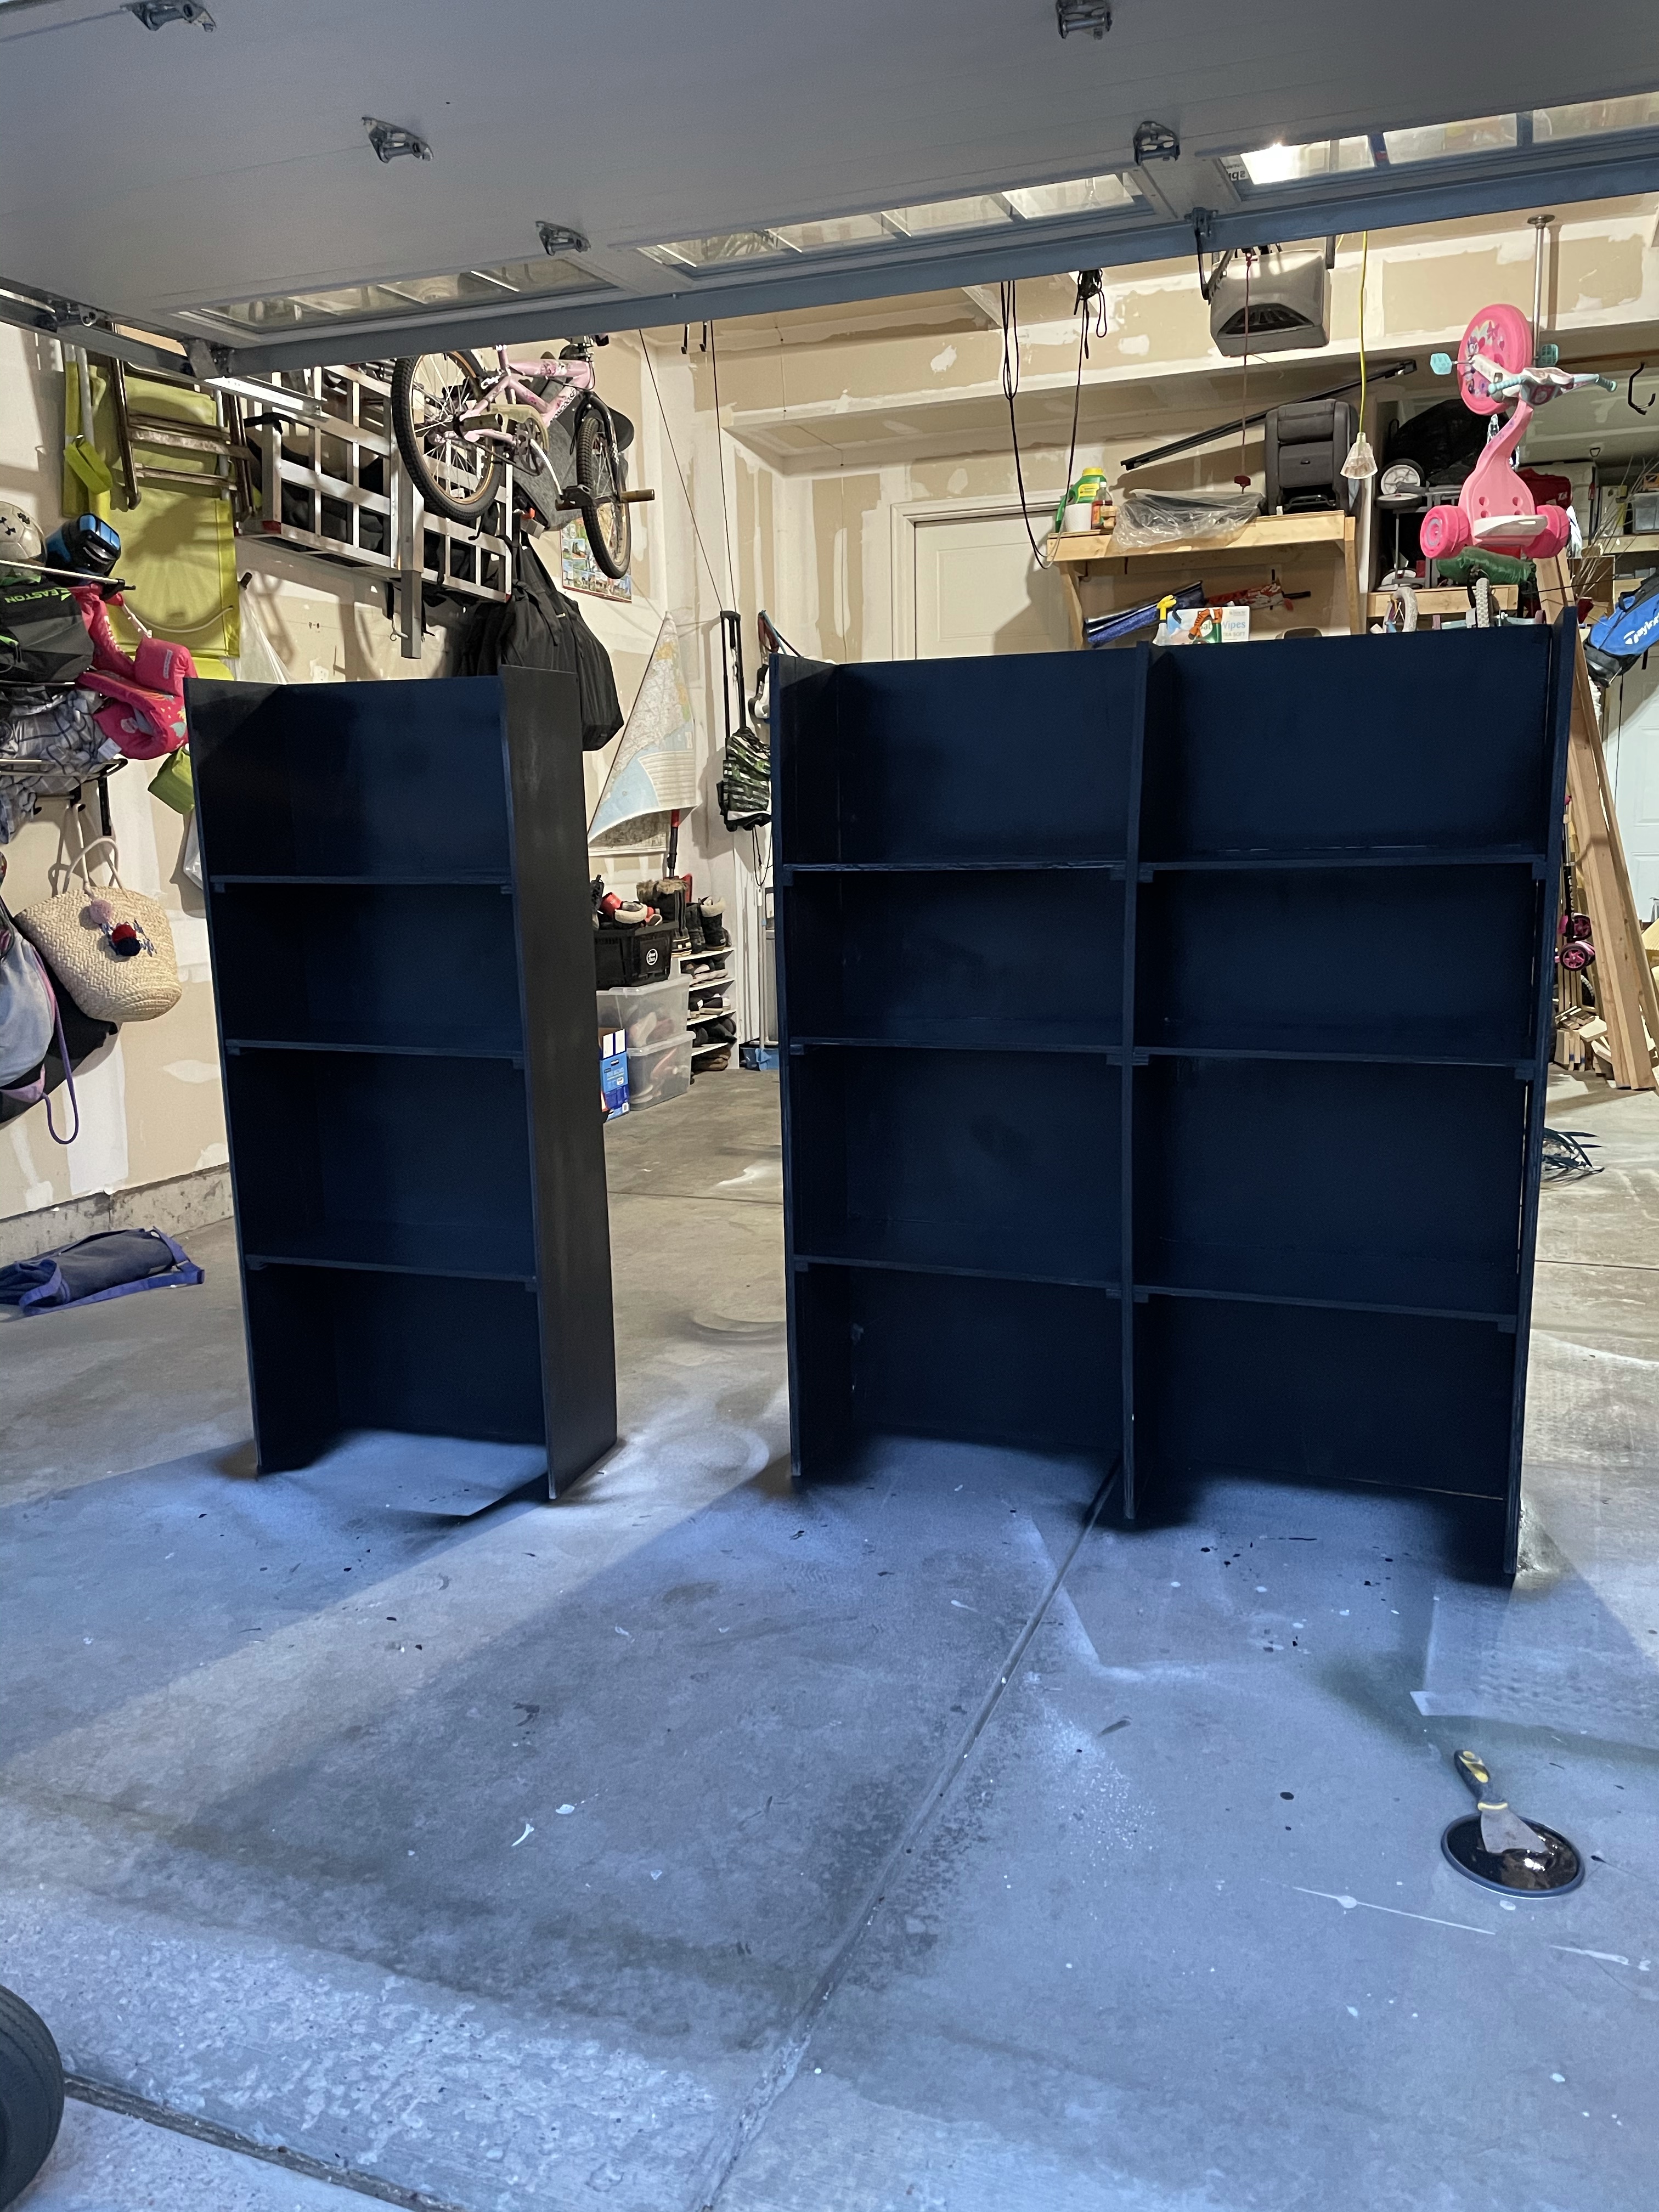
Top Shelves
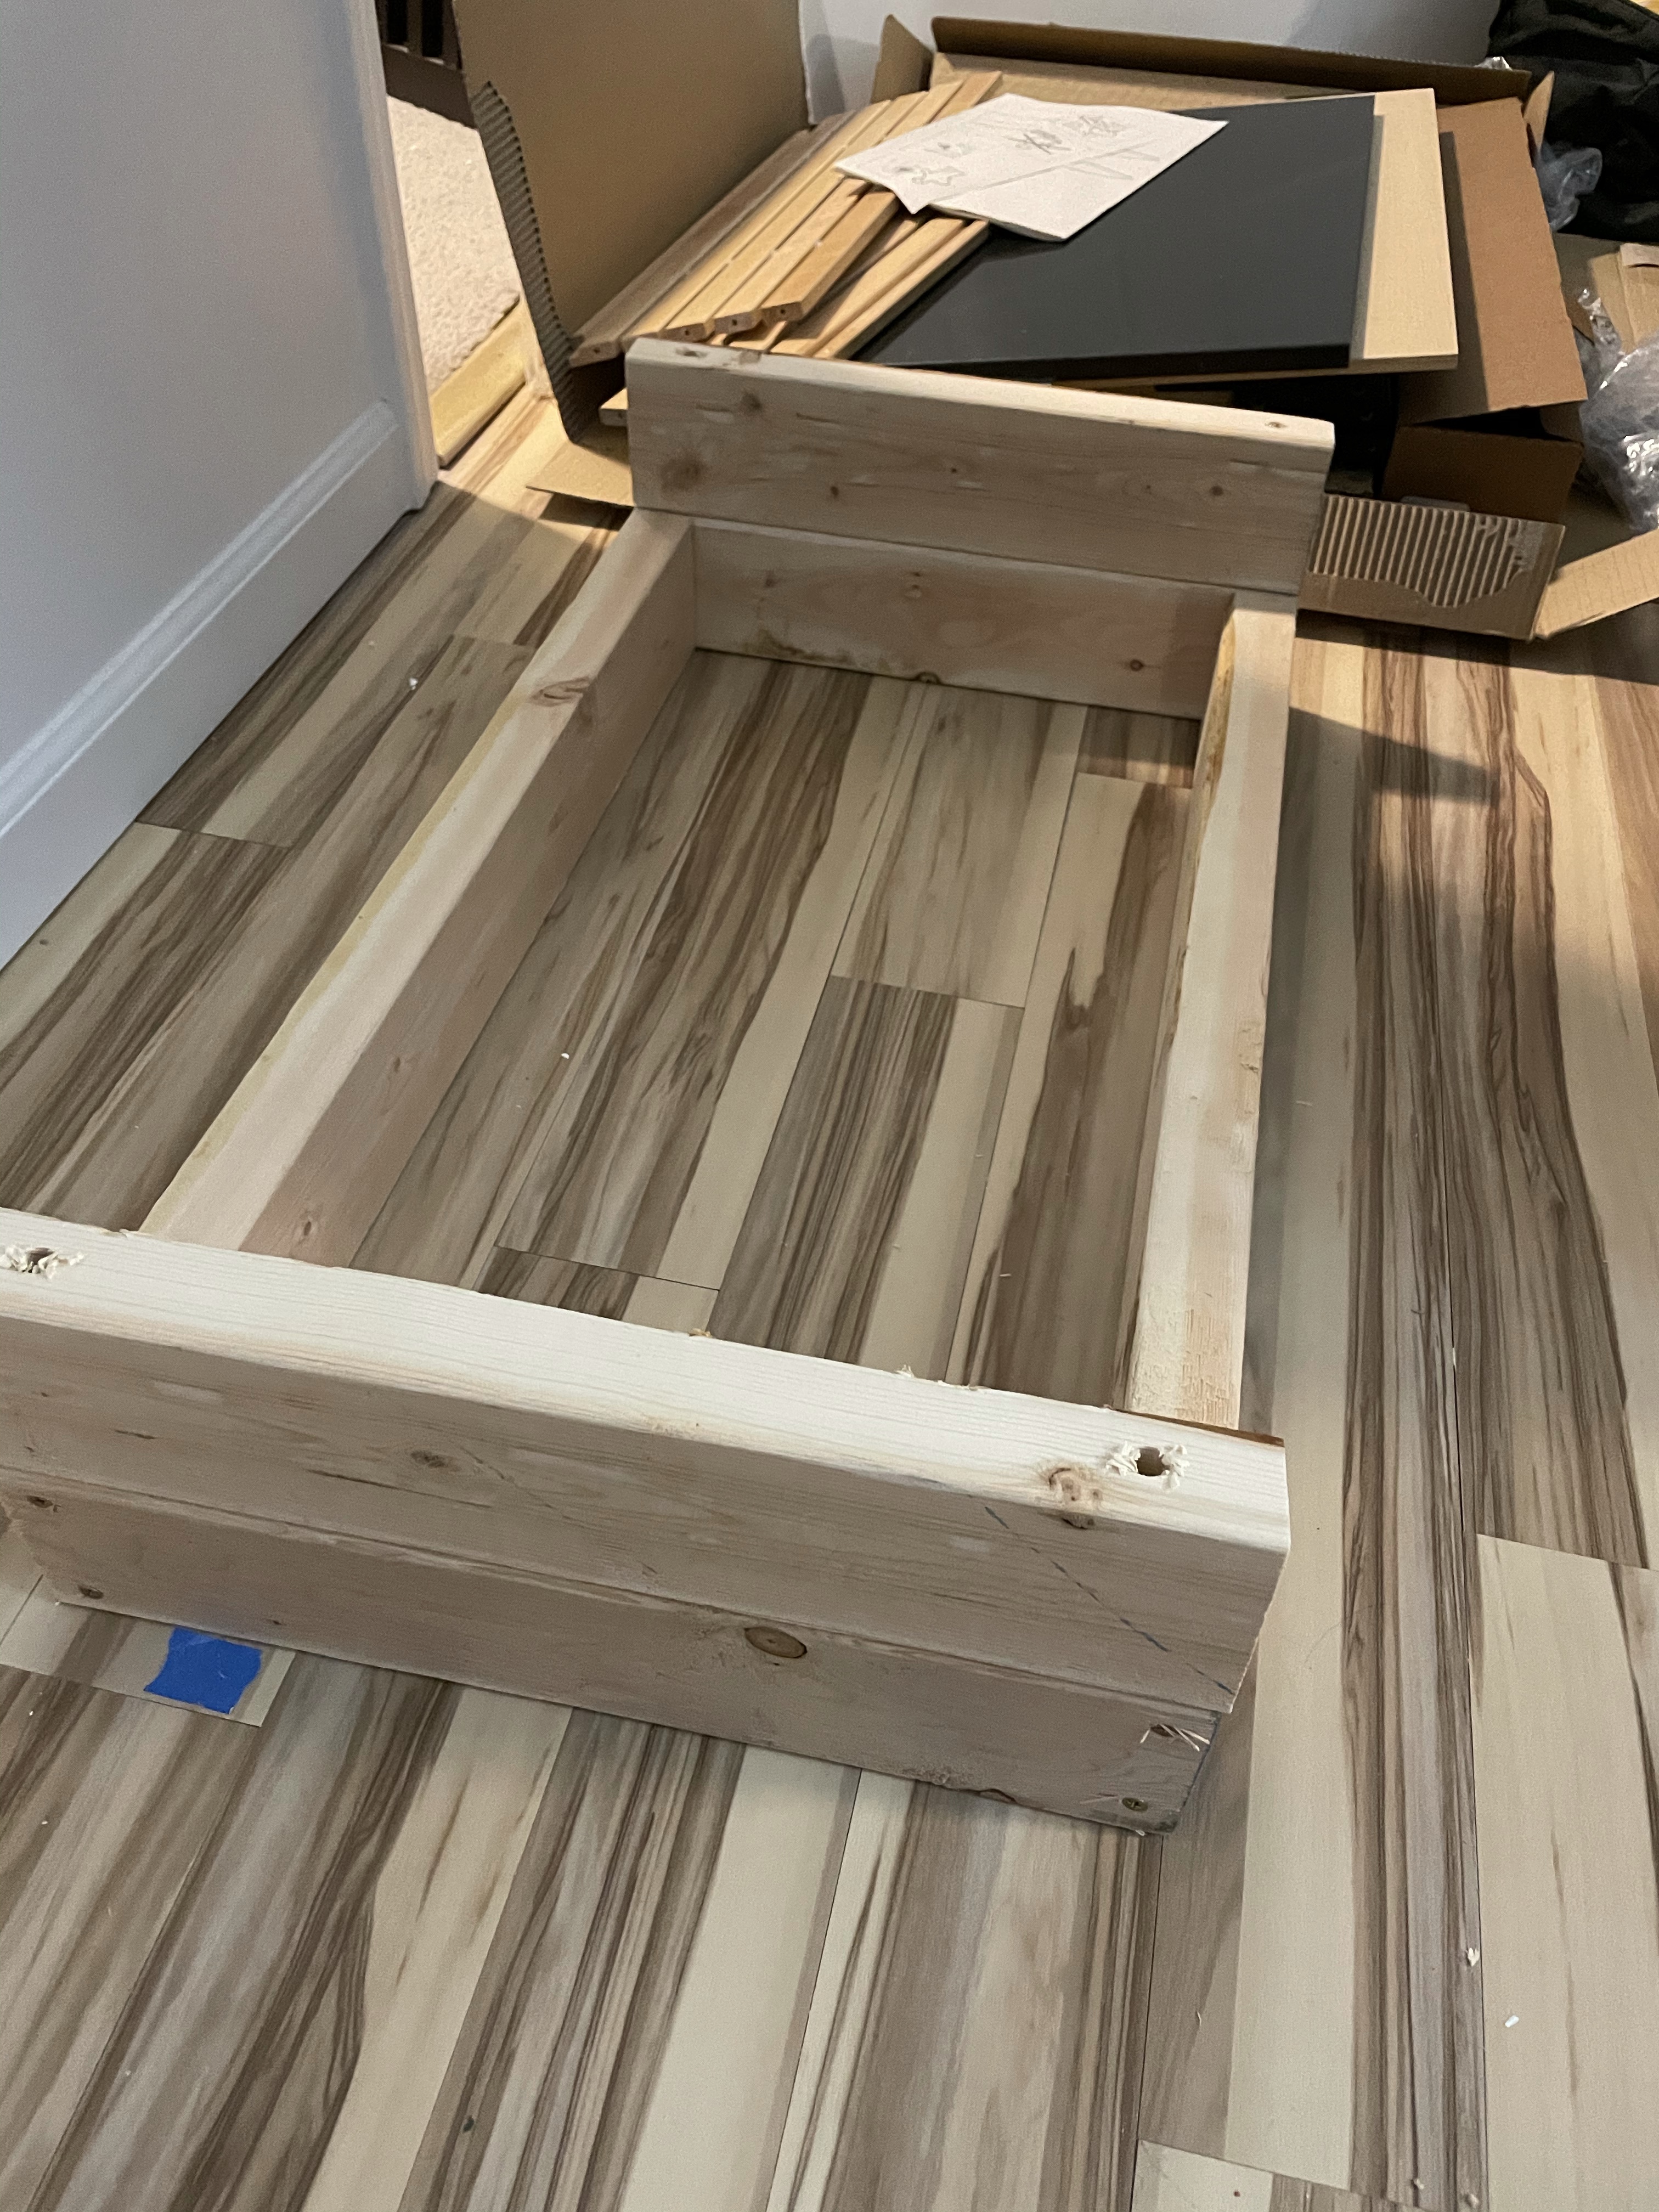
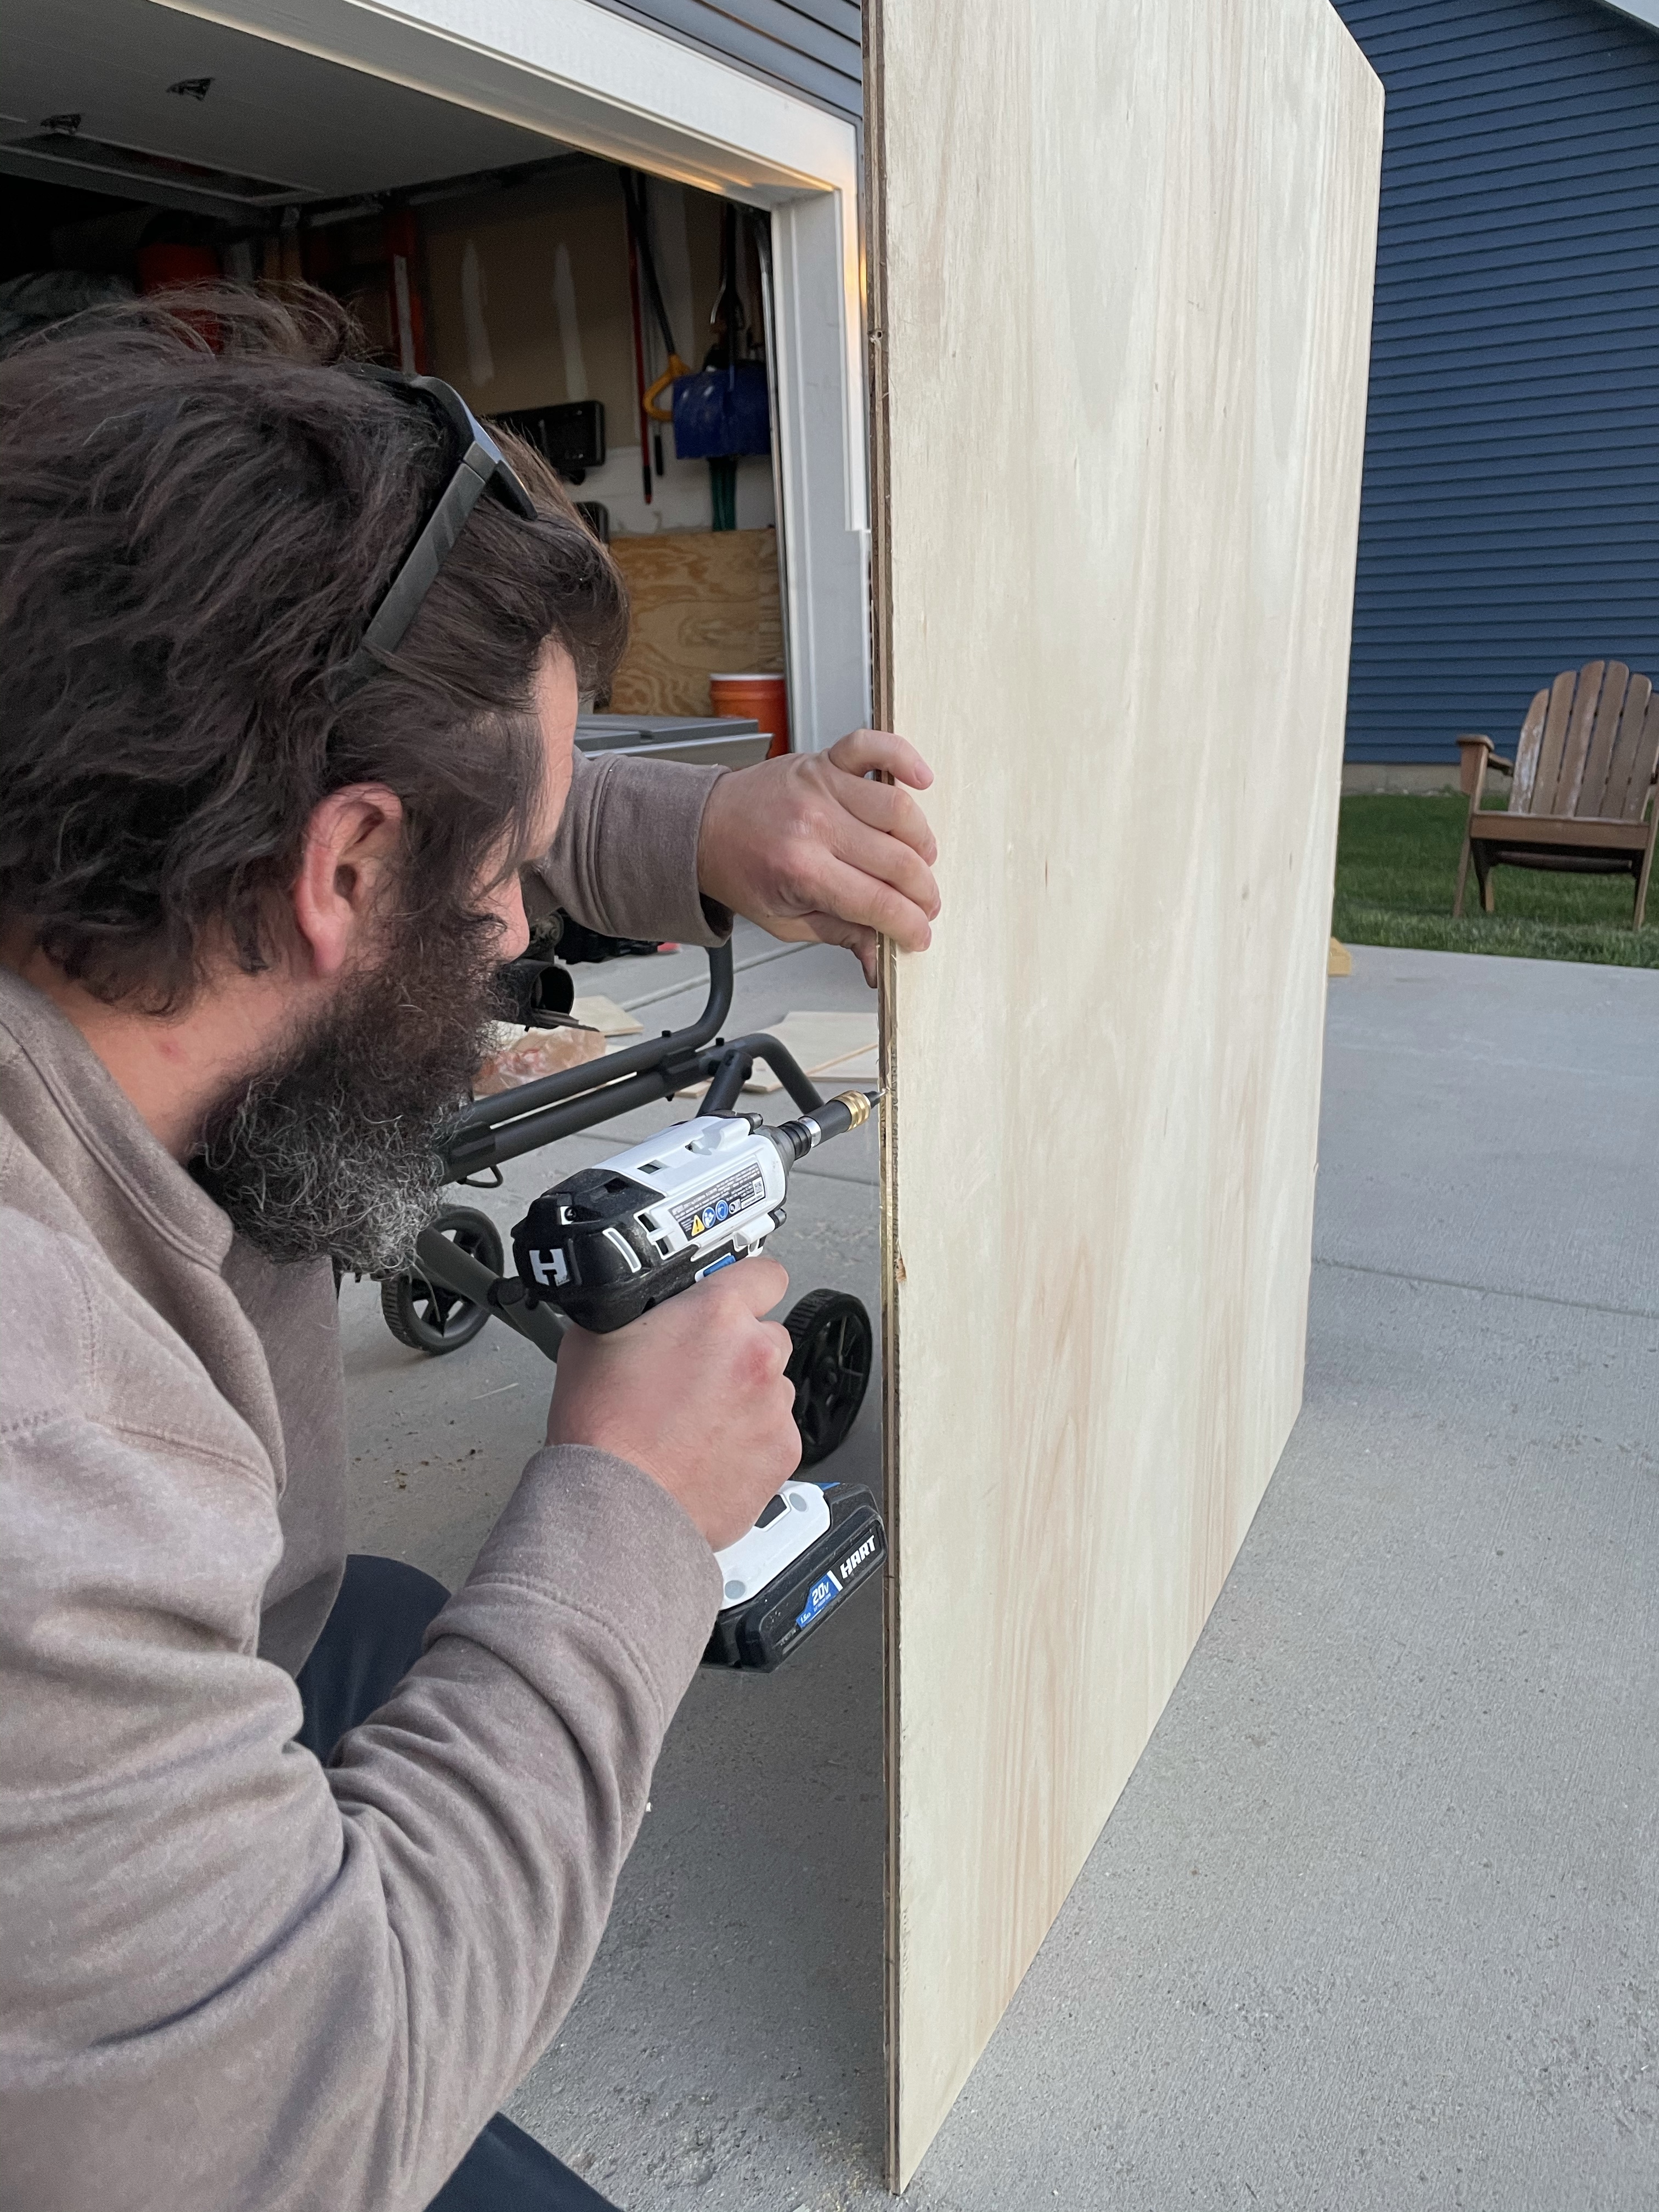
Off to Home Depot I went for some plywood. Picking up three-quarter SANDE plywood. Then it was time to get out the table saw and cut these down. Using my table saw I cut all the pieces down to the correct sizes I needed. Now it was time to assemble the shelves. (If you don’t own a table saw, Home Depot can cut them for you!)
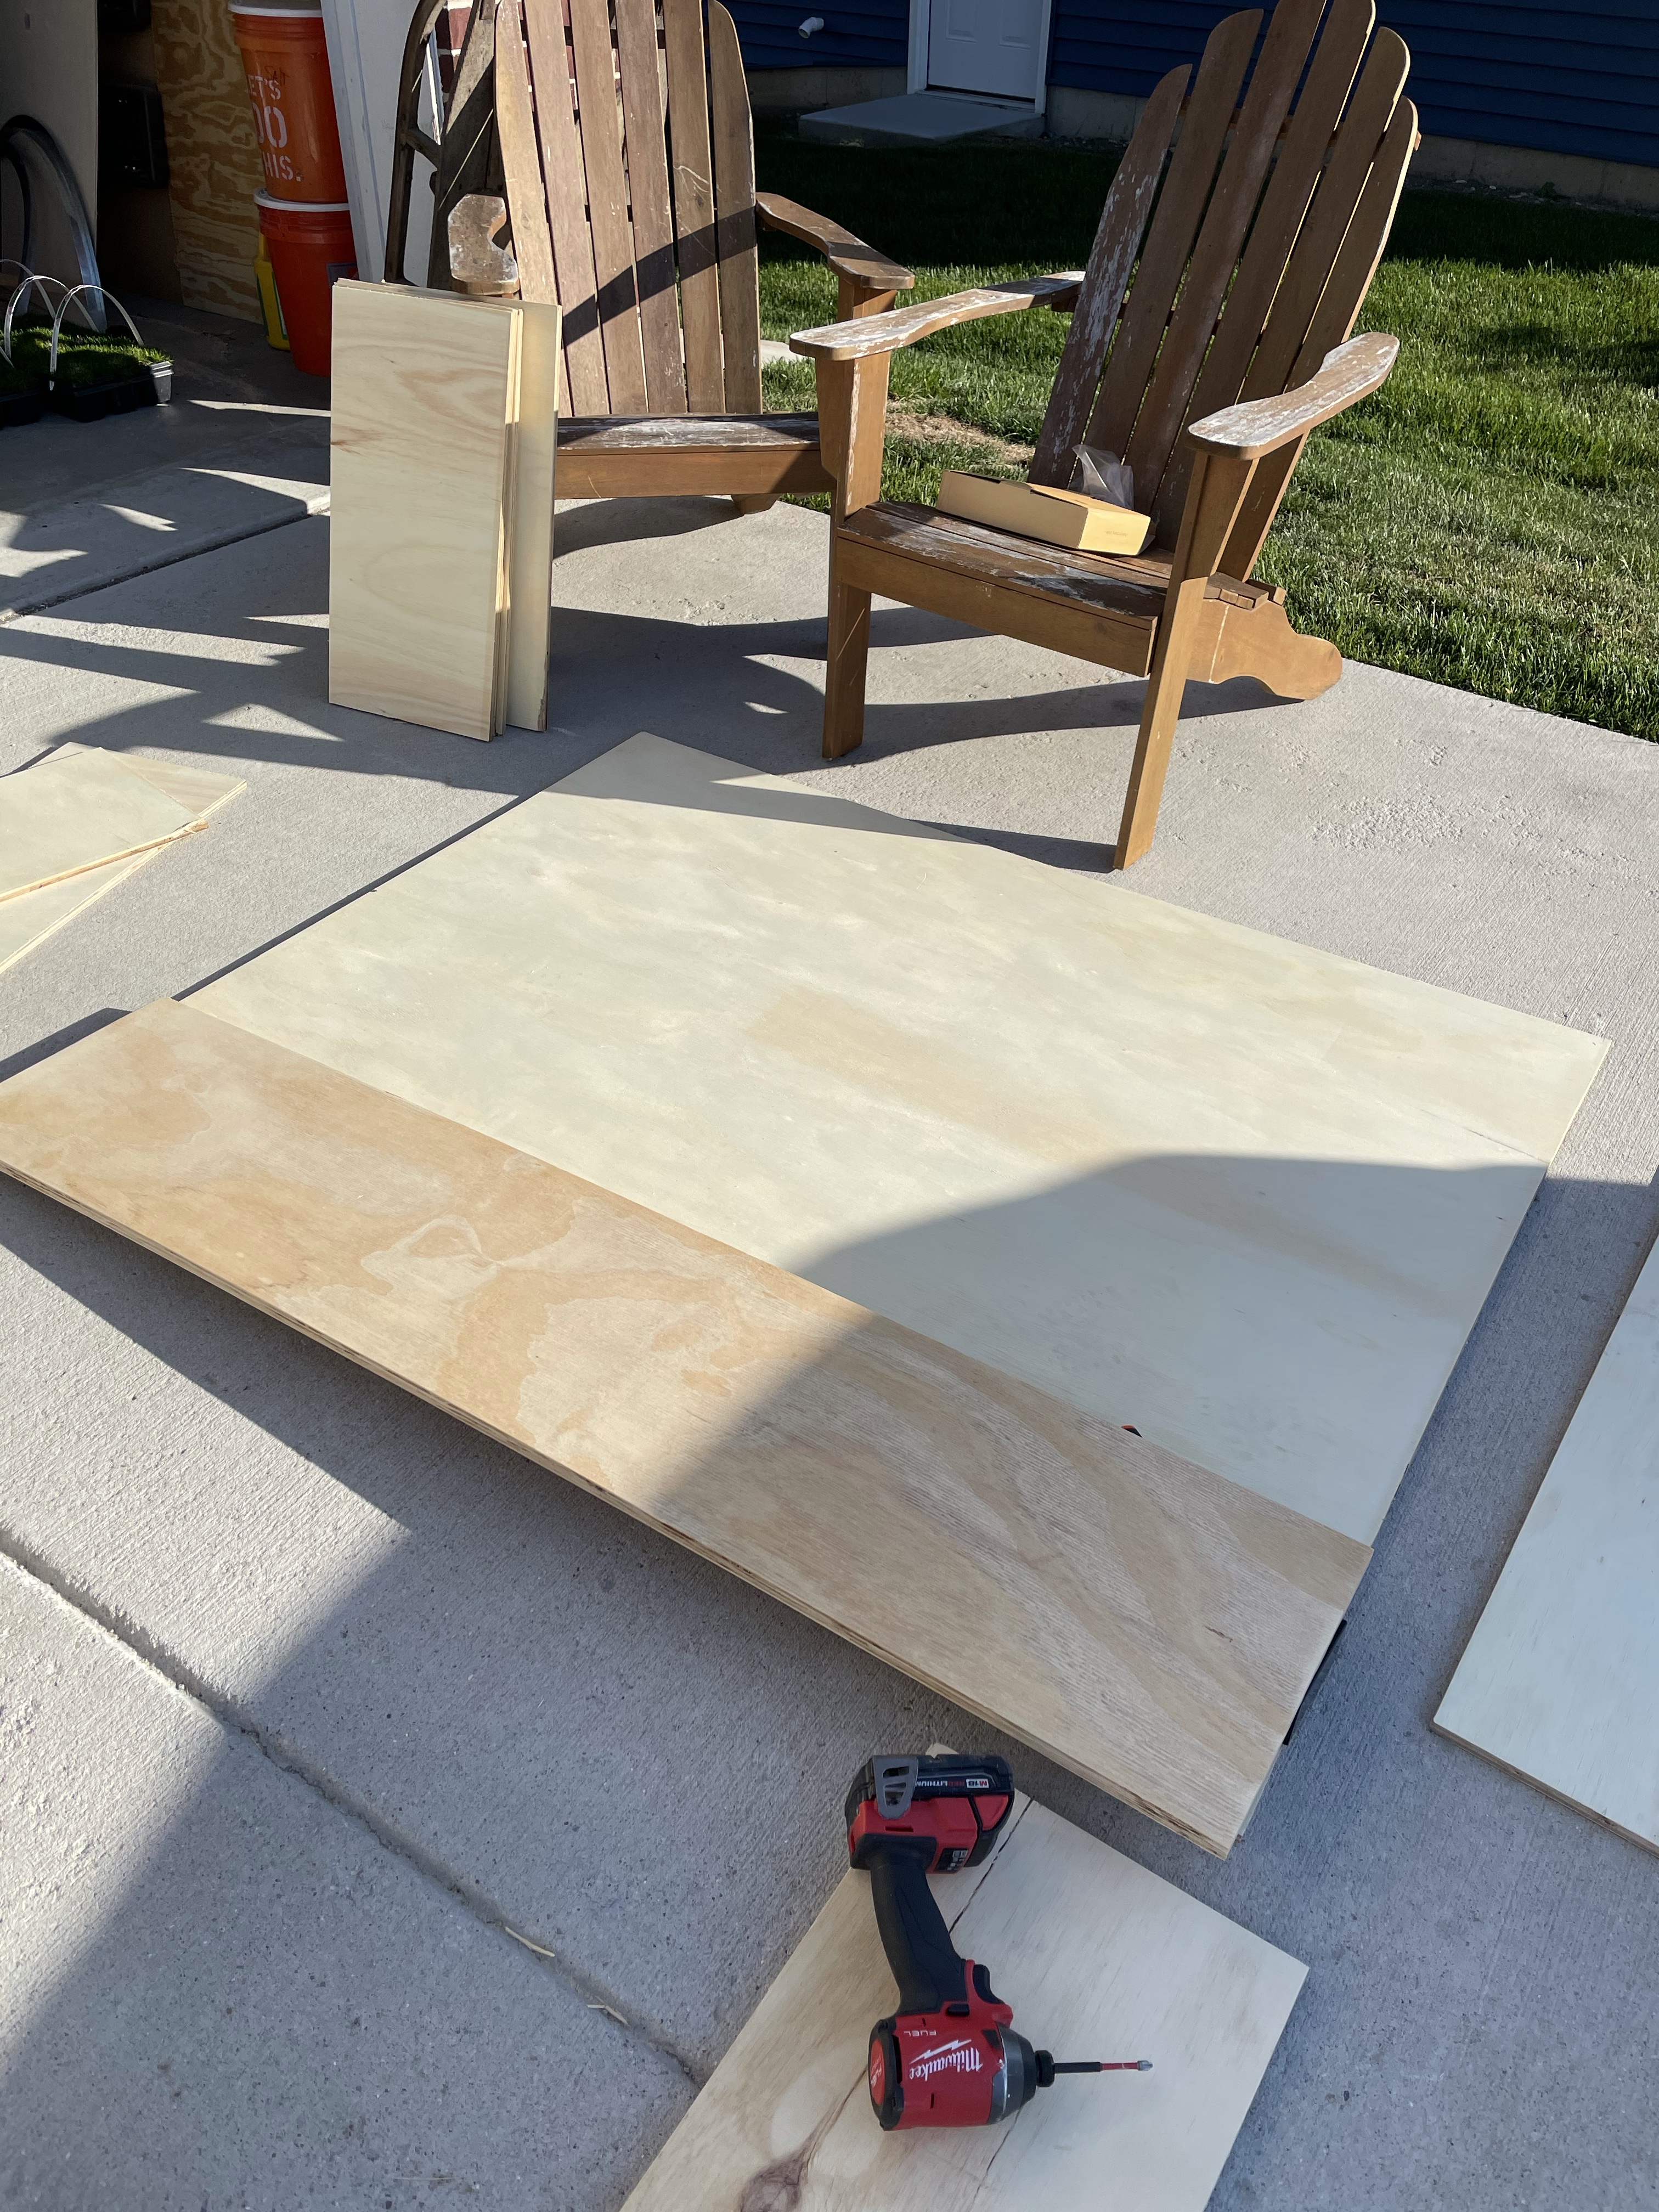
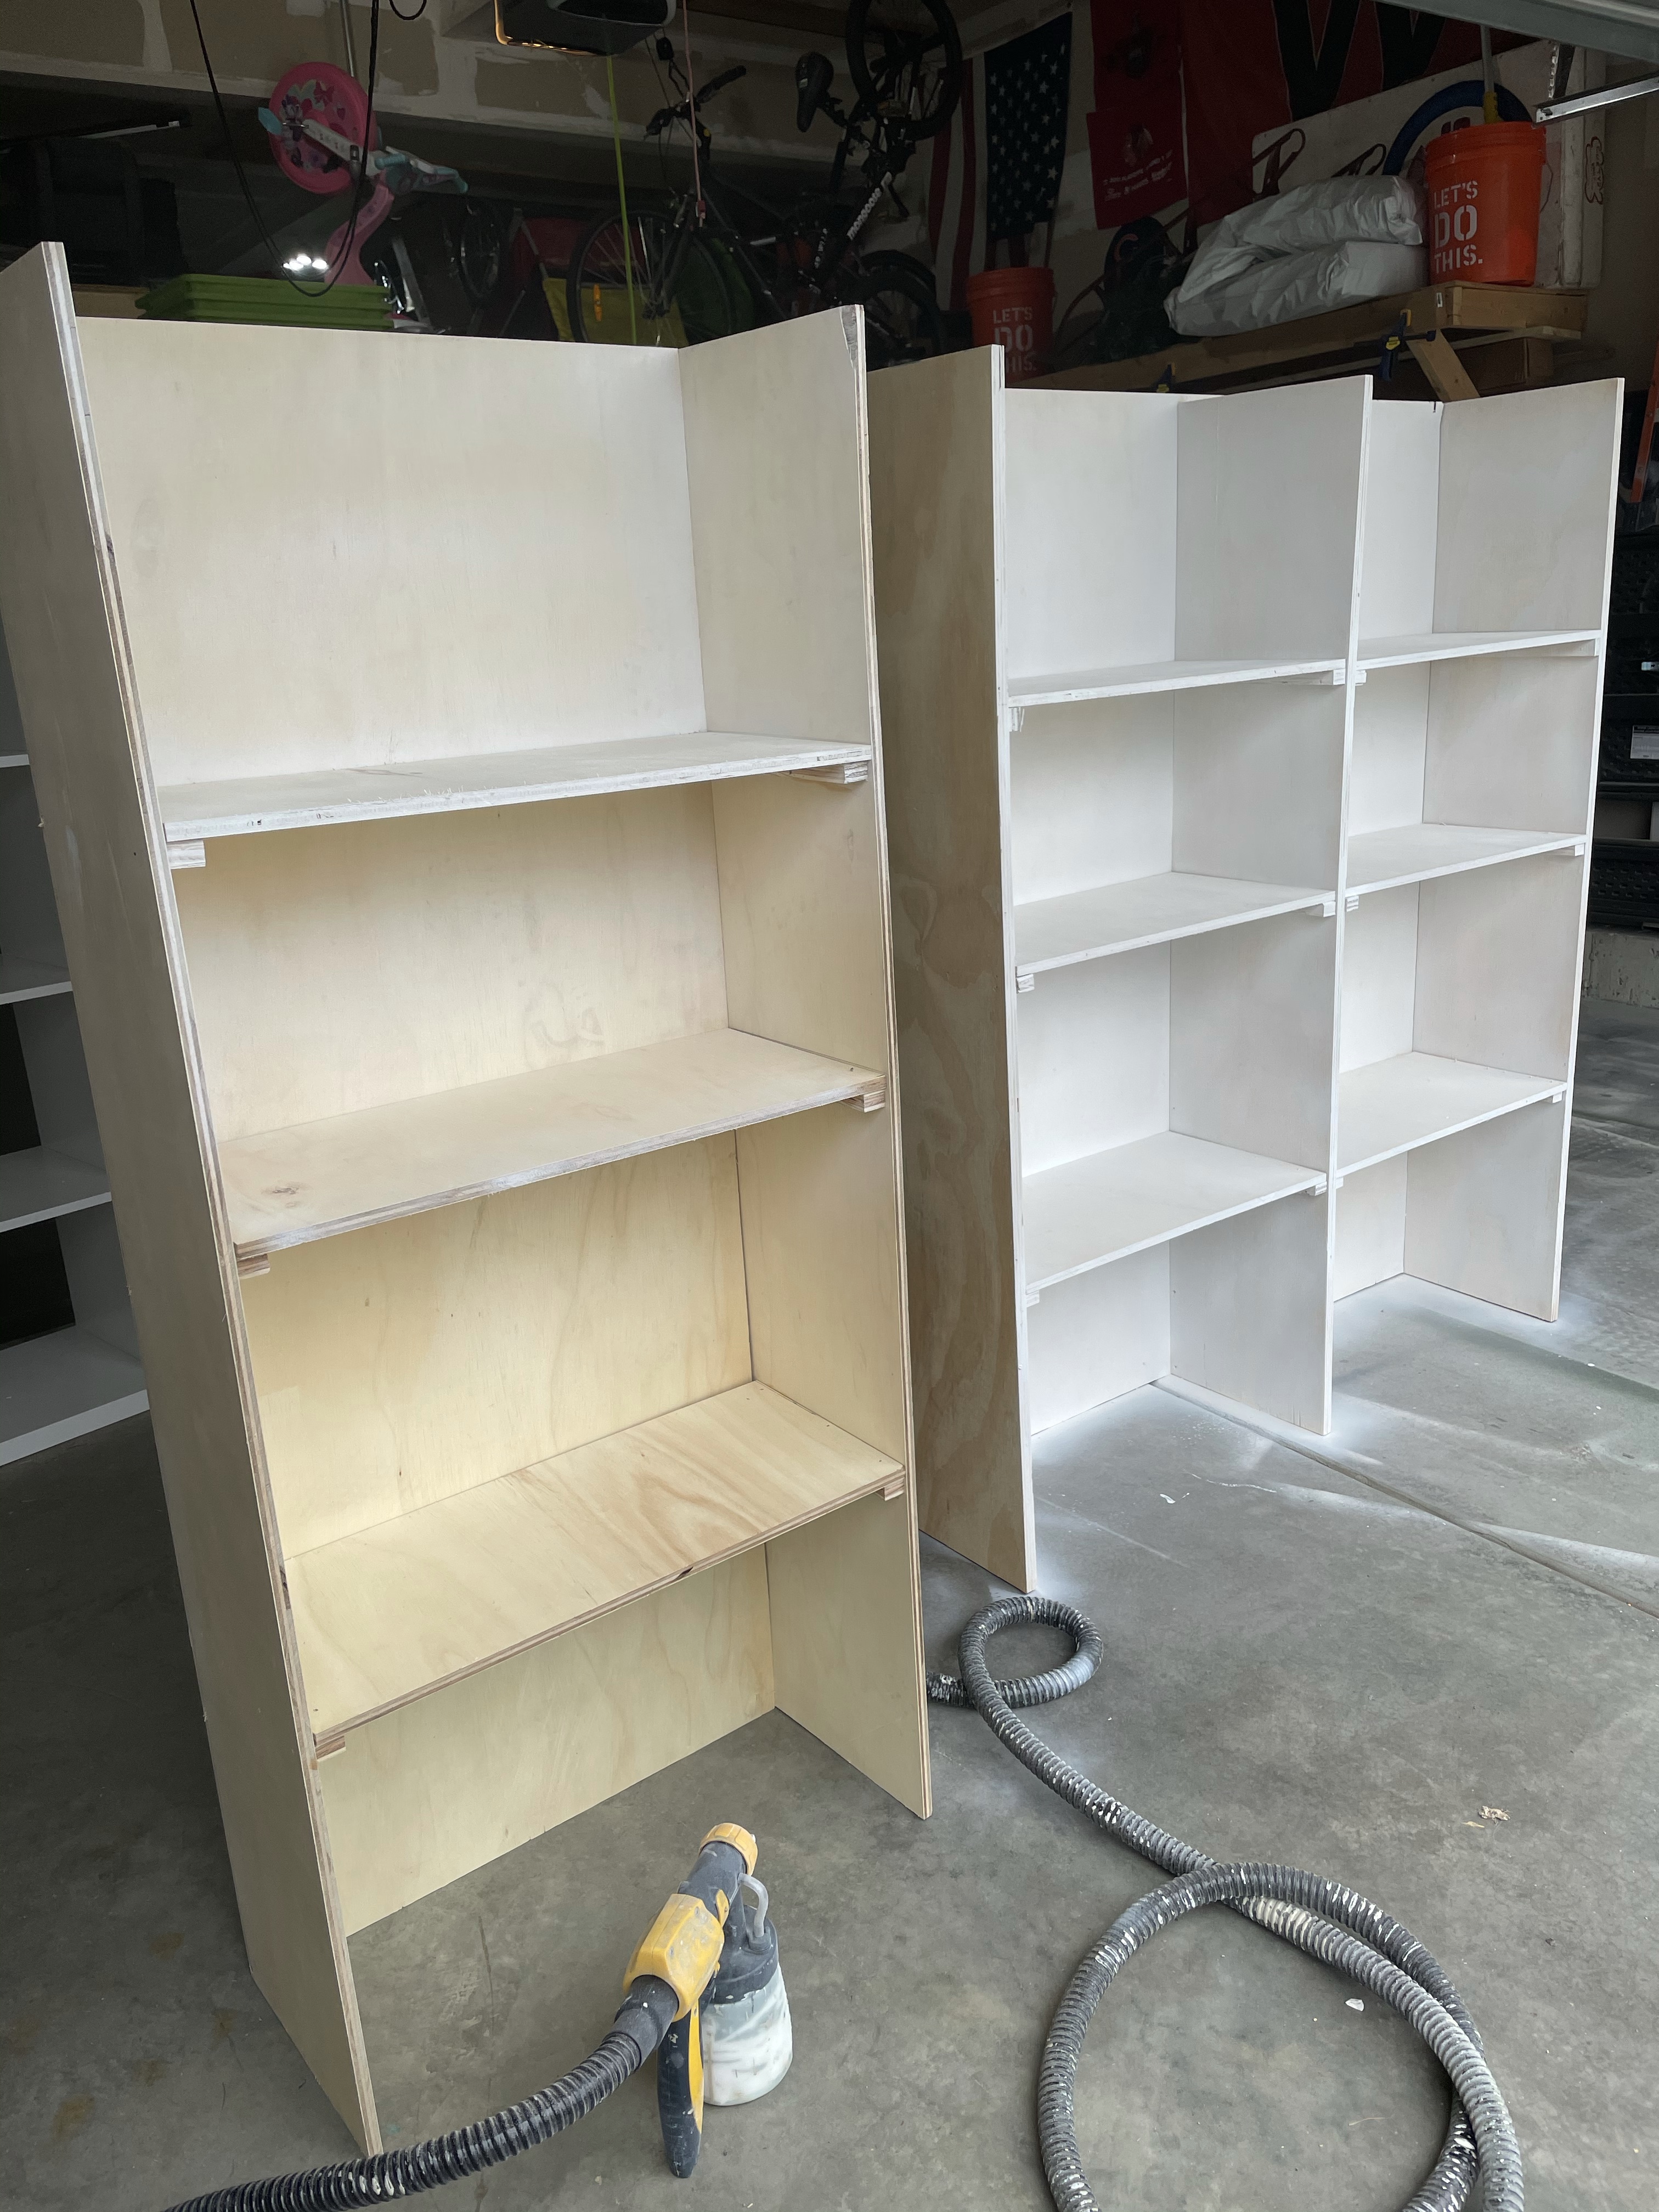
We started with the sides and the back of the shelves. Screwing them together with wood screws. Next it was time for the shelves. With the cut shelves, and using the brad nailer we nailed them to the sides and the back, and used wood glue for extra holding. Extra support to make sure these shelves didn’t go anywhere was a must, we cut down small pieces and nailed and glued them under each shelf. Once the glue was dry, I primed with two coats, and then two coats of Sherwin Williams Tricorn Black.
Making pre drilled holes for back of the shelf units 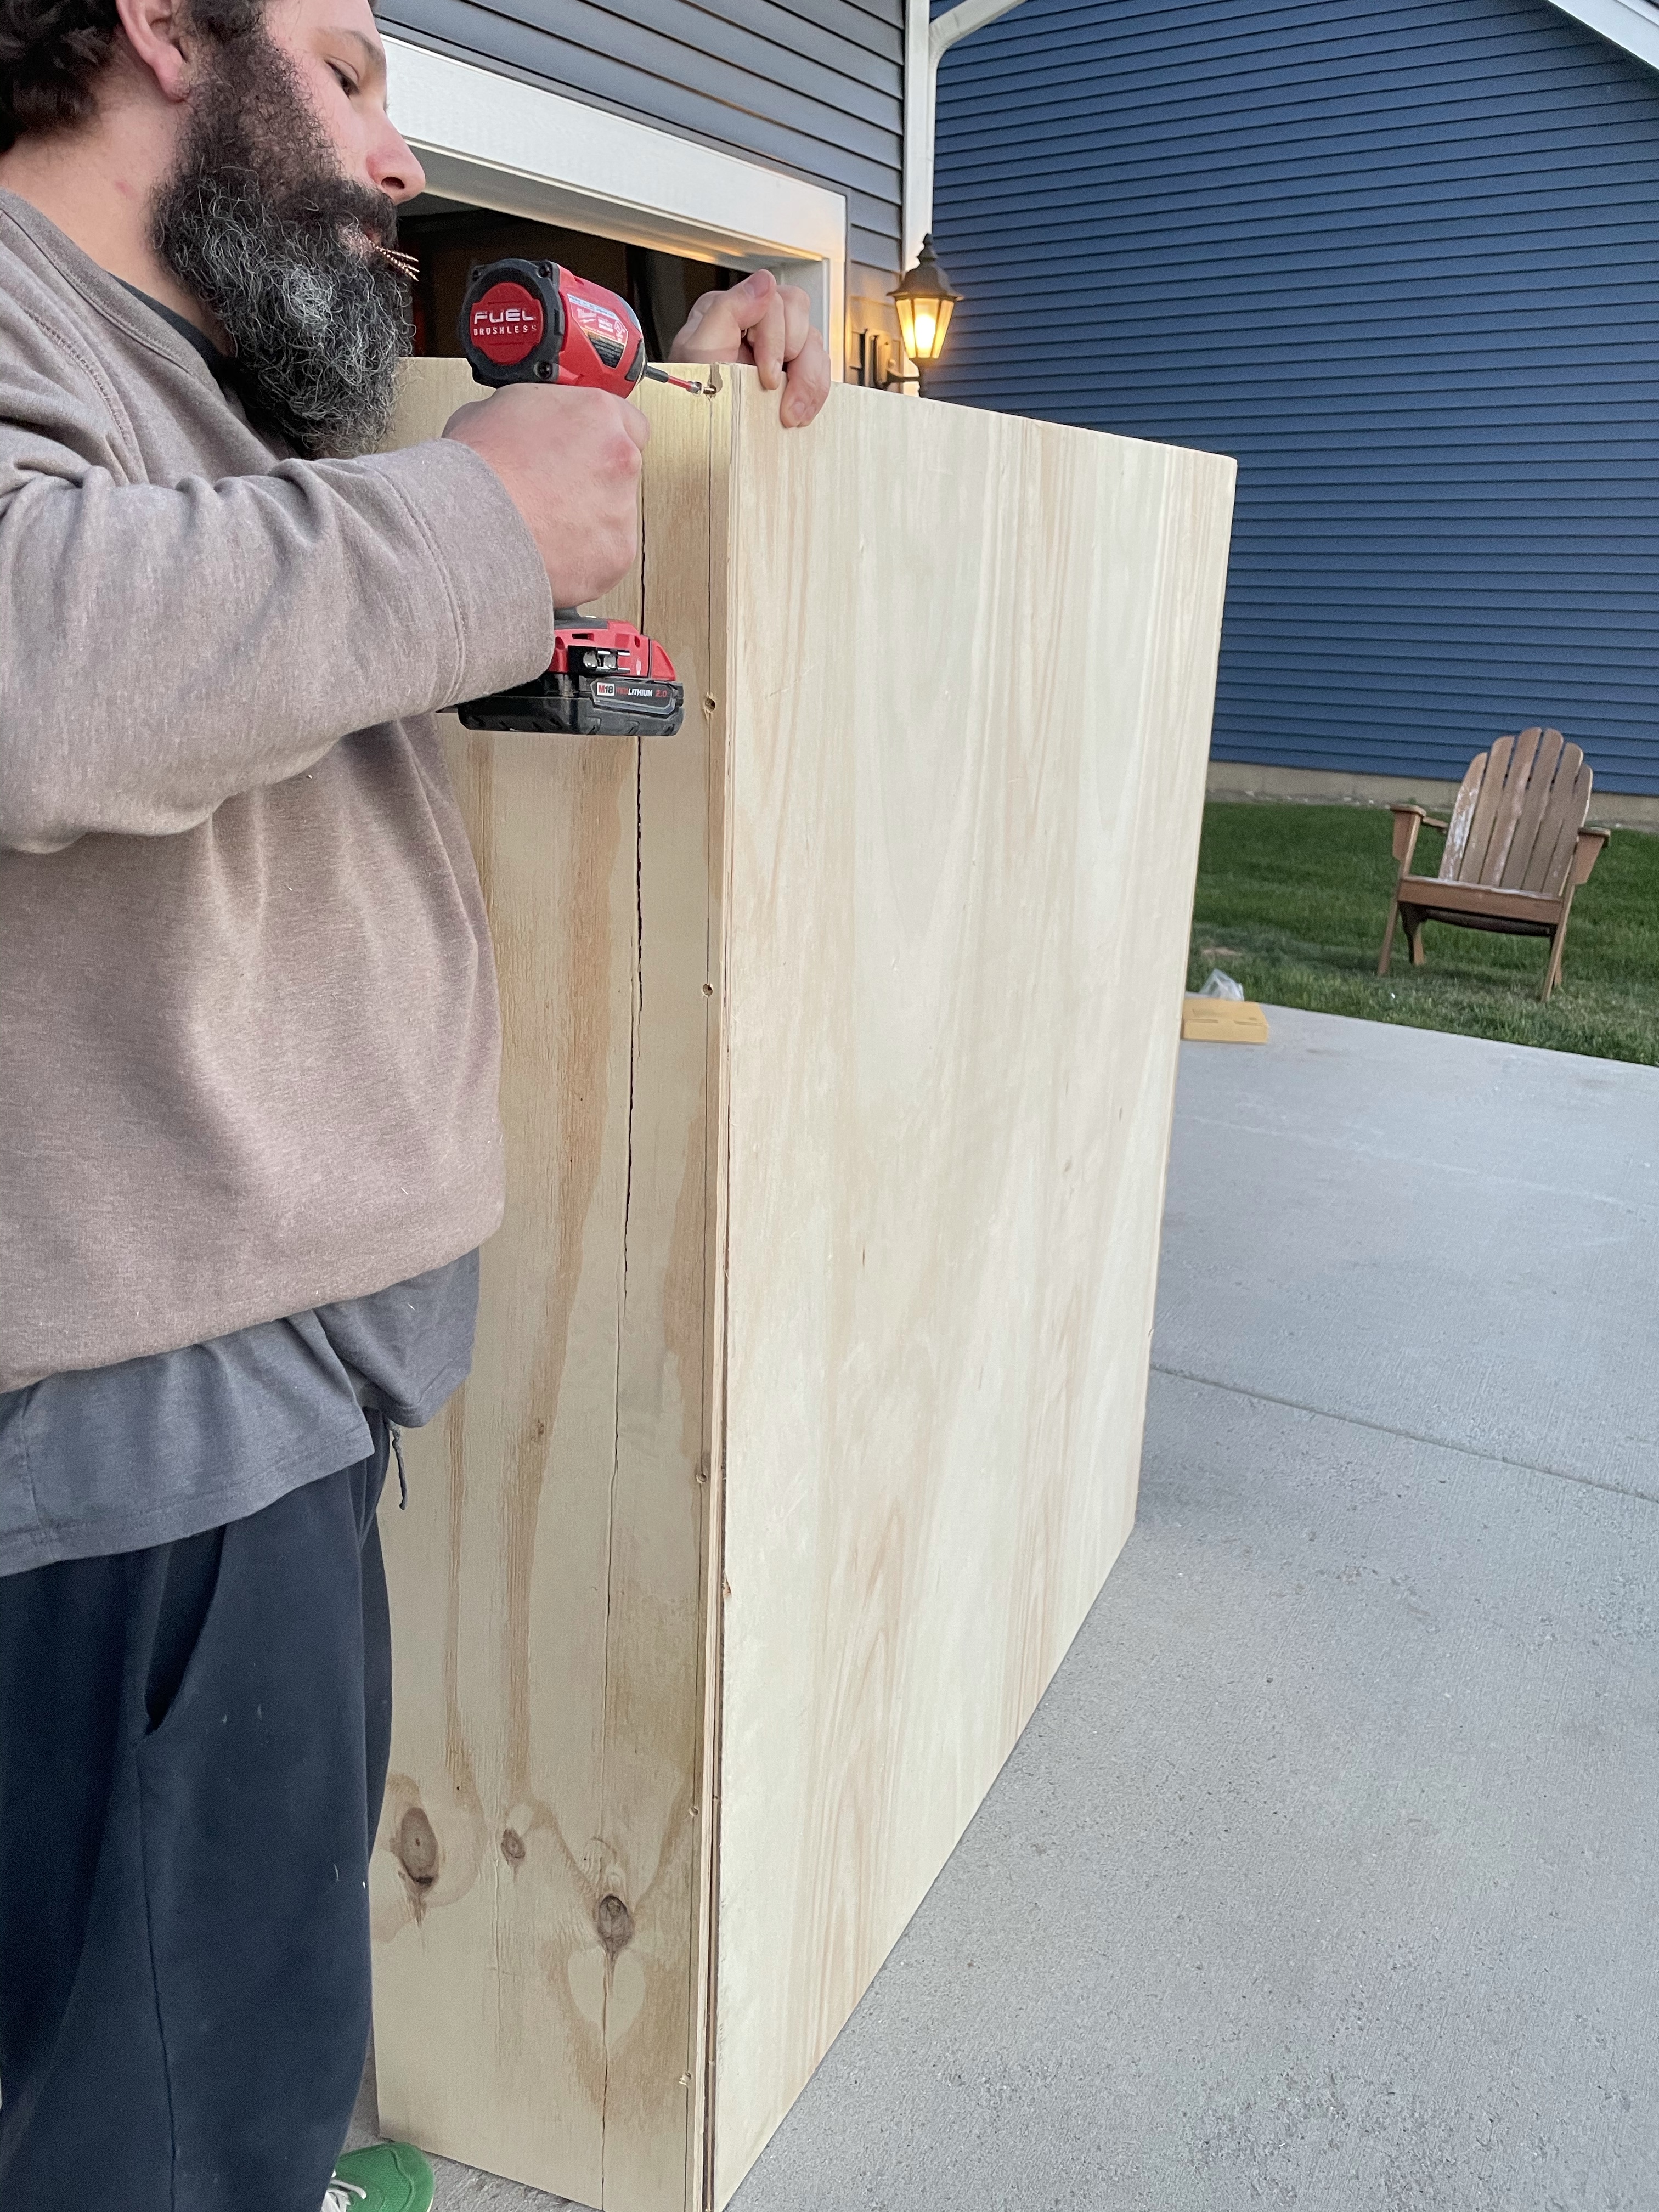
Using wood screws to screw the backs and sides together 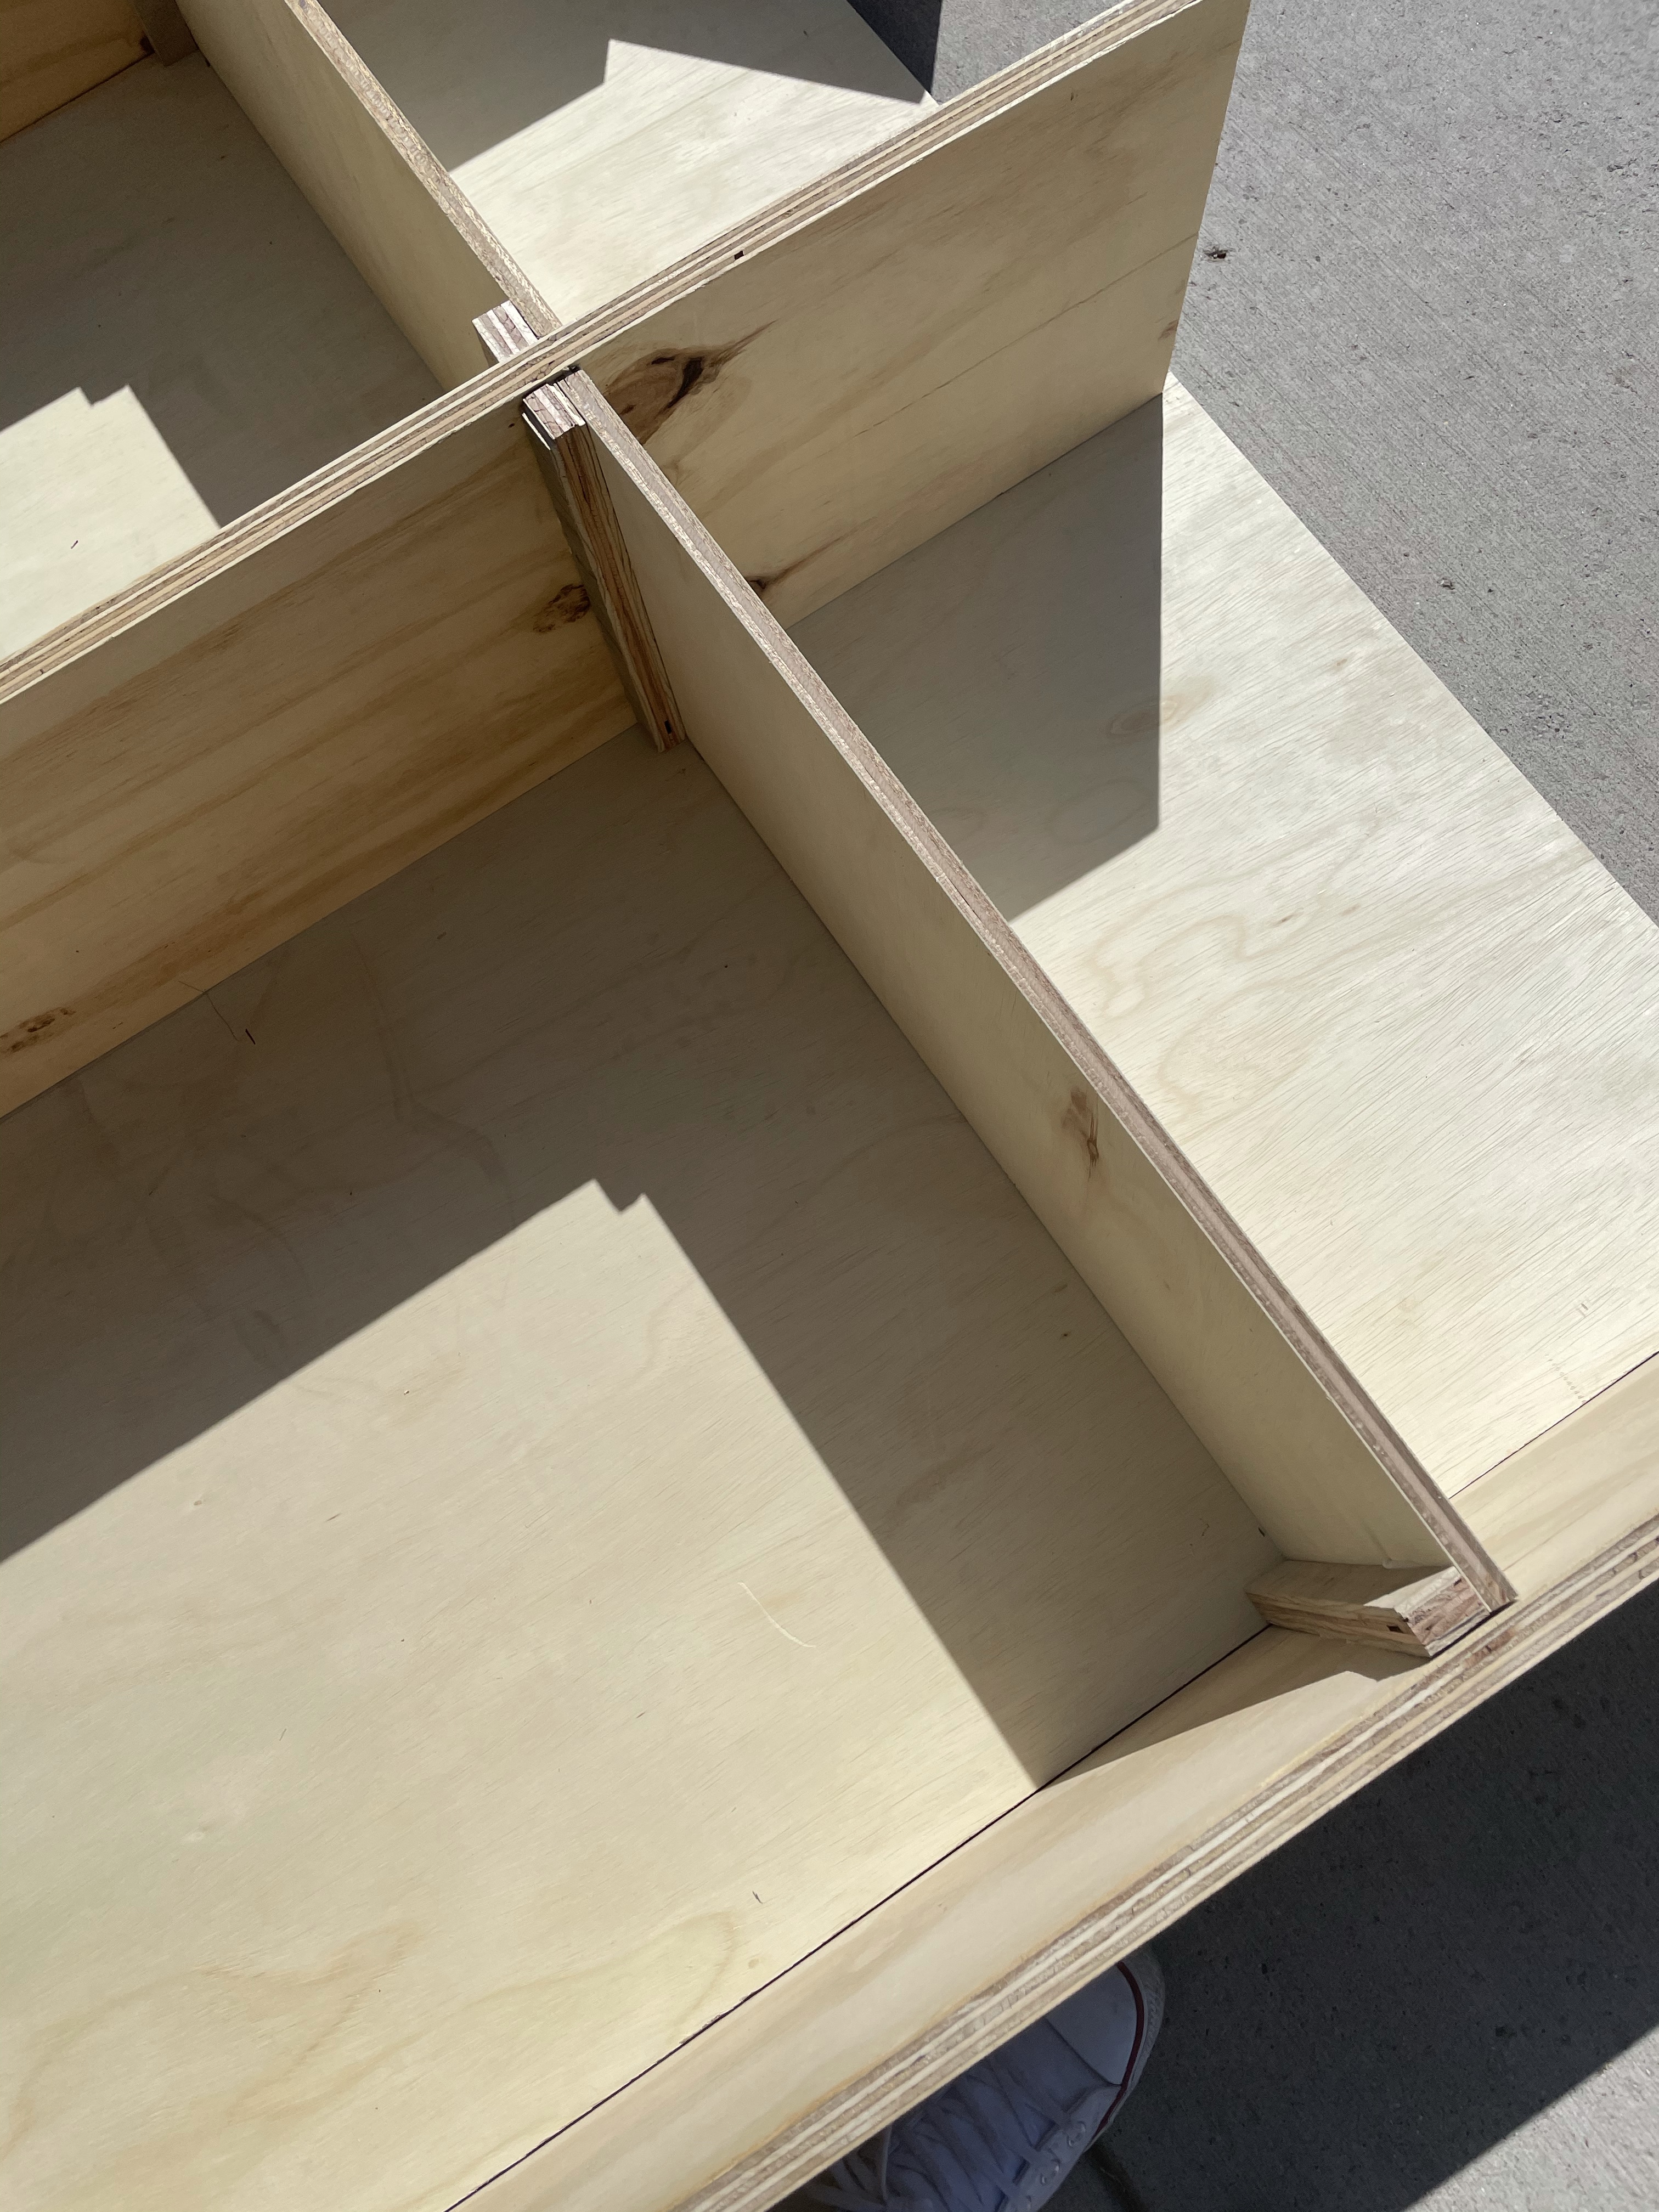
Brad nailed, wood glue, and supports 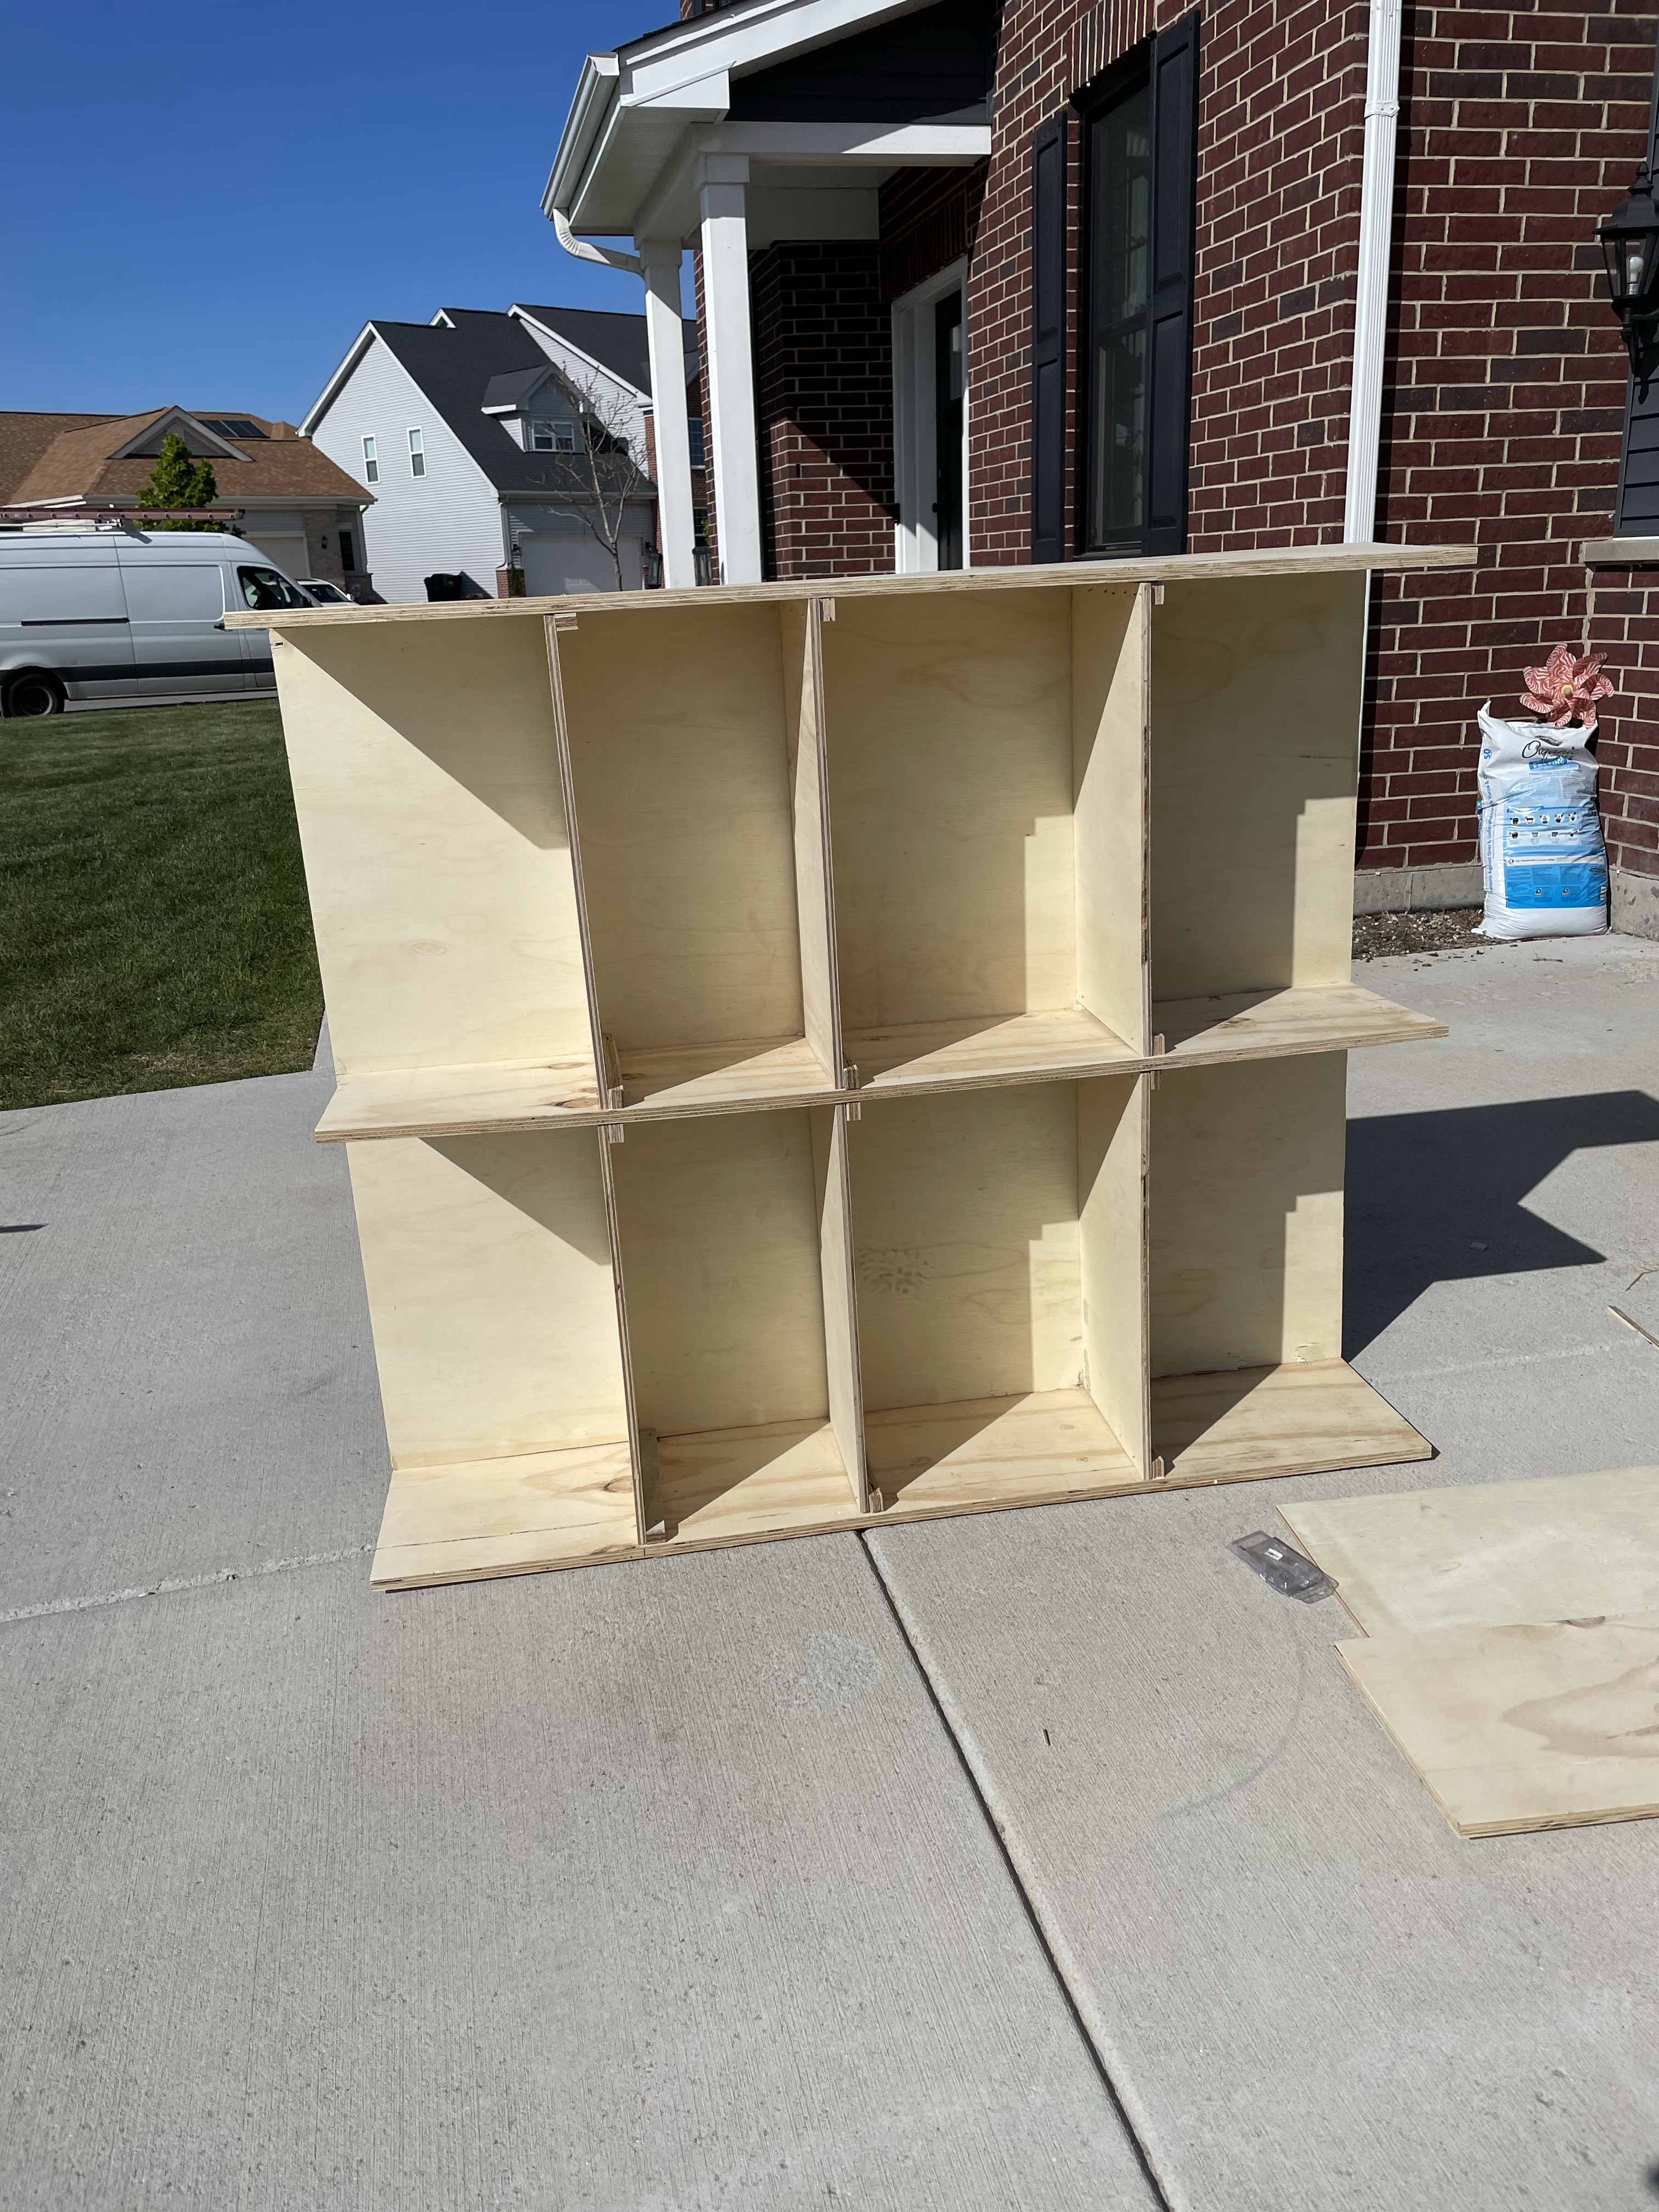
One side ready for paint!
Things were really getting exciting now… the shelves were done, and it was time to secure them to the wall, and watch all our hard work start taking shape!!

Nervously, we carried them down the stairs, even though i measured several times, i was so scared they weren’t going to fit. But they did!!!!
Shiplap
I used this pre primed shiplap from Home Depot for in between the shelves where the computer would sit. This gave the whole desk built in a little more texture.

Trim
Now that they were secured to the wall, it was time to add trim and caulk. For the bottom pf the desk where we had to build the cabinets up and out, I used toe kick to cover the top of the opening where the desk met the 2×4’s. and then used a larger piece of baseboard to meet the floor and the toe kick. I added trim to the front of the shelves to give the desk built in more of a finished look. Then caulked it all, and any small holes from the nail brad gun and painted it tricorn black as well.

The Final Results
Ta-Da… Materials and all this costed around $600 dollars to create, and i couldn’t be happier! I cant wait to show you how the rest of the office turned out! Stay tuned for the final office reveal!!!