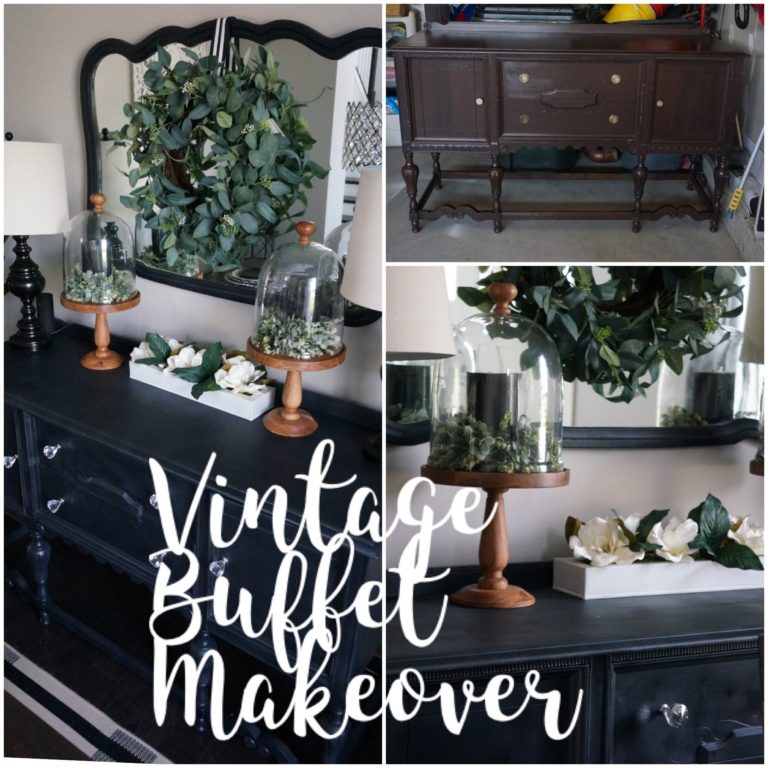
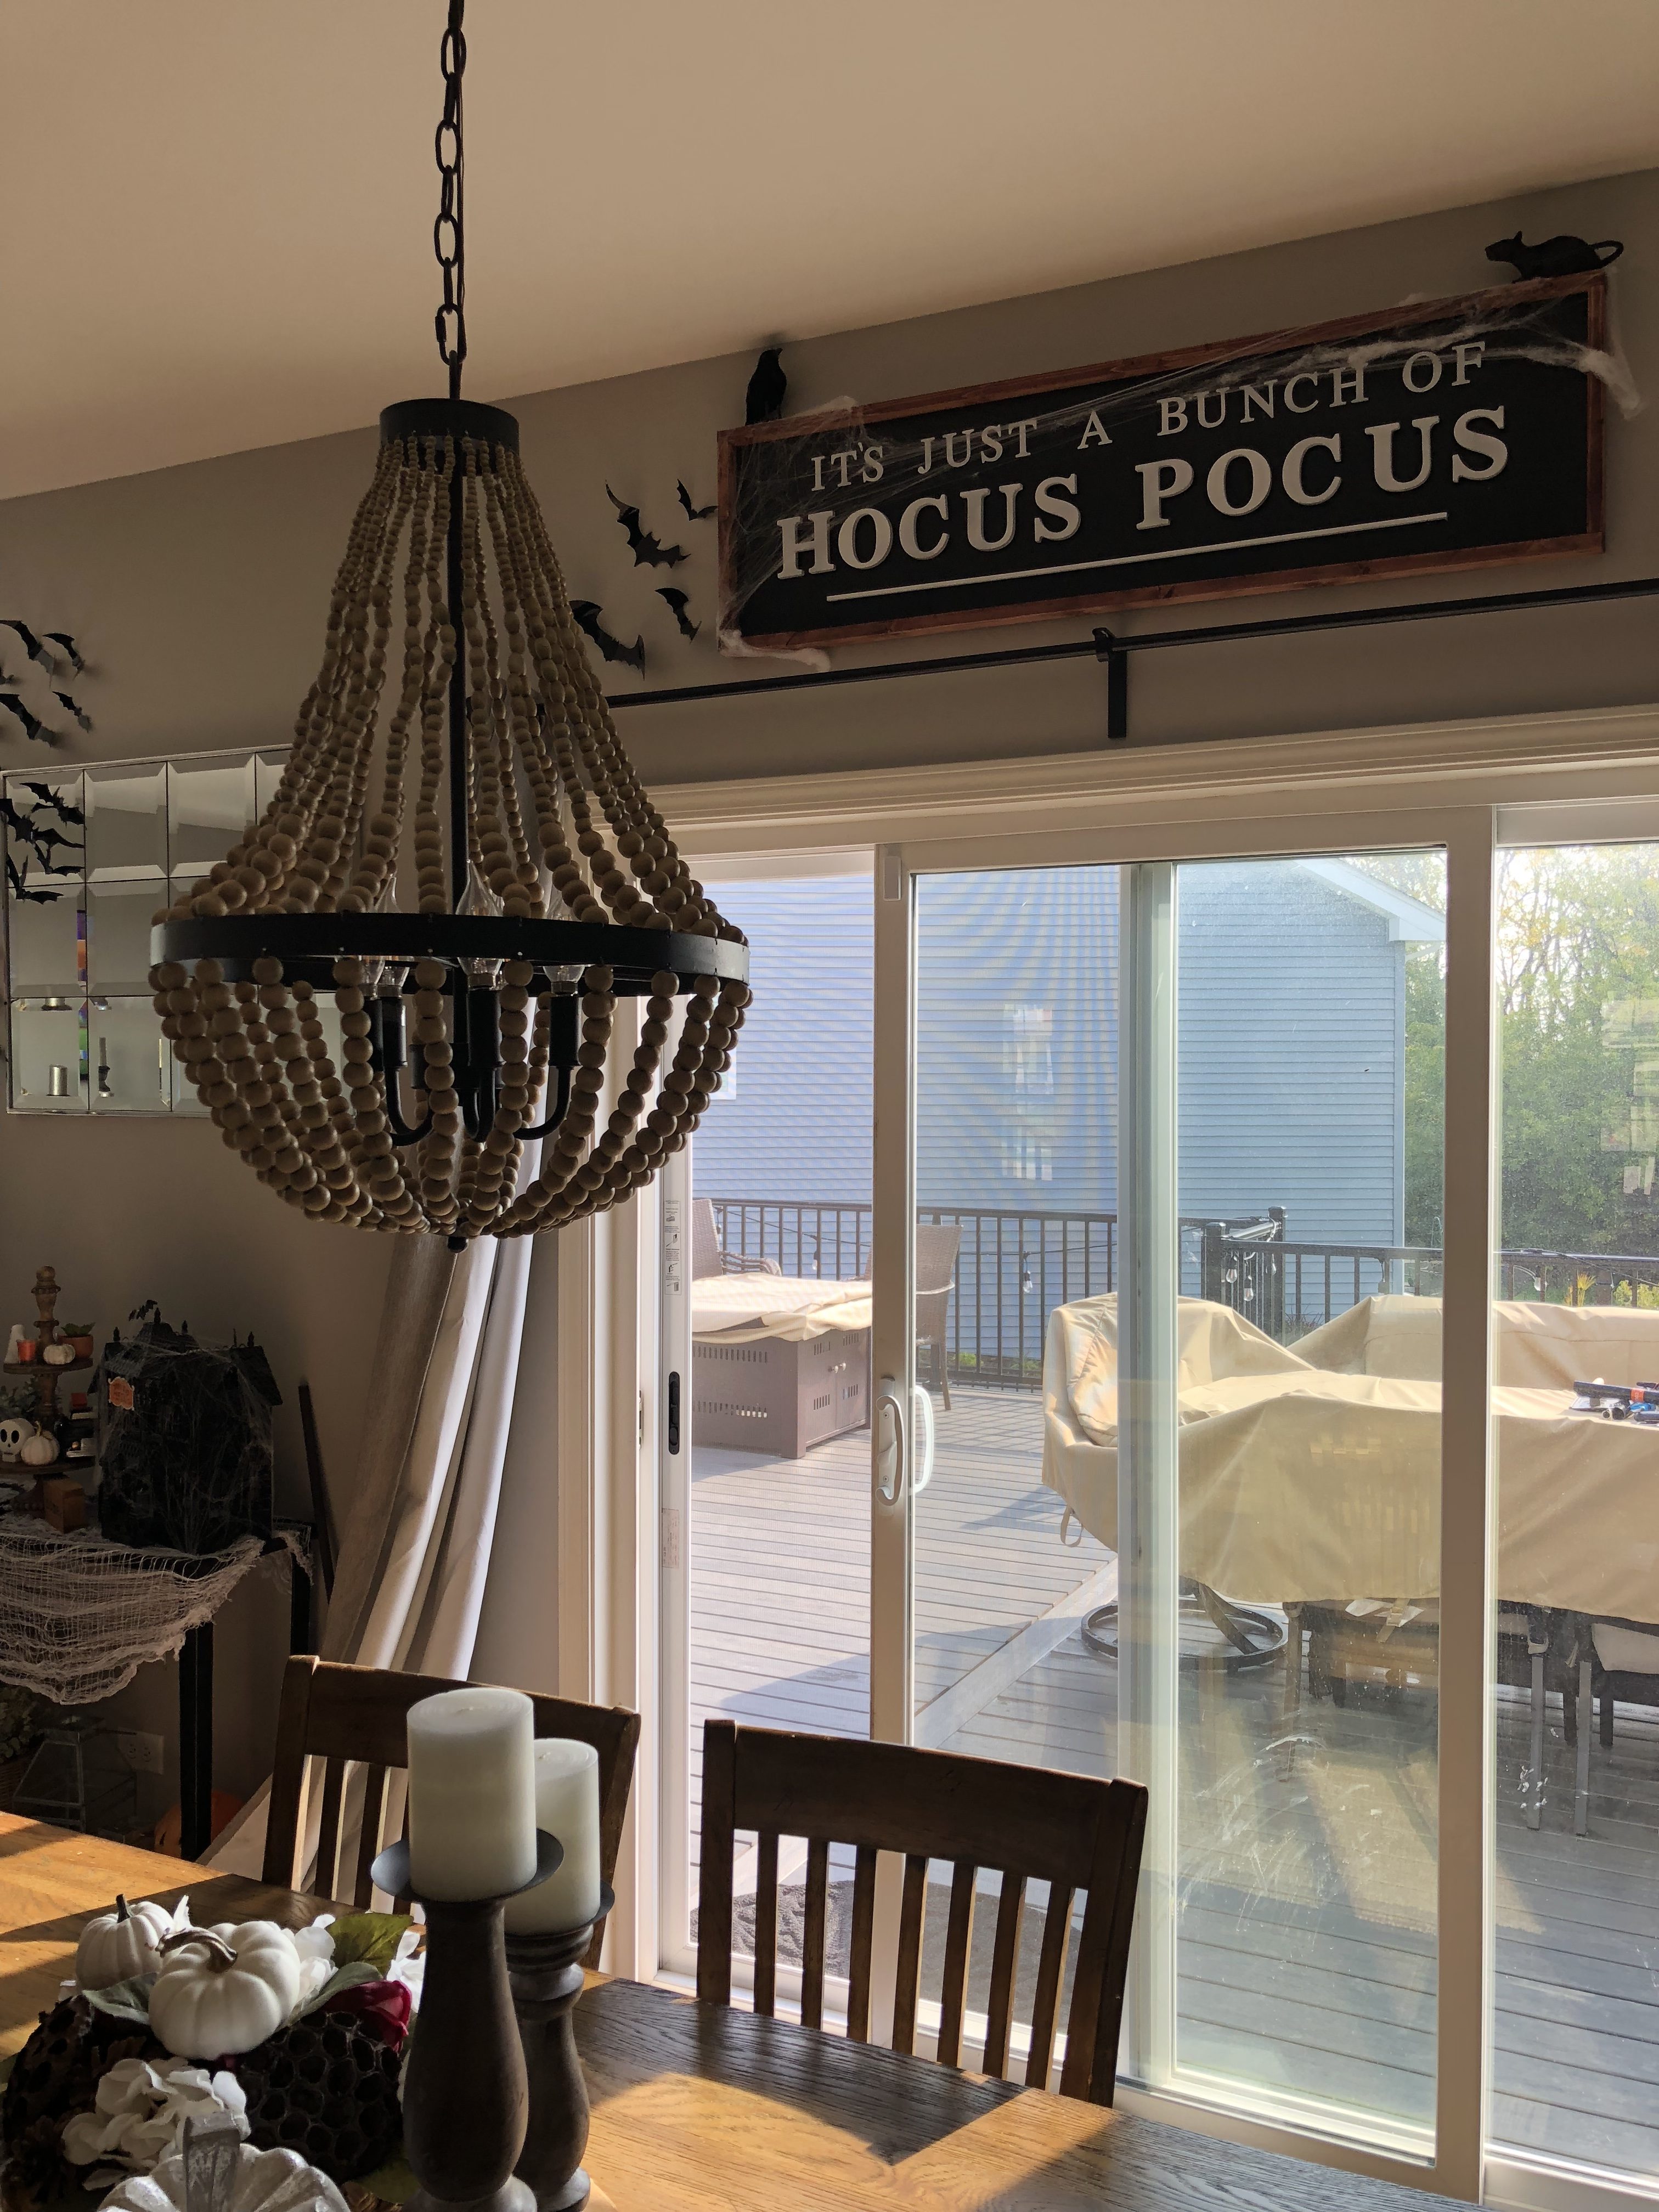
DIY Hocus Pocus Sign
It’s just a bunch of Hocus Pocus!! I’ve been running around decorating the house for Halloween! I absolutely love decorating for this time of year! But I’m going to dread taking it all down and putting it away. I love the decorating, the baking, crafting, and of course watching Halloween movies. My favorite by far, Hocus Pocus! And I absolutely don’t mind that they play it on repeat on Freeform. With decorating of course comes with the territory, some DIY’s, and of course I have a few!
With my love of the movie Hocus Pocus and also the love for crafts I thought about combining the two. I created this wood sign which cost me under $20 dollars. Now with all the crafting I do, you think I would own a cricut, but I don’t. One day I’ll bite the bullet and buy one, but as for now I’ll keep thinking of other ways to get around it. The supplies I used I found at Home Depot and Hobby Lobby.
Supplies:
- MDF (I used a 2″x4″ sheet) approx $6
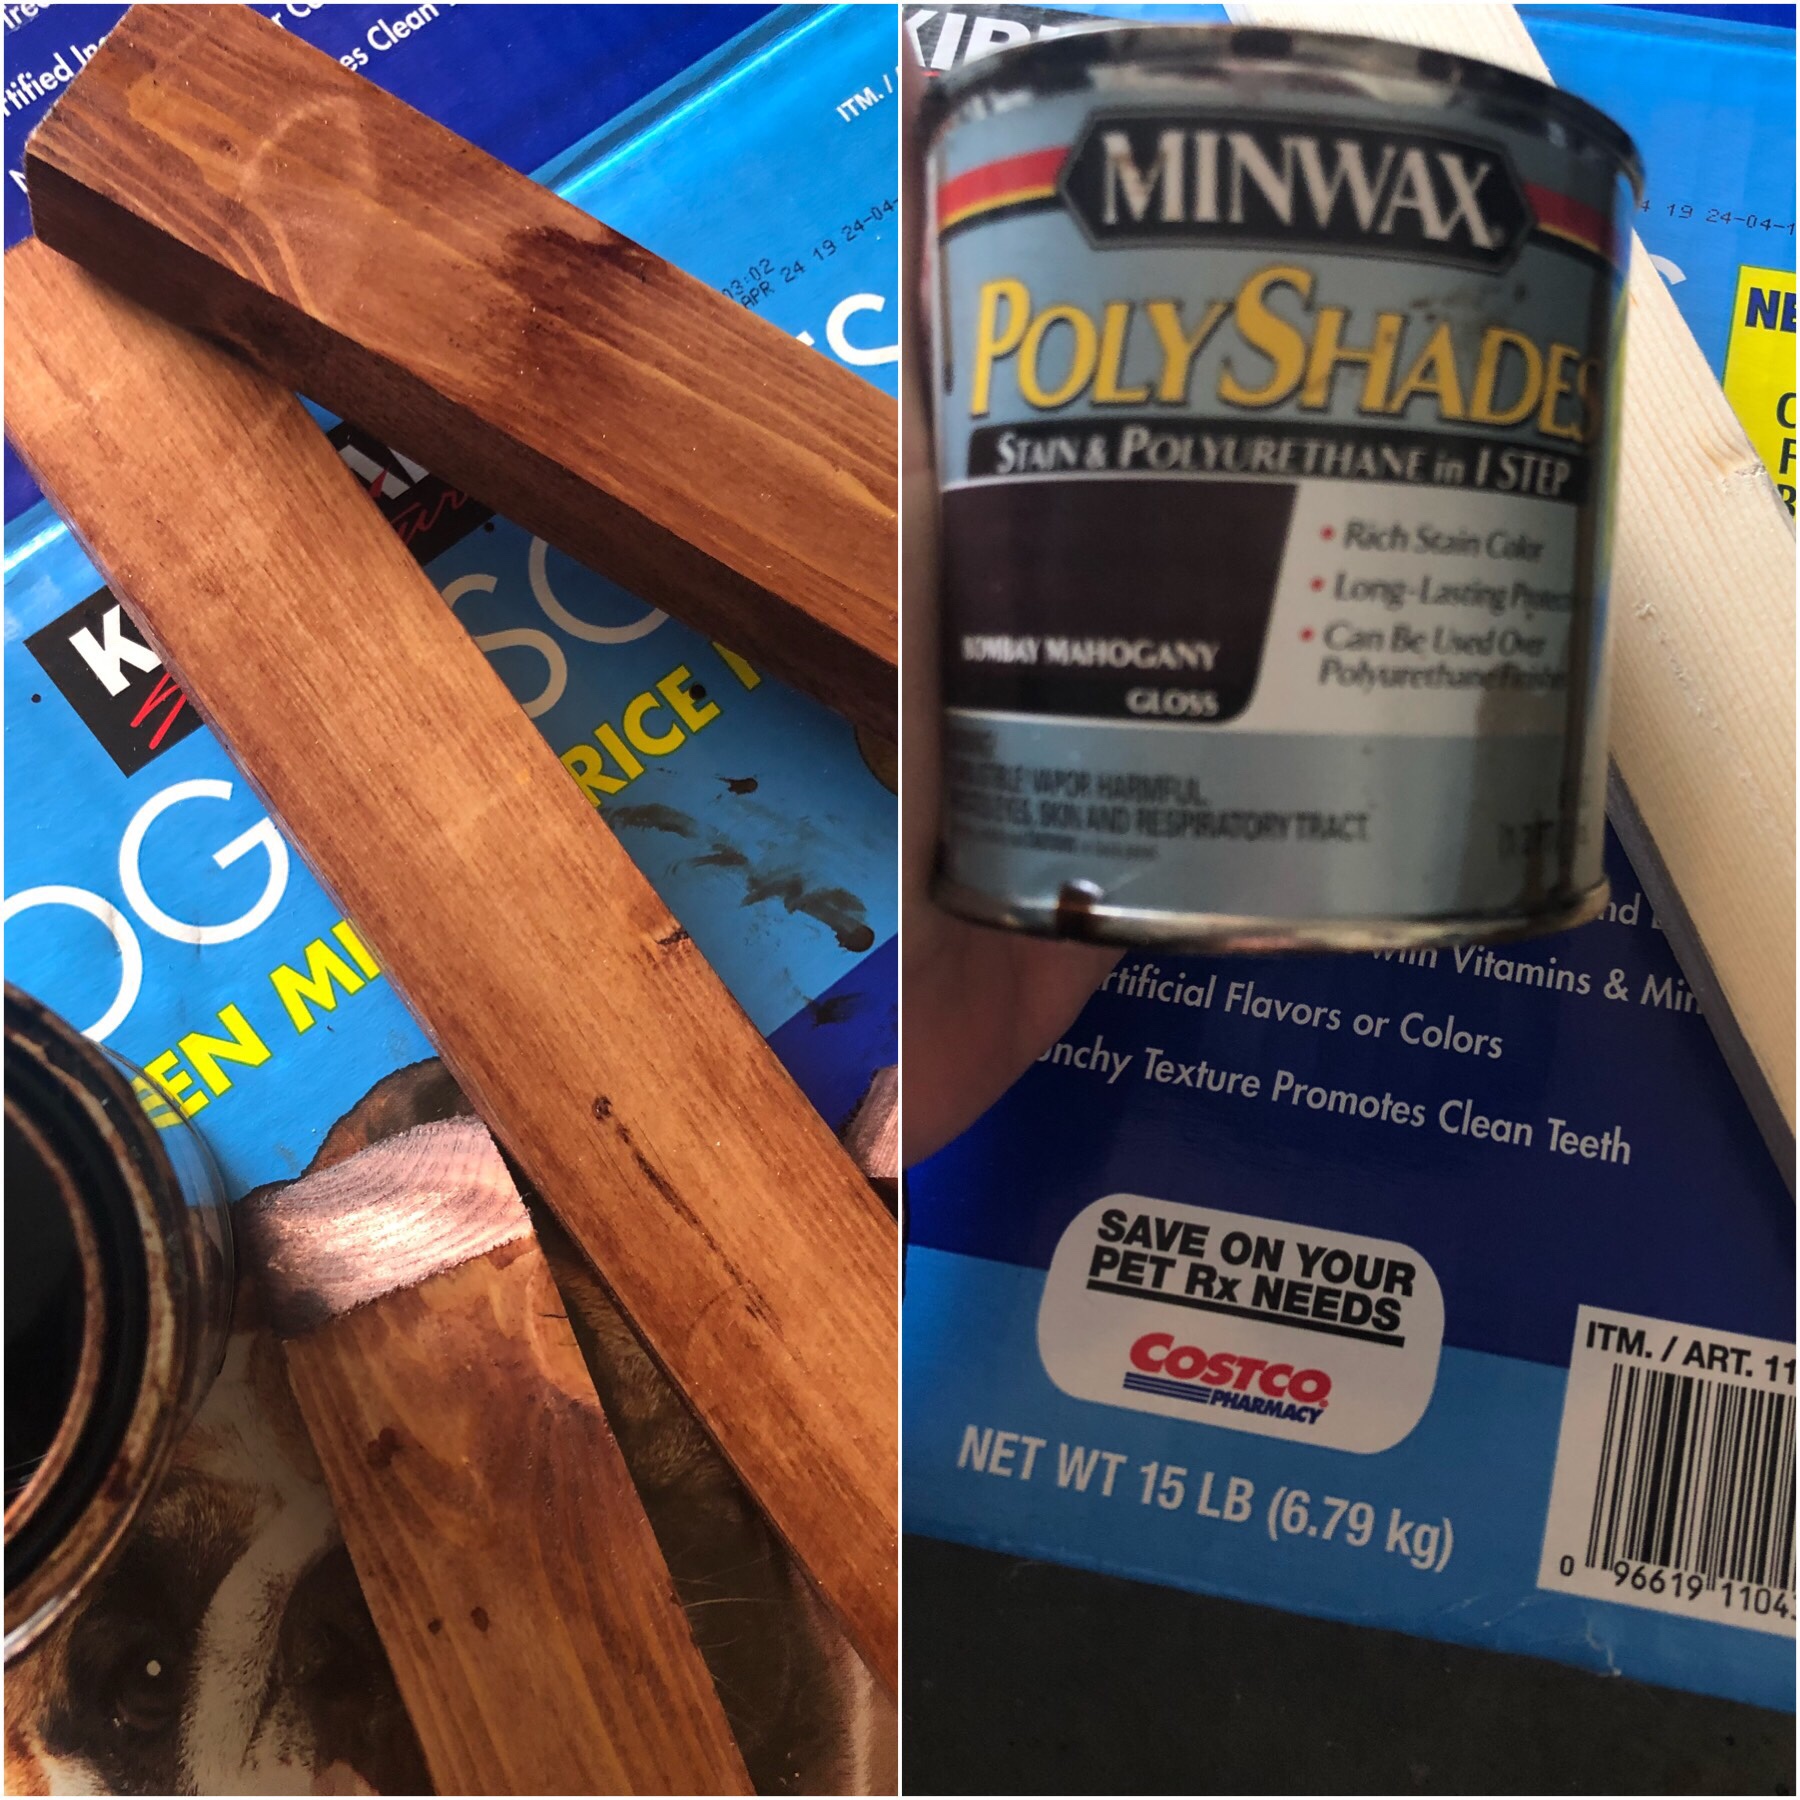
- furring strip – Approx $1.30
- Chip Board Letters
- Craft wood – approx $.80
- glue gun
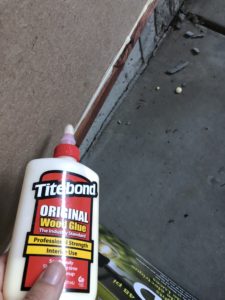
- wood glue
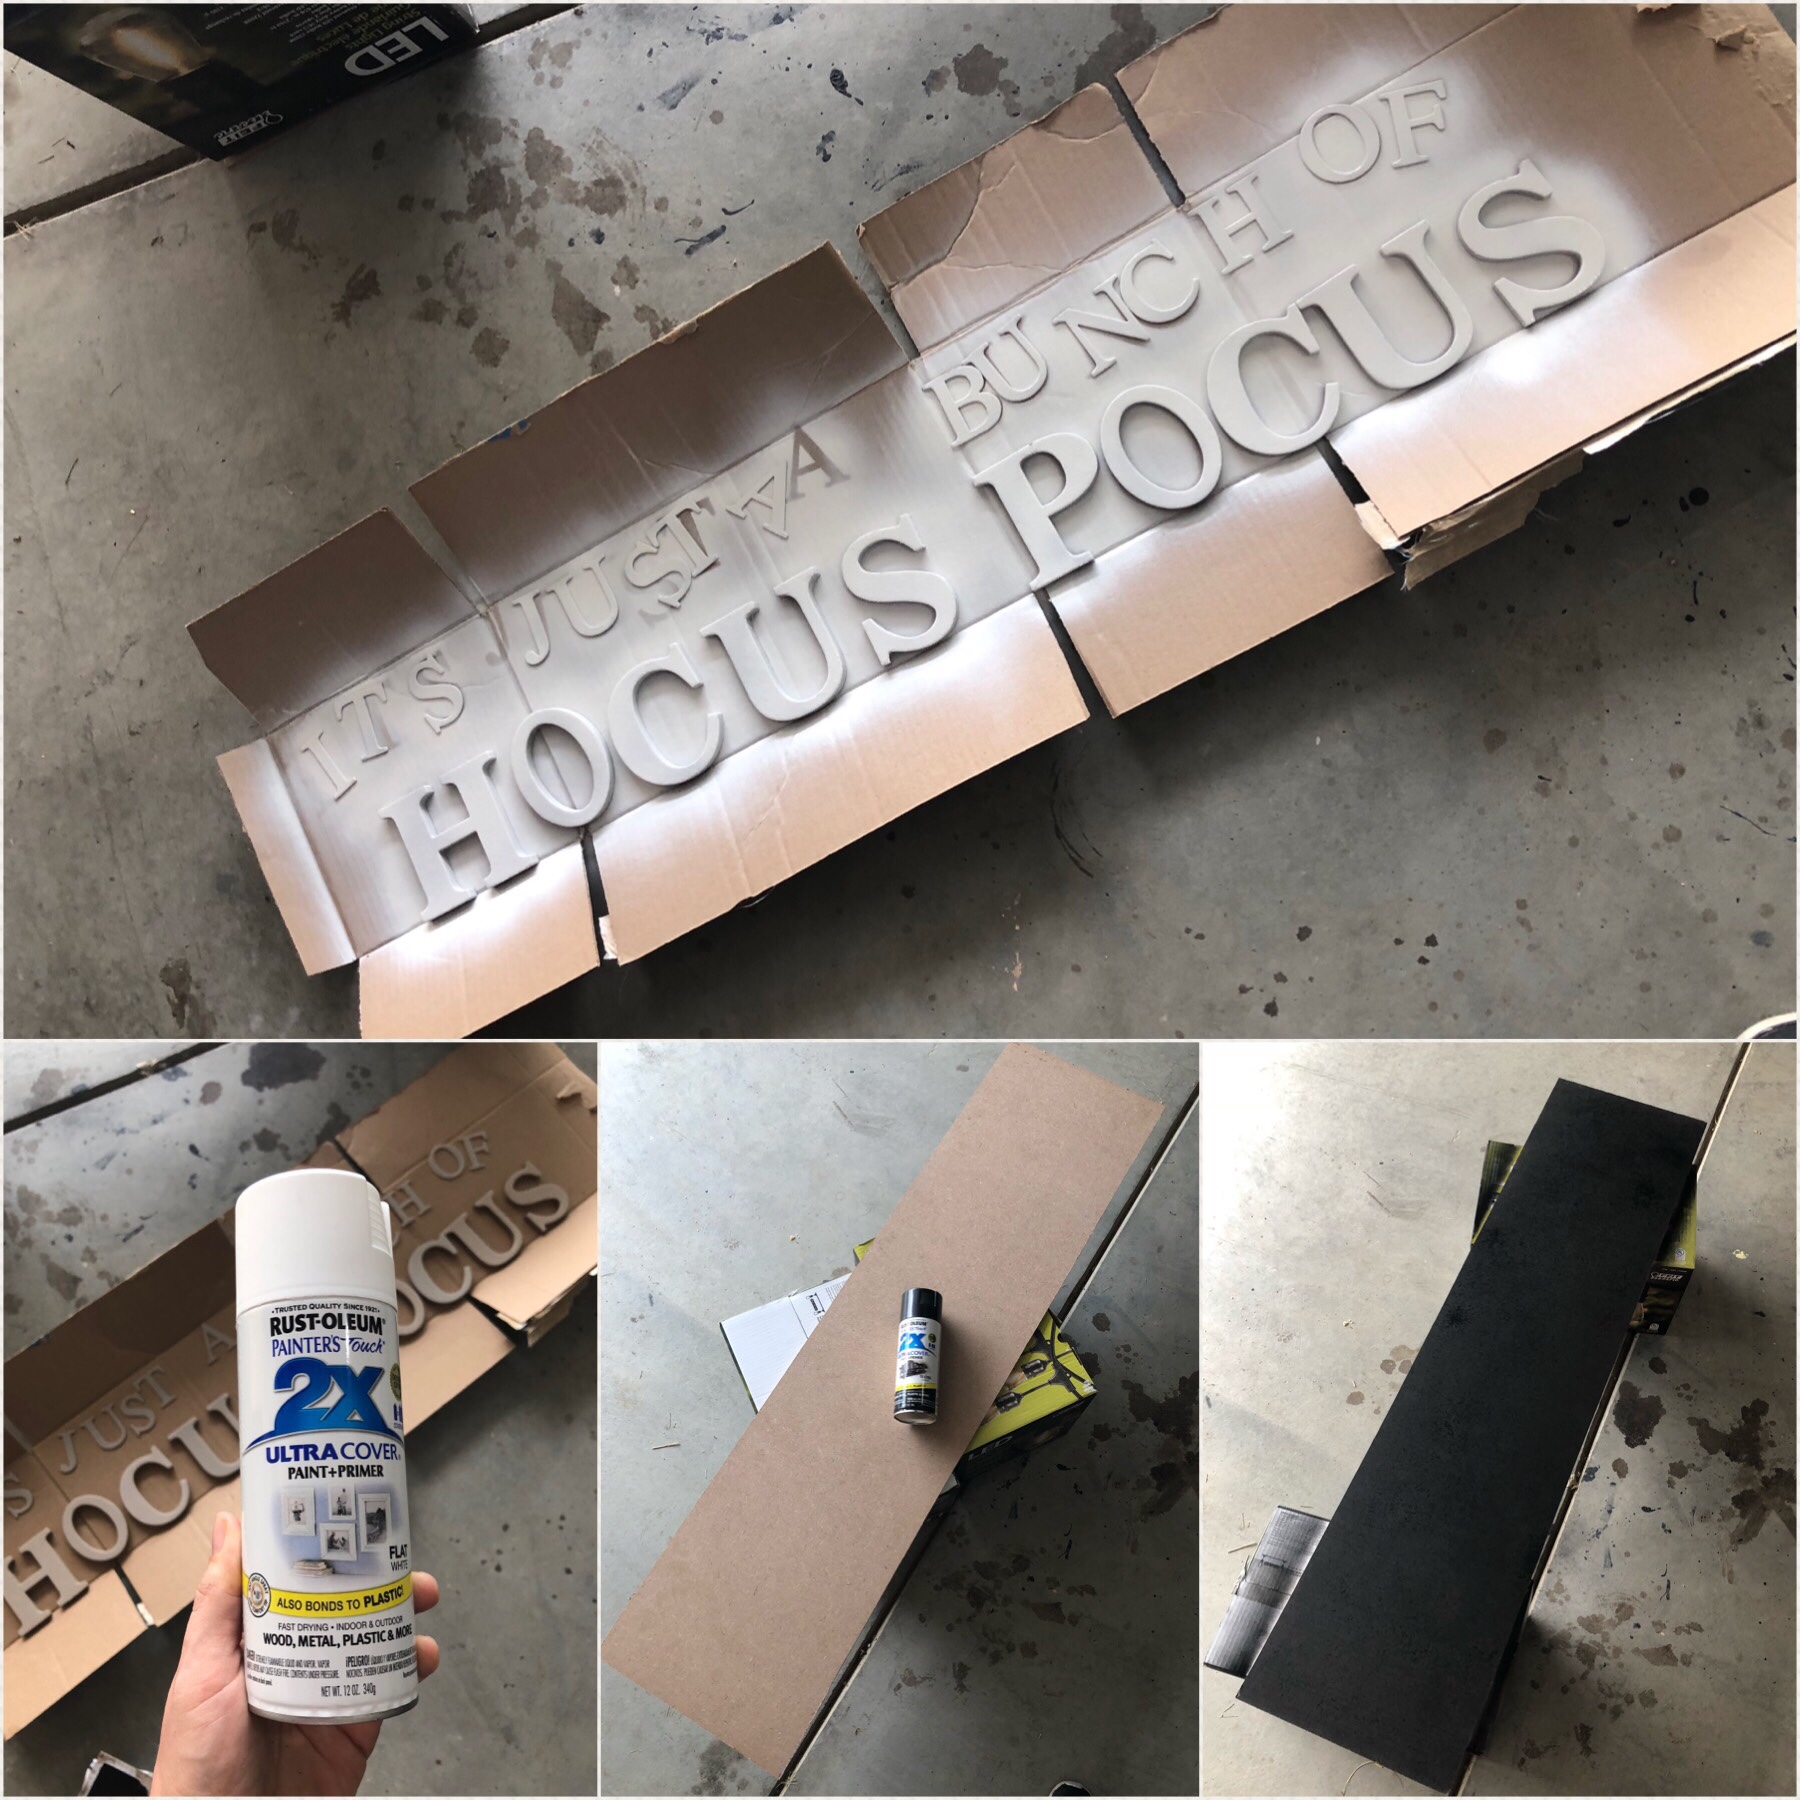
- black and white spray paint
- wood stain
Step 1
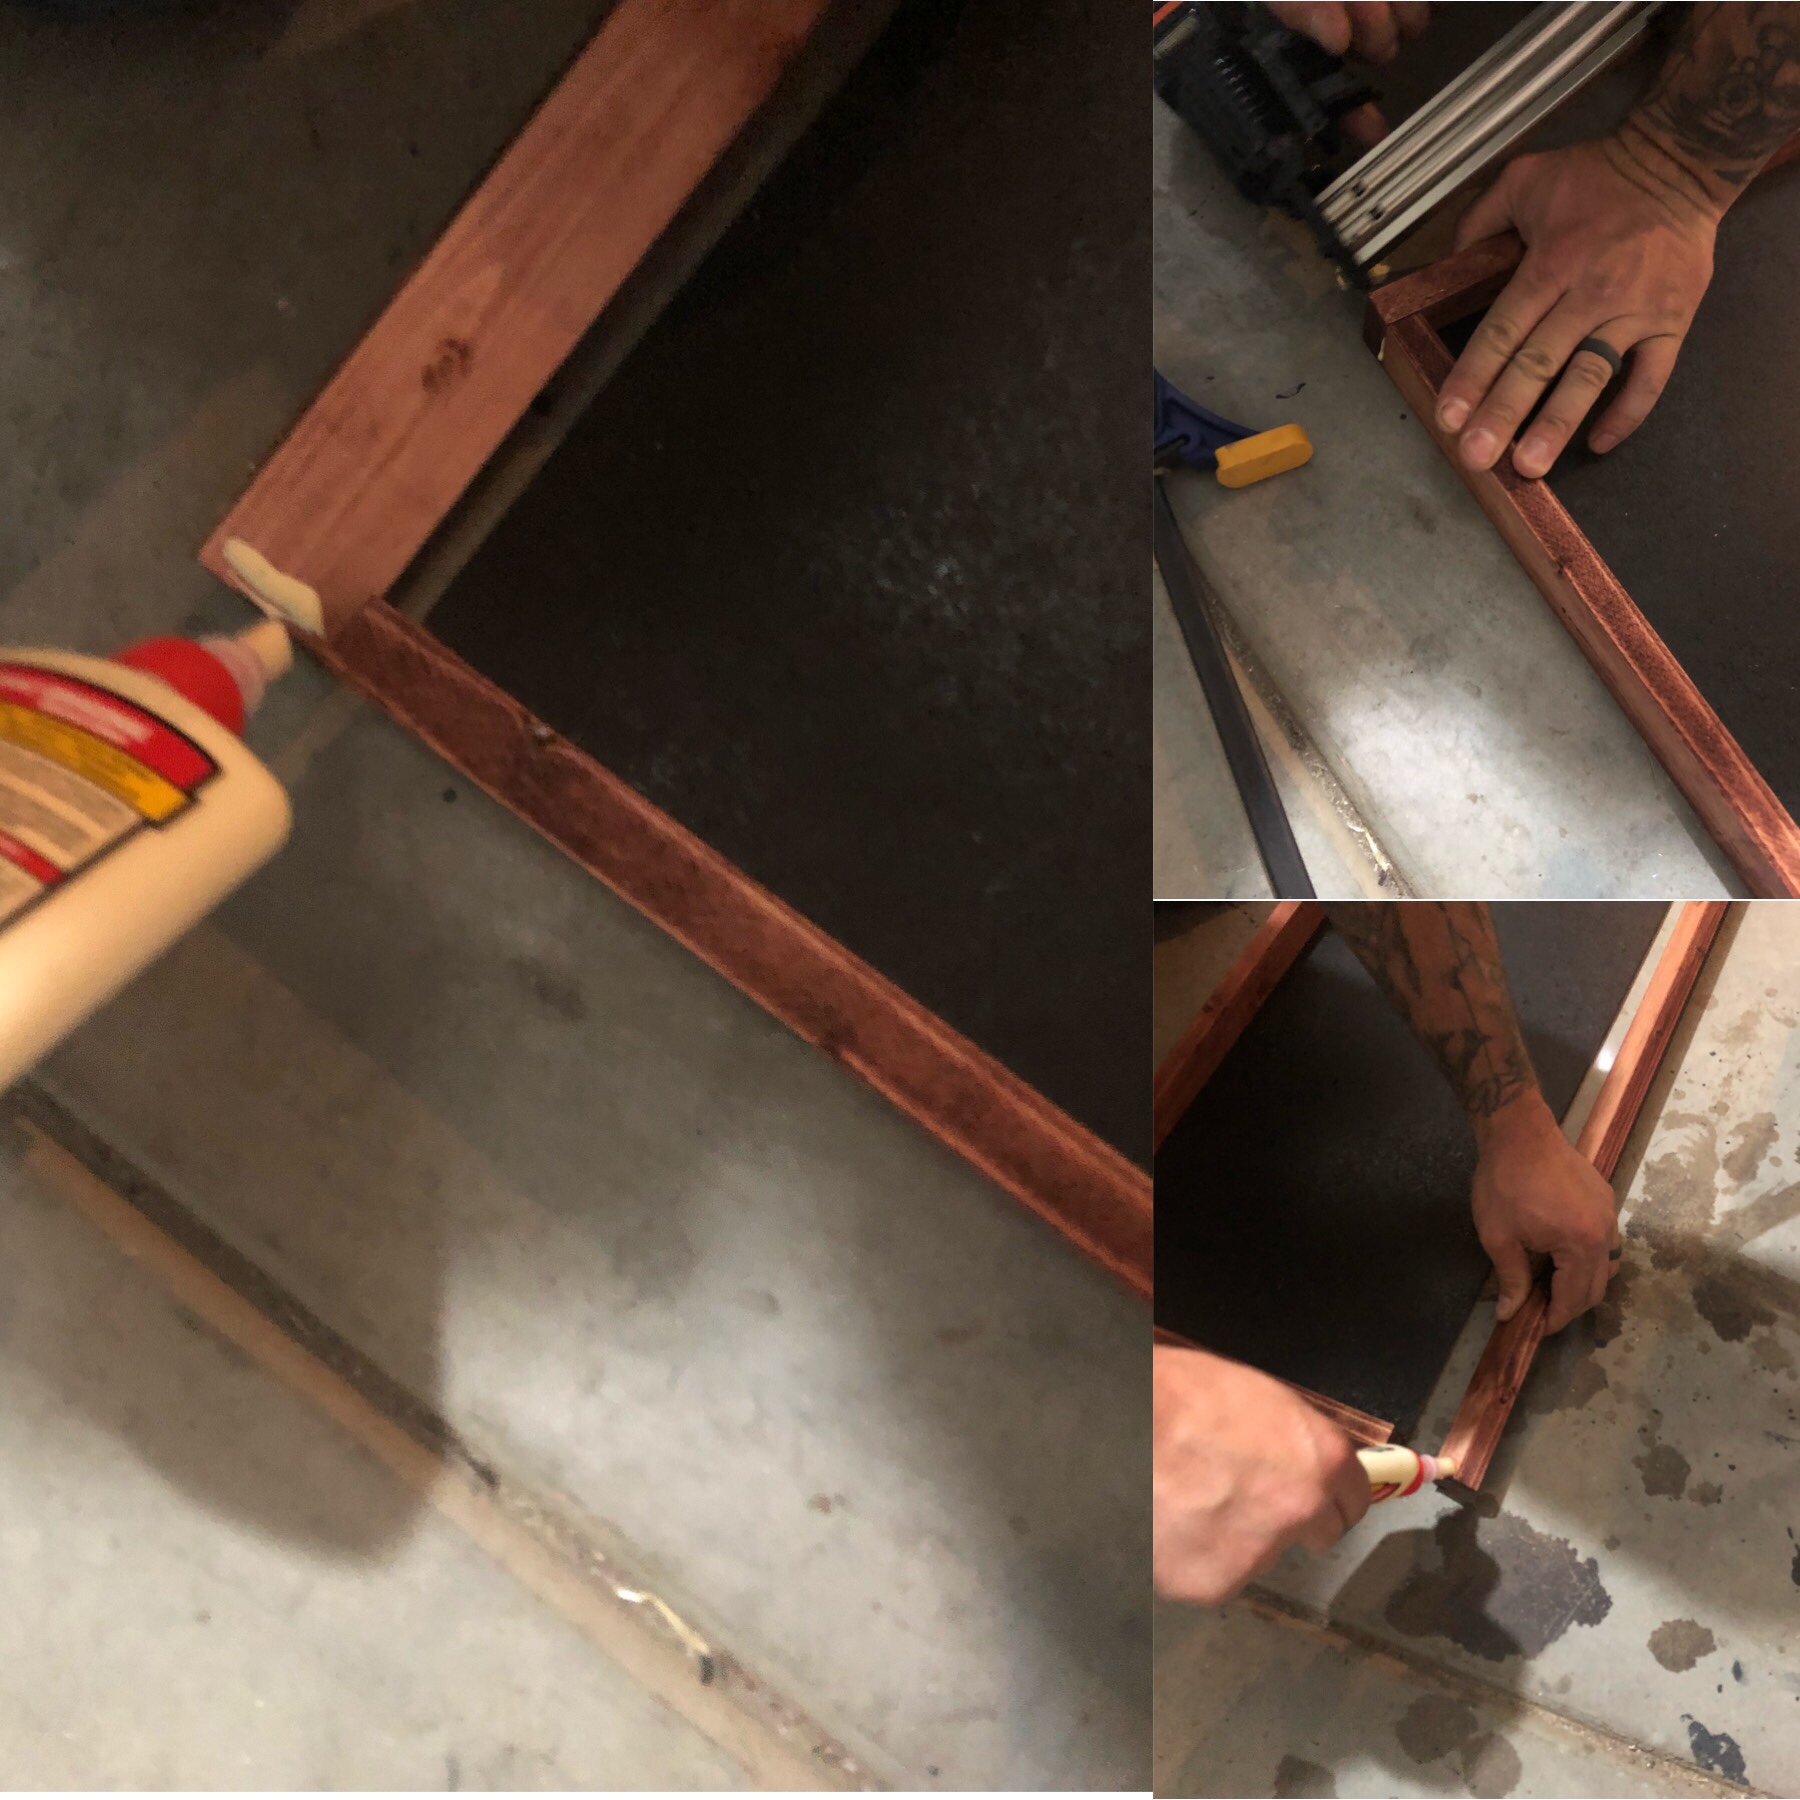
The first step was to cut the mdf, I just cut it in half width wise (12’x48′) Which means I have an extra piece for another sign (Yay more crafts). I also measured and cut the furring strips so I can frame out the mdf.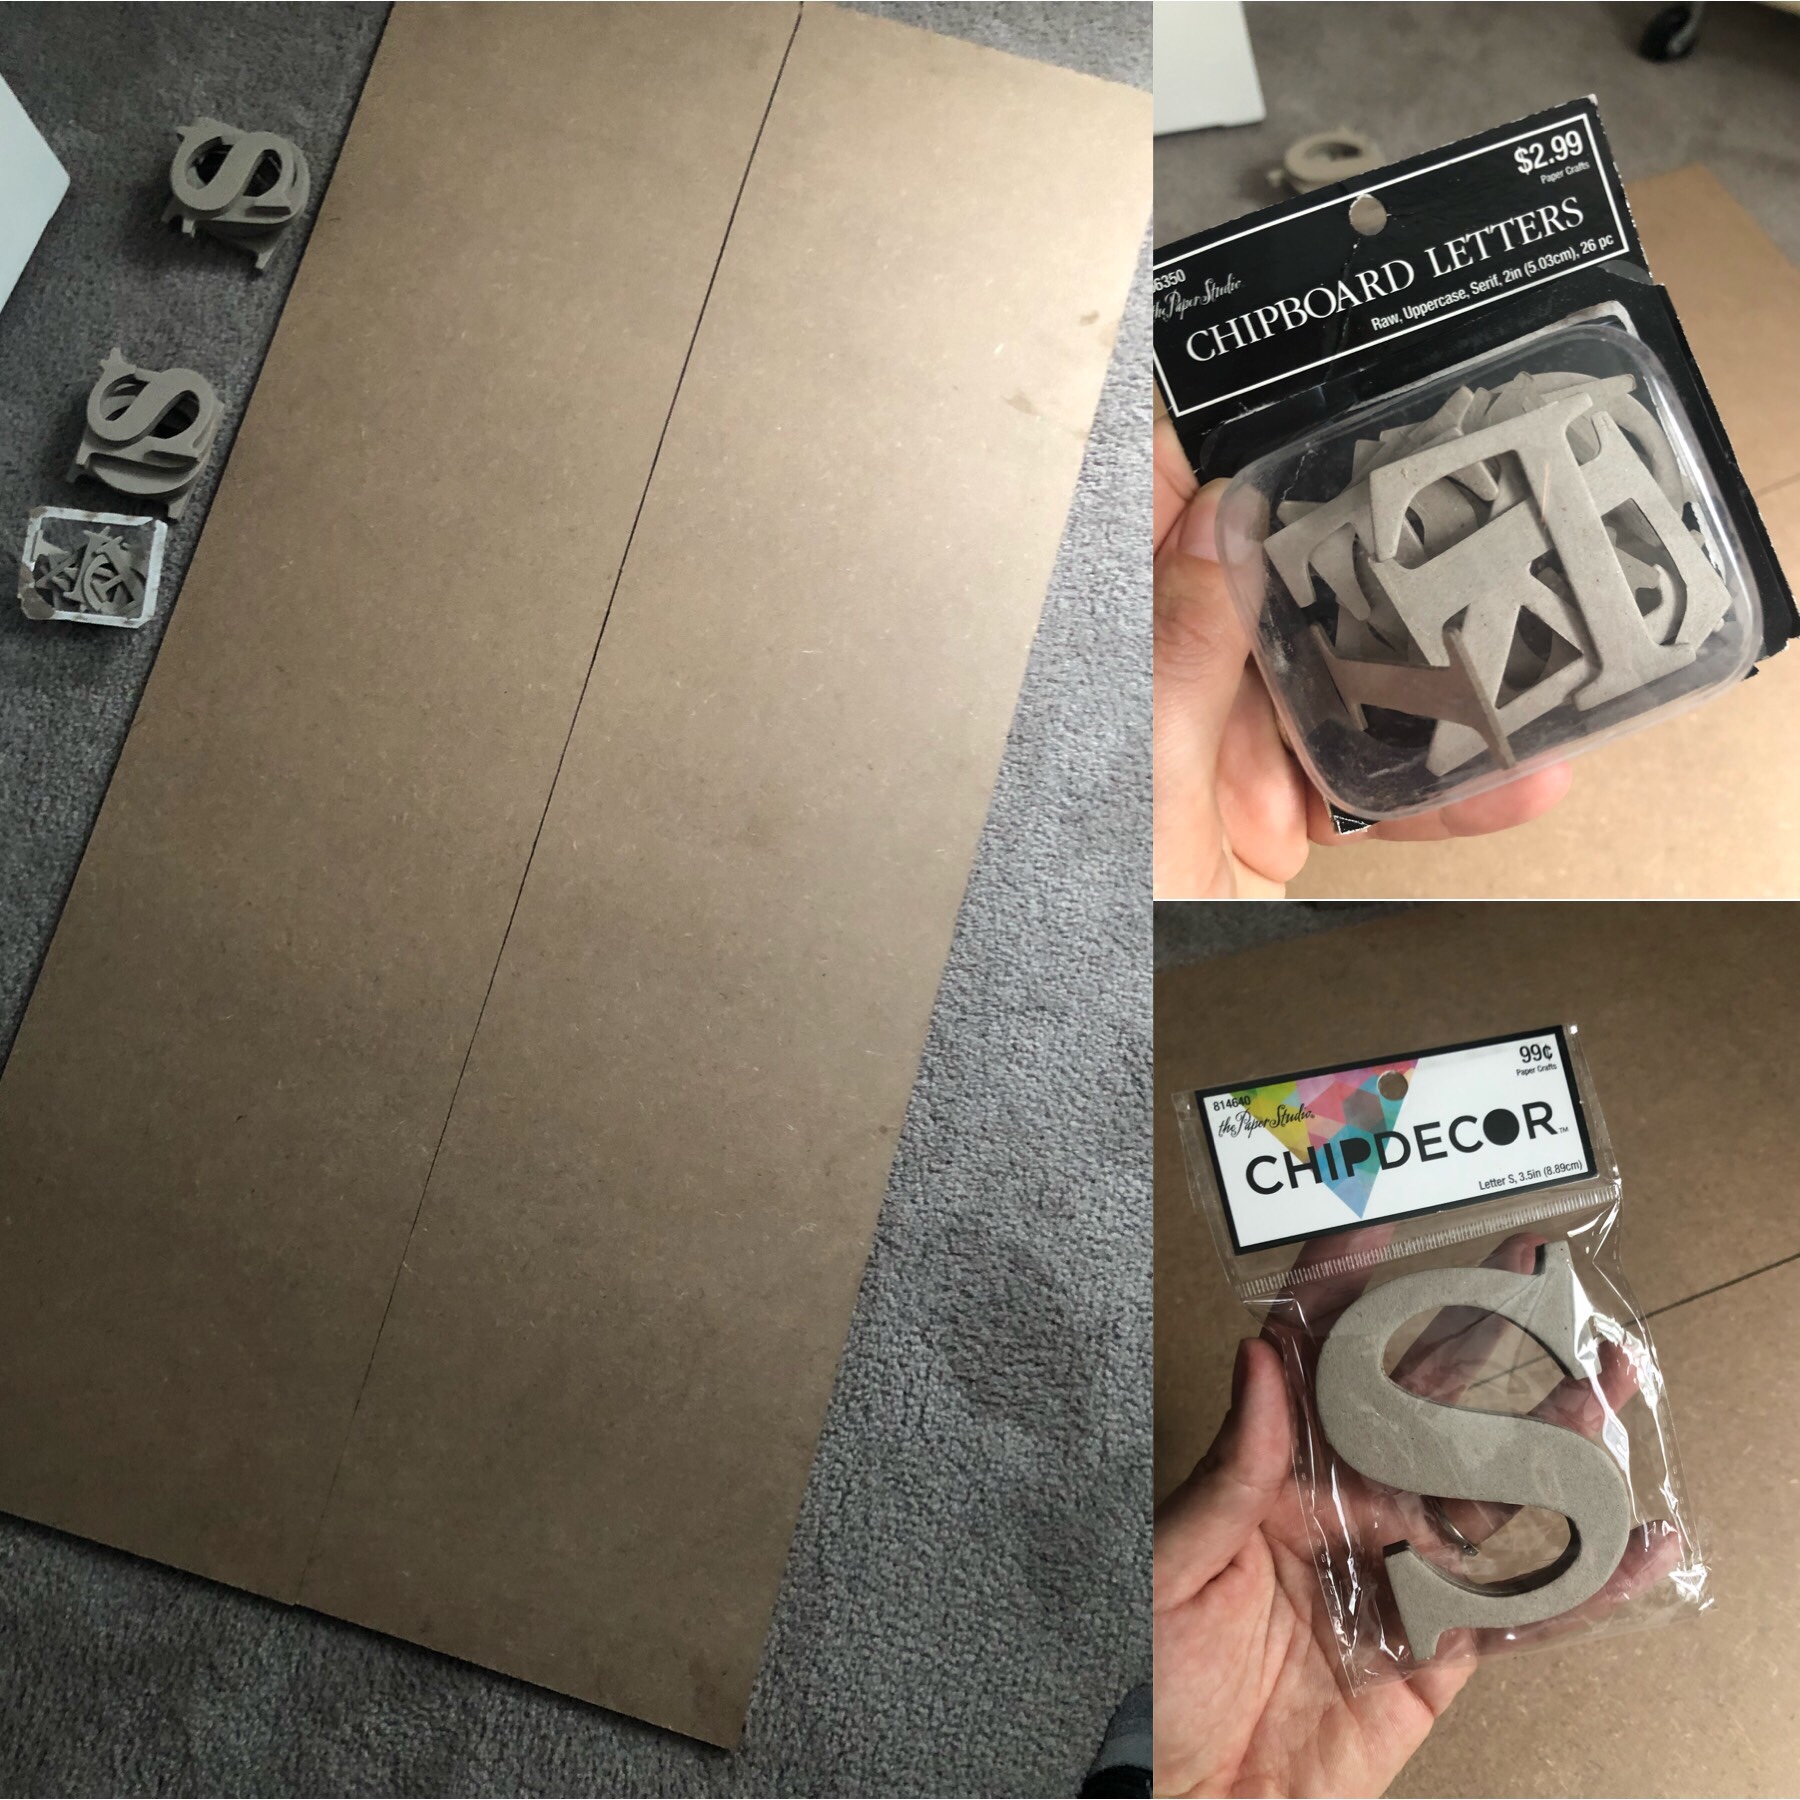
Step 2
I took the chip board letters that I bought from Hobby Lobby. I bought them at 50% off ( which I think they go on sale every other week) making them all around $11 dollars. And I spray painted them all white. I also spray painted the piece of mdf black. I let them dry and I stained the wood furring strips, I used Bombay Mahogany for the stain color. Which I have to say I’m pretty obsessed with that stain color right now!
Step 3
After everything was dry, I let my husband help and he used the wood glue and also stapled the furring strips together to frame out the mdf. I then let that dry overnight. Once it was dry using the wood glue I than glued the mdf to the frame to make sure it wasn’t going to budge. I then let that dry overnight.
Step 4
Once the sign was glued and dried I brought it inside, and using my glue gun and a measuring tape, I measured and glued my letters on. I have to say the hardest part of this project was making sure the letters were even. And there are definitely easier ways of doing this, such as using a laser to draw a straight line. Or even a piece of twine and chalk. I unfortunately didn’t have either of those things around me, and I was on a mission to finish this sign!
 And then that was it! A pretty easy diy, that I’m pretty obsessed with this season and all the crafting that goes along with it! Happy Hocus Pocus
If you want to see more, be sure to check out a few other blogs: